February 2019
Torres del Paine National Park is one of several hiking areas in Patagonia, and it lies entirely in Chile.
The O-Circuit is one of the crown jewels of hikes at this park, covering over 124km of distance in a counter-clockwise direction around the back and front sides of the Torres del Paine massif.
The more popular, shorter, and less restrictive W-Trek covers only the front (Southern) side of the Torres massif and is usually completed in 4-5 days.
The O is typically done in 7-10 days, which is the maximum permitted period in the park.
There are a limited number of hikers allowed on the backside trails of the massif, and anyone attempting the O-Circuit (or even the W-trek) must make reservations at each campsite and bring confirmation papers as proof.
Camping spots and refugios are usually available to reserve sometime in the early winter (May or June) for the following summer period.
There are three organizations that run the camping areas in Torres del Paine.
The campsites and refugios for Vertice and Fantastico require a fee, while the basic campsites for CONAF are free.
In addition to the campsites and refugios, there are pricier accommodations at Hotel Las Torres and EcoCamp Patagonia near the park Welcome Center, at the start of the trail from Torres to Seron.
This handy map has distances and approximate hiking times required between the camps.
Itinerary
My partner and I completed the O-Circuit in nine days at the beginning of February, including two nights spent at Refugio Grey where I opted for a half-day kayak excursion and recovery period the day after completing the most difficult section of the hike.
Our itinerary looked like this:
- Day 1: Started at Hotel Las Torres, camped at Seron
- Day 2: Seron to Dickson
- Day 3: Dickson to Los Perros
- Day 4: Los Perros to Grey
- Day 5: Kayak excursion at Glacier Grey
- Day 6: Grey to Paine Grande
- Day 7: Paine Grande to Frances Valley to Los Cuernos
- Day 8: Los Cuernos to Hotel Las Torres, then an afternoon excursion to Mirador Cuernos
- Day 9: Day hike to Mirador Las Torres
Waypoints
1
Hotel Las Torres: -50.973221, -72.874712
2
Refugio Torre Central: -50.965546, -72.865752
3
Campamento Seron: -50.865704, -72.892968
4
Refugio Dickson: -50.879039, -73.075697
5
Campamento Los Perros: -50.931907, -73.134924
6
Campamento Paso: -50.957957, -73.199975
7
Refugio Grey: -51.008120, -73.175985
8
Refugio Paine Grande: -51.072300, -73.093856
9
Campamento Italiano: -51.022356, -73.042356
10
Mirador Frances: -51.008208, -73.053062
11
Mirador Britanico: -50.982714, -73.053805
12
Campamento Frances: -51.027090, -73.025075
13
Refugio Los Cuernos: -51.023944, -72.985531
14
Campamento Chileno: -50.957263, -72.910579
15
Mirador Las Torres: -50.942759, -72.949659
16
Mirador Cuernos: -51.048141, -73.012787
Packing for the O-Circuit
What you pack for the O-Circuit depends on the level of support you will be planning for.
There are paid tour groups that have porters that will provide tents and sleeping bags, carry most of your things, and even cook food for you during the trek.
On the other hand, you can choose to go completely self-supported, carrying all your own gear and food.
My partner and I chose the middle route—staying in Refugios when possible, paying for full tent setups at other campsites, and opting for the full-board.
We did carry a lightweight tent as an emergency backup, but never had to use it.

We managed to fit everything into our Hyperlite 55L packs
Food and Water
- Potable water is readily available from faucets at all of the campsites and refugios. Be sure to use the cold water faucets. I usually drink a lot of water for hikes, and although I anticipated needing to refill from streams and rivers, my 2-liter Platypus bladder filled with electrolytes and tap water proved sufficient for every day of the circuit.
- Some of the refugios can provide hot water, but otherwise you should count on having to boil your own.
- I brought a water filter just in case, but never really had to use it. Some people on the trail were filling their bottles directly from the streams.
- It is possible to complete the O-Circuit carrying only a minimal amount of food. With the exception of Los Perros, all of the paid campsites through Fantastico Sur and Vertice Patagonia offer a full board option consisting of a prepared dinner, breakfast, and a lunch sandwich with snacks. At the very least, you'll need to bring enough food for camping at Los Perros and enough breakfast and snacks to make it across the John Gardner Pass the next day. I carried 4 days of dehydrated meals and snacks, which was just a little more than I needed.
- If you're bringing your own food, dehydrated meals are the way to go. Less weight, less mess. I tried several brands in the weeks prior to the trip and found Mountain House to be the best tasting and most convenient. You can pour boiling water directly into the packets and eat from them, negating the need to wash a pot or pan.
- I found that the dinners with the Fantastico Sur camps were better than the Vertice camps, but the breakfasts with Vertice were better than Fantastico.
- The boxed lunch sandwiches that came with the full board options were dry and flavorless. Bring some packets of jam, butter, or other condiments to make them more palatable.
- A wind-proof burner wasn't necessary as each paid camp had an enclosed shelter of some sort to cook in. Looking back, I would have brought my ultralight kit instead of the MSR Windburner.
- For two people, you can get by with a single 230-gram fuel canister if you're only boiling water for one or two meals a day. The cheapest place to get it is in Punta Arenas, but they're also available in Puerto Natales and at the Welcome Center.
- Every paid camp has coffee, so I would have left this at home.
- Overall, I could have brought fewer portions of snacks and food, as this is something you can resupply along the way. Bring enough to get to Refugio Grey. Once you get around the front side, where the O meets the W-Trail, there are plenty of provisions available in the camp stores.
- A good layering strategy is important. The weather changes rapidly, going from sunny skies to light rain in a matter of minutes. It can be very hot on the front side, and very cold and windy on the back side of the O-Circuit.
- You'll be a lot more comfortable if you pack clean underwear and base layers for every day of your trip. With the spotty weather and no guarantee of dry, warm areas, you can't really count on dry clothes otherwise.
- Bring no less than 4-5 pairs of Merino wool hiking socks.
- 2 hiking pants and a rainproof shell pant should be sufficient.
- I brought an ultralight wind breaker, a warm puffy jacket, and a lightweight waterproof jacket. I only used the warm puffy jacket to sleep at night, since I had a thinner sleeping bag. With all the weight of your pack, you'll be hiking in base layers and MAYBE a light windbreaker most of the time.
- Consider wearing a road cycling hat that has a smaller bill instead of a baseball cap, which would just blow away in the wind. You can find winter versions made with Merino wool from Rapha that can double as a beanie and cover your ears.
- Waterproof boots with ankle support are necessary. There are some small streams and muddy sections you'll cross throughout the hike.
- Compostable body wipes were key to staying fresh when a hot shower wasn't available.
- I brought 2 mini-rolls of toilet paper which I never had to use.
- One small travel-sized tube of toothpaste is sufficient for one person on a 2-week trip.
- I found one small tube of facial sunscreen and a stick of SPF protection for my lips was sufficient. My base layers covered my arms and shoulders.
- You'll want lightweight dry bags for your passport and other miscellaneous items.
- Don't forget a dry bag or cover for your camera.
- A 15,000 mAH charger should last you the whole circuit if you're putting your phone in airplane mode.
- Sleeping mask and earplugs if you're a light sleeper. Camps and refugios can be noisy.
- A camp towel and line for drying clothes.
- If your bag is not fully waterproof, you can line the inside with a thick garbage bag. Alternately, you can get rain covers that strap around the entire pack or bring a bunch of lightweight dry sacks.
- Consider bringing an ultralight day pack in addition to your full backcountry bag. This will allow you to leave your heavy bag behind on side trips such as the Frances valley or the day hike to Mirador Las Torres.
Getting to Torres del Paine
Plan to take 3-4 days to get to Torres del Paine.
Your itinerary will look something like this:
- A flight from your home airport to Santiago, then a flight to Punta Arenas. Flights can often be delayed or cancelled in Punta Arenas due to strong winds.
- A bus from Punta Arenas to Puerto Natales. It is possible to take the earliest bus from Punta Arenas to Puerto Natales then transfer to Torres del Paine the same day, but this connection can be iffy. To be safe, you'll likely spend a night in Punta Arenas, Puerto Natales, or both.
- A bus from Puerto Natales to Torres del Paine.

Lago Sarmiento is situated at the eastern edge of the park
Alternately, some travelers to Patagonia start their adventures on the Argentinian side at El Chalten.
This requires getting an Argentinian travel visa if you are from the United States.
There is a bus directly from El Chalten to Torres del Paine via border crossing, so this requires less bus time and connections than the Chilean option above.
Day 1: Sector Central to Seron
9.5 miles one way, 1,000 feet gain, 860 feet loss, ~1,300 feet highest elevation
The first day is a short introduction to the Patagonian backcountry, where you'll start to get used to the weight of your pack.
The trail to Seron starts just north of the Welcome Center and Torres Central.
You'll follow an exposed gravel road as it switches back up a hill behind the EcoCamp Patagonia site.
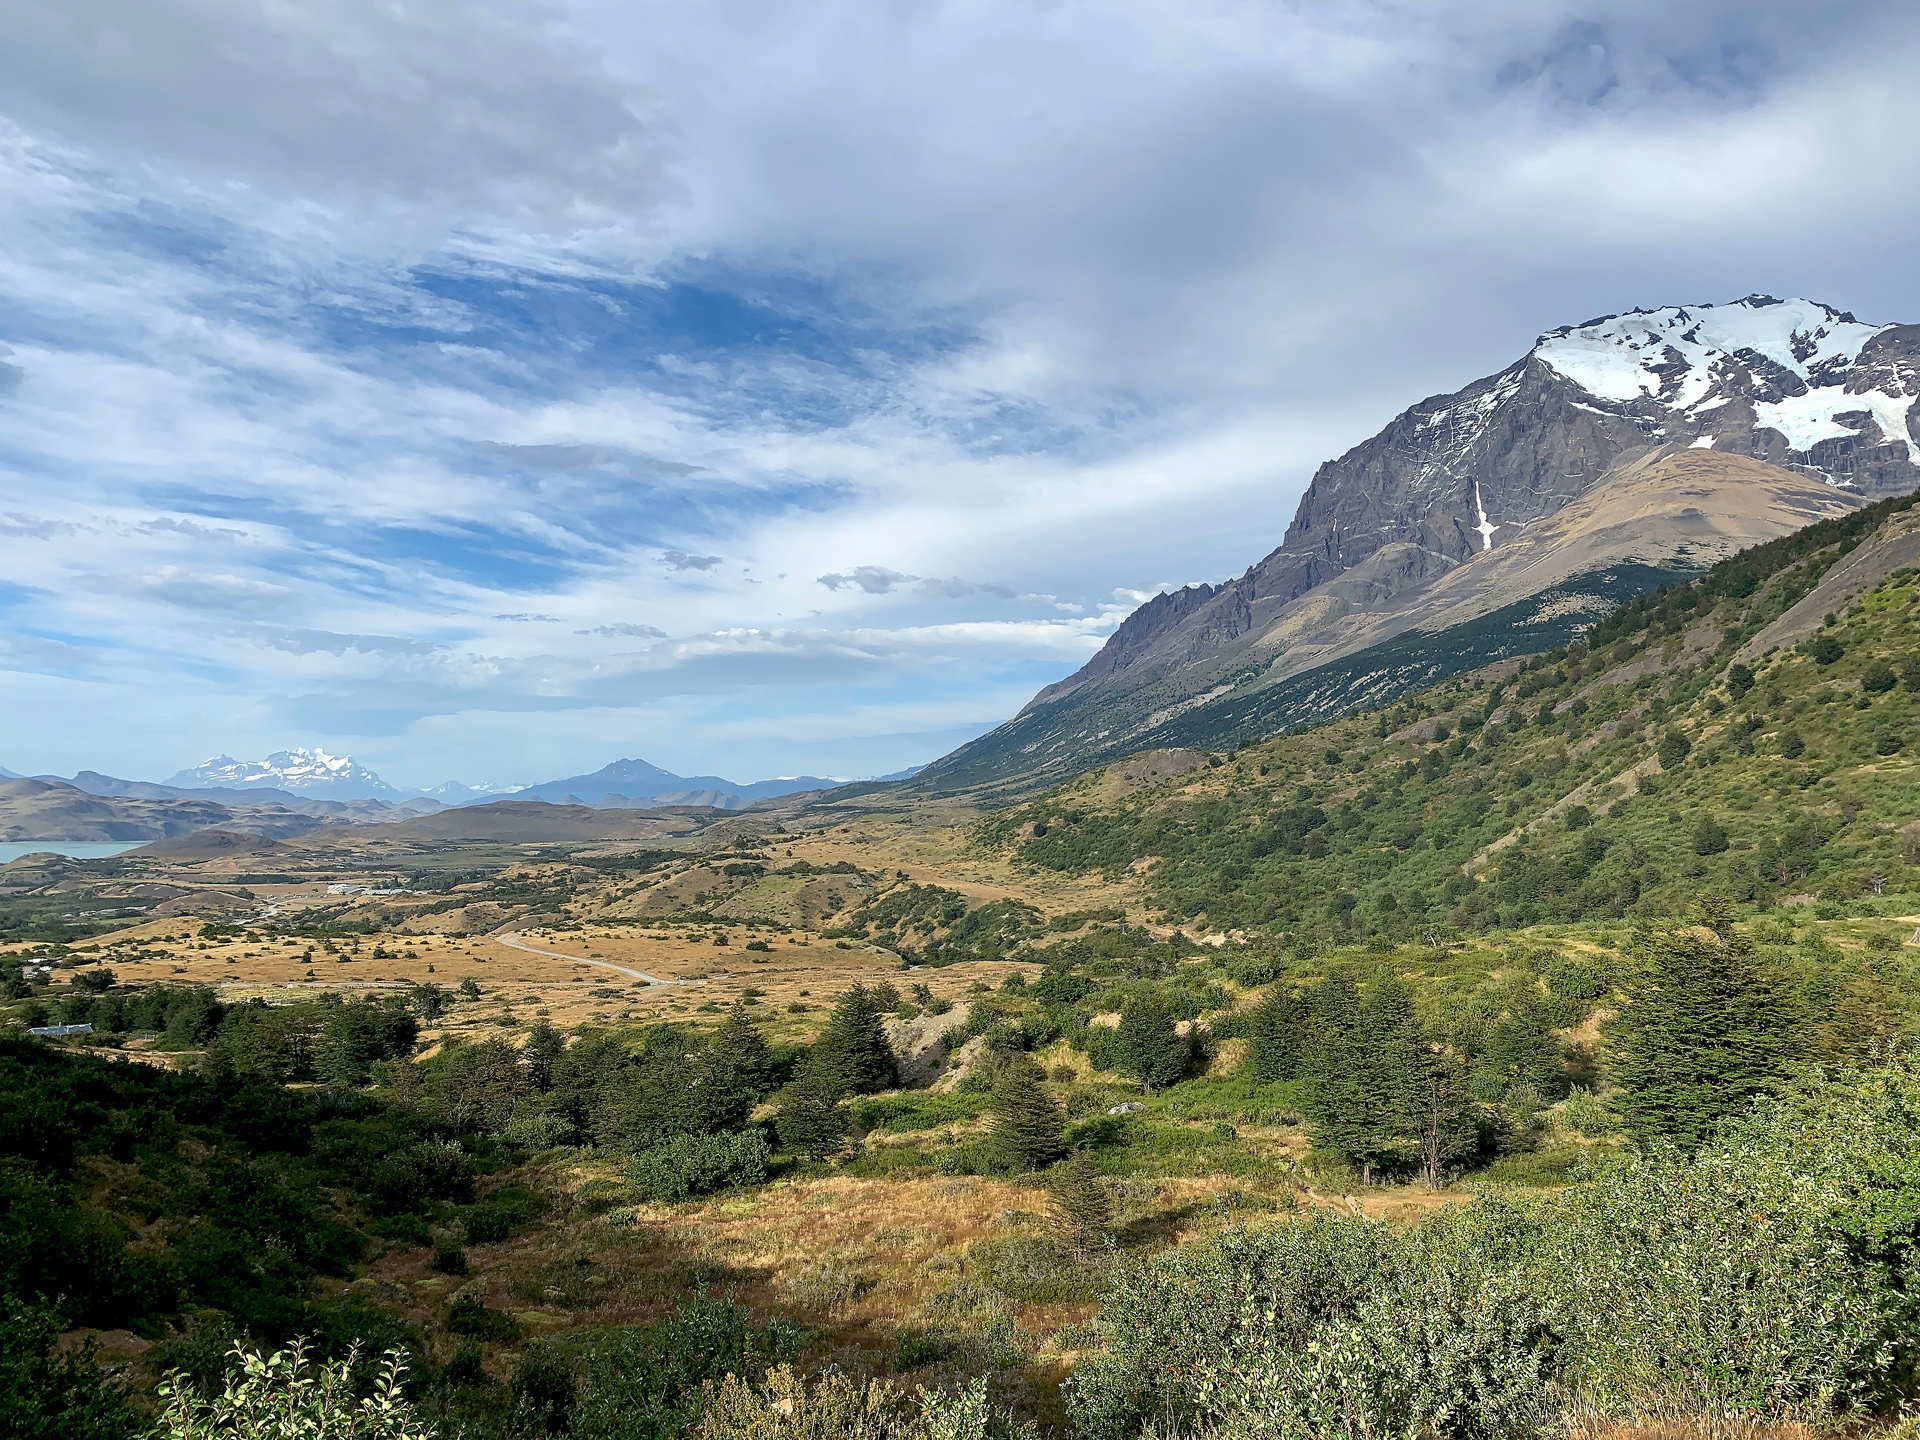
Looking back at Sector Central at the start of the hike to Camp Seron
It quickly leads into the Lenga tree forest, following the park boundaries marked by a wire fence.
After clearing the forest, the trail goes up and down the rolling hills with mild changes in elevation.
There are open views of blue-green rivers and the mountains ahead.
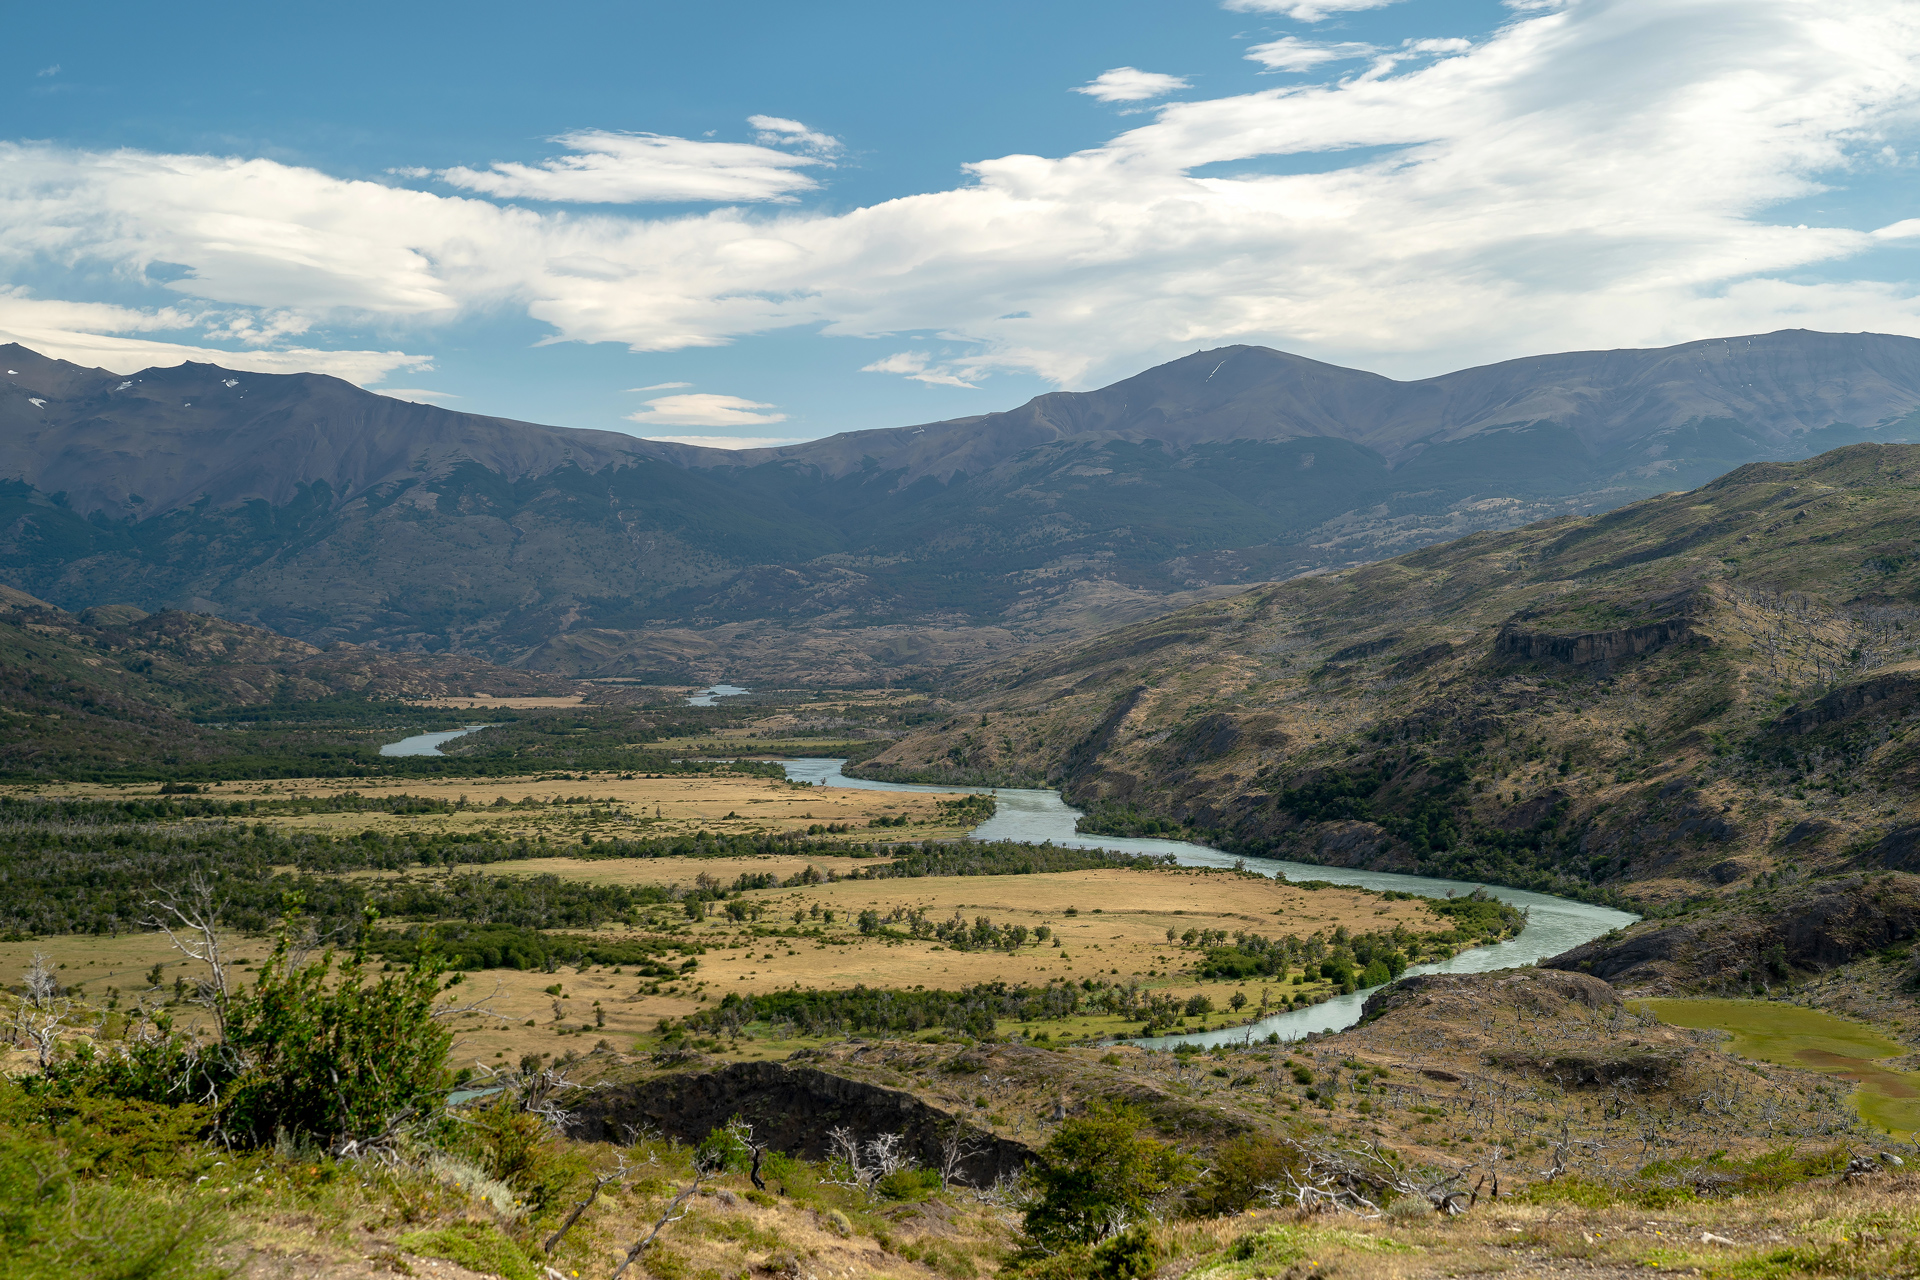
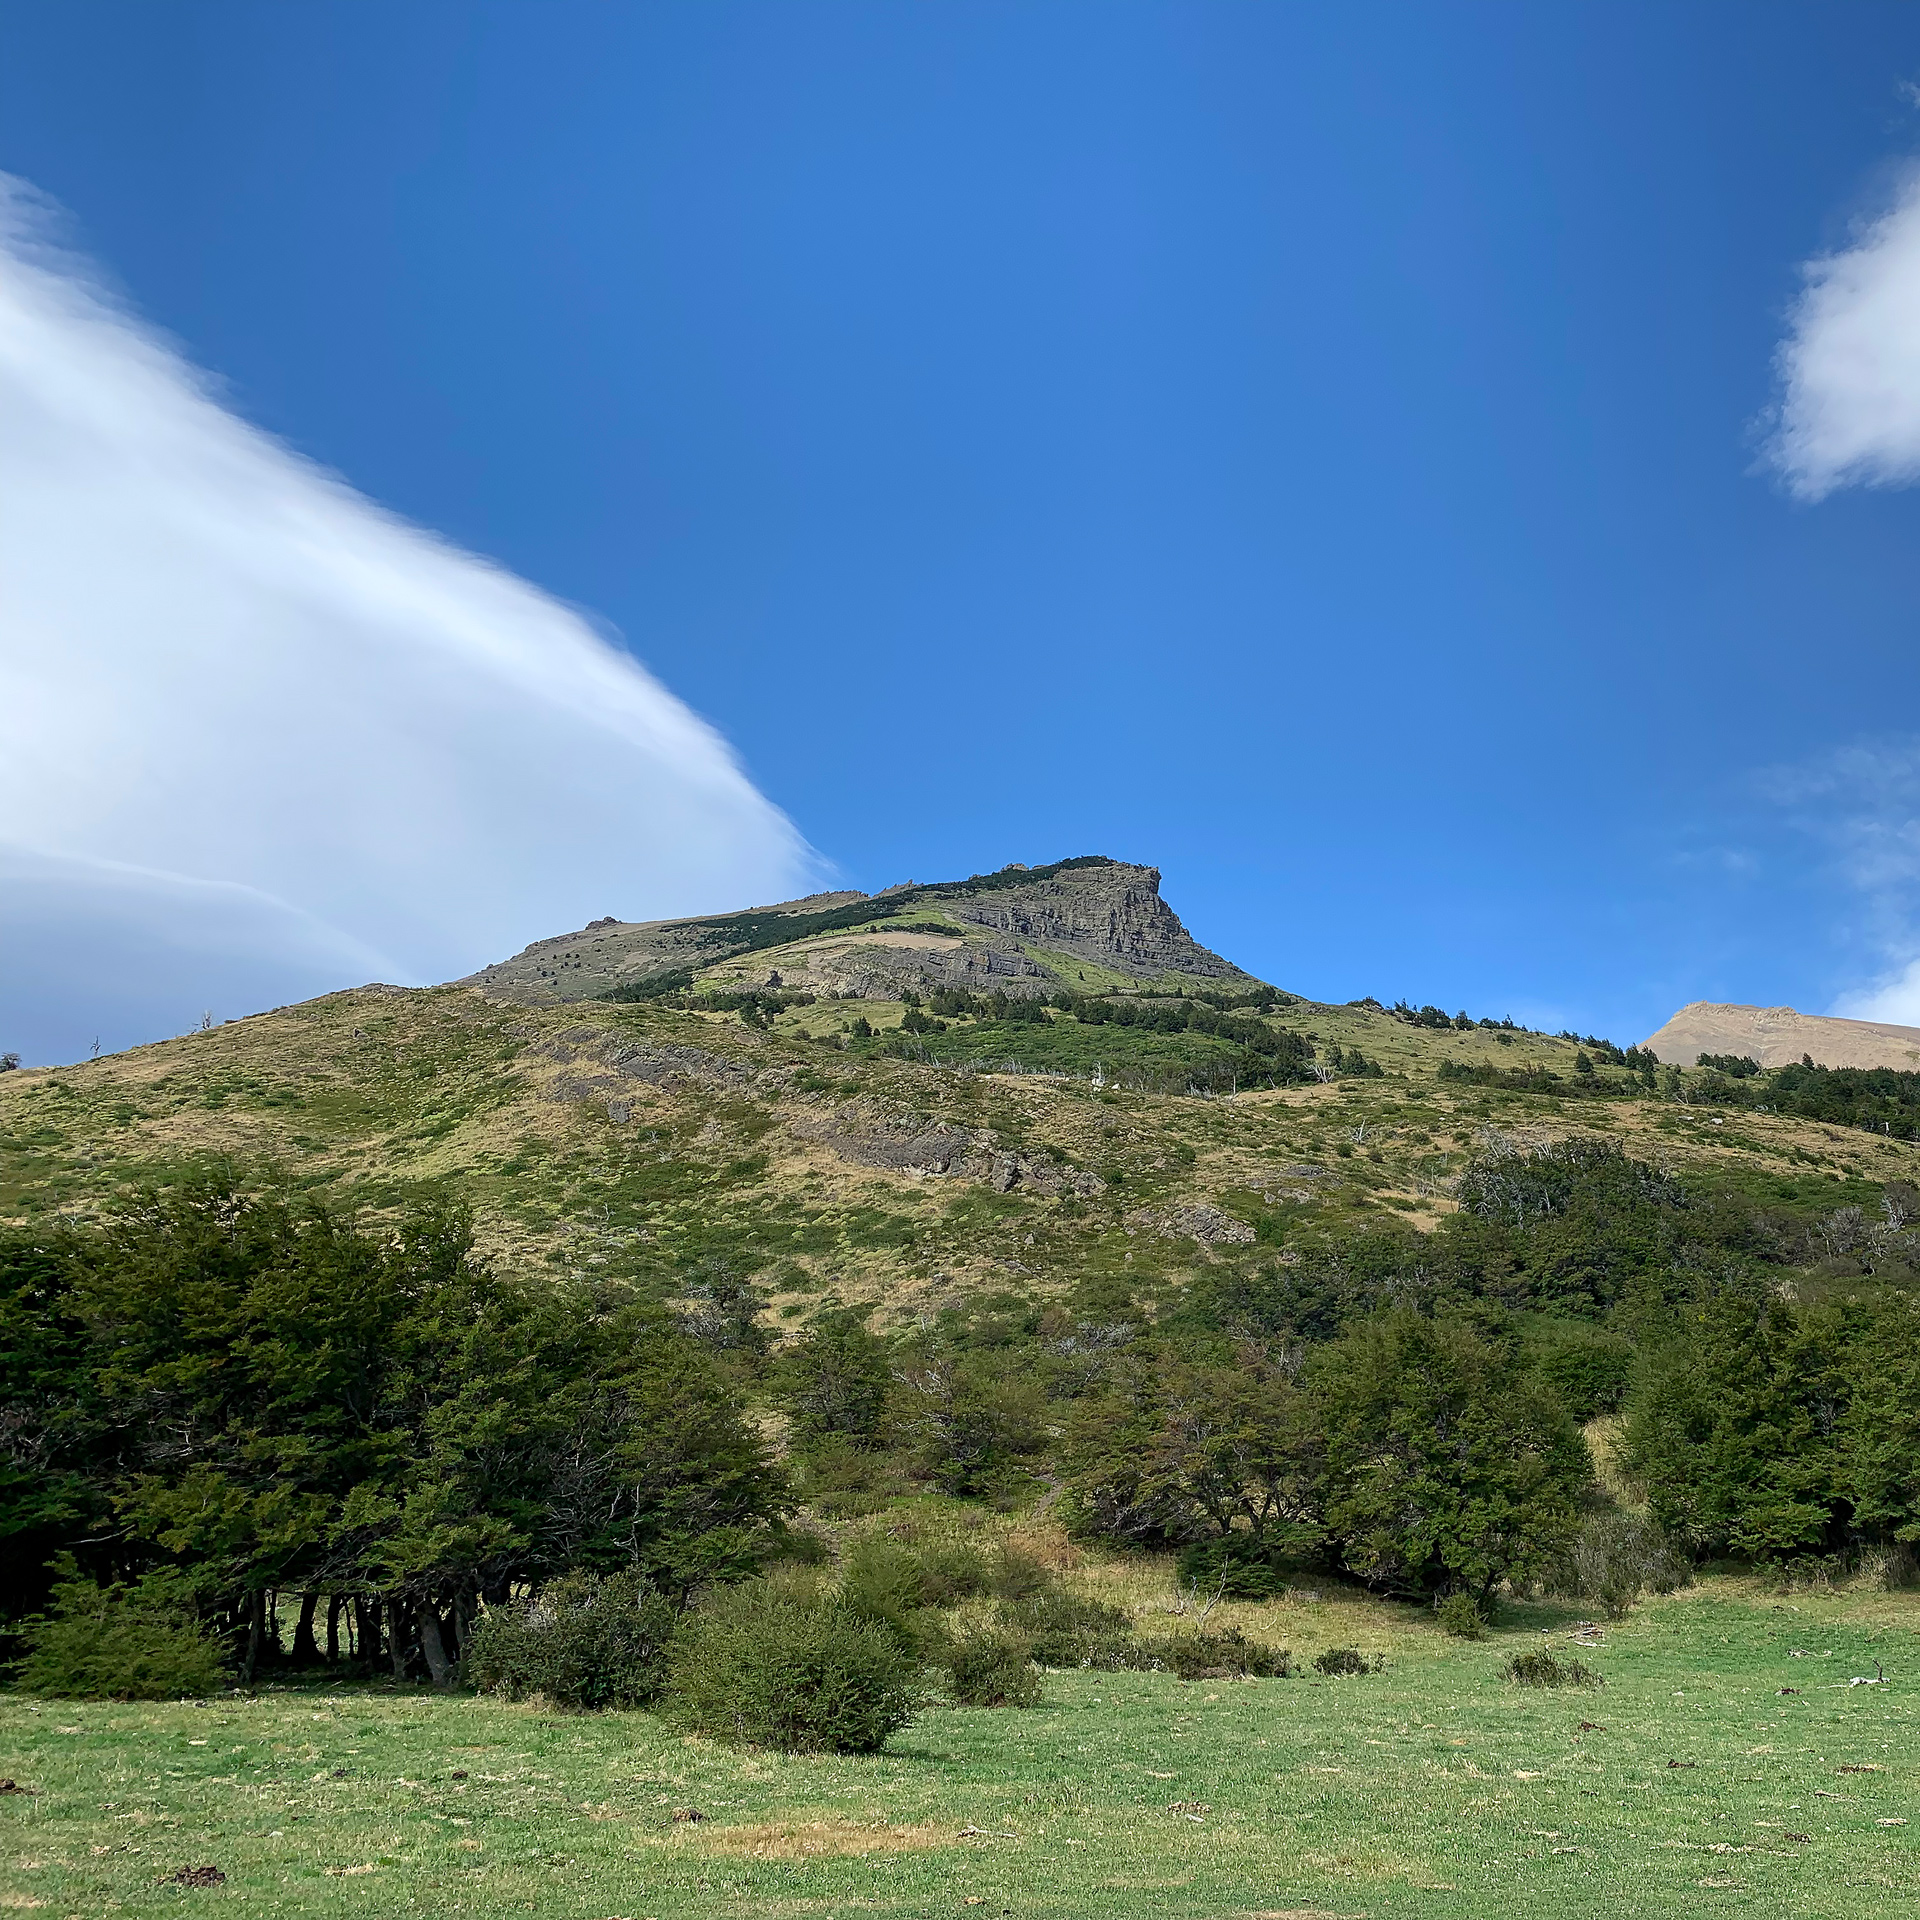
Upon arriving at Seron, we cooked lunch in a large tent structure that did a good job of blocking the wind gusts that came through the fenced campsite.
We rented a tent situated on a platform that also included sleeping bags and comfortable foam cushions to sleep on.

Seron is a comfortable campsite with flushing toilets, hot showers, an outdoor sink for drinking water and dishes, and a small communal indoor space for the dinner and breakfast that came with the full board option.
There is also a store that didn't stock much—it only had chocolate candy, wine, and water bottles.
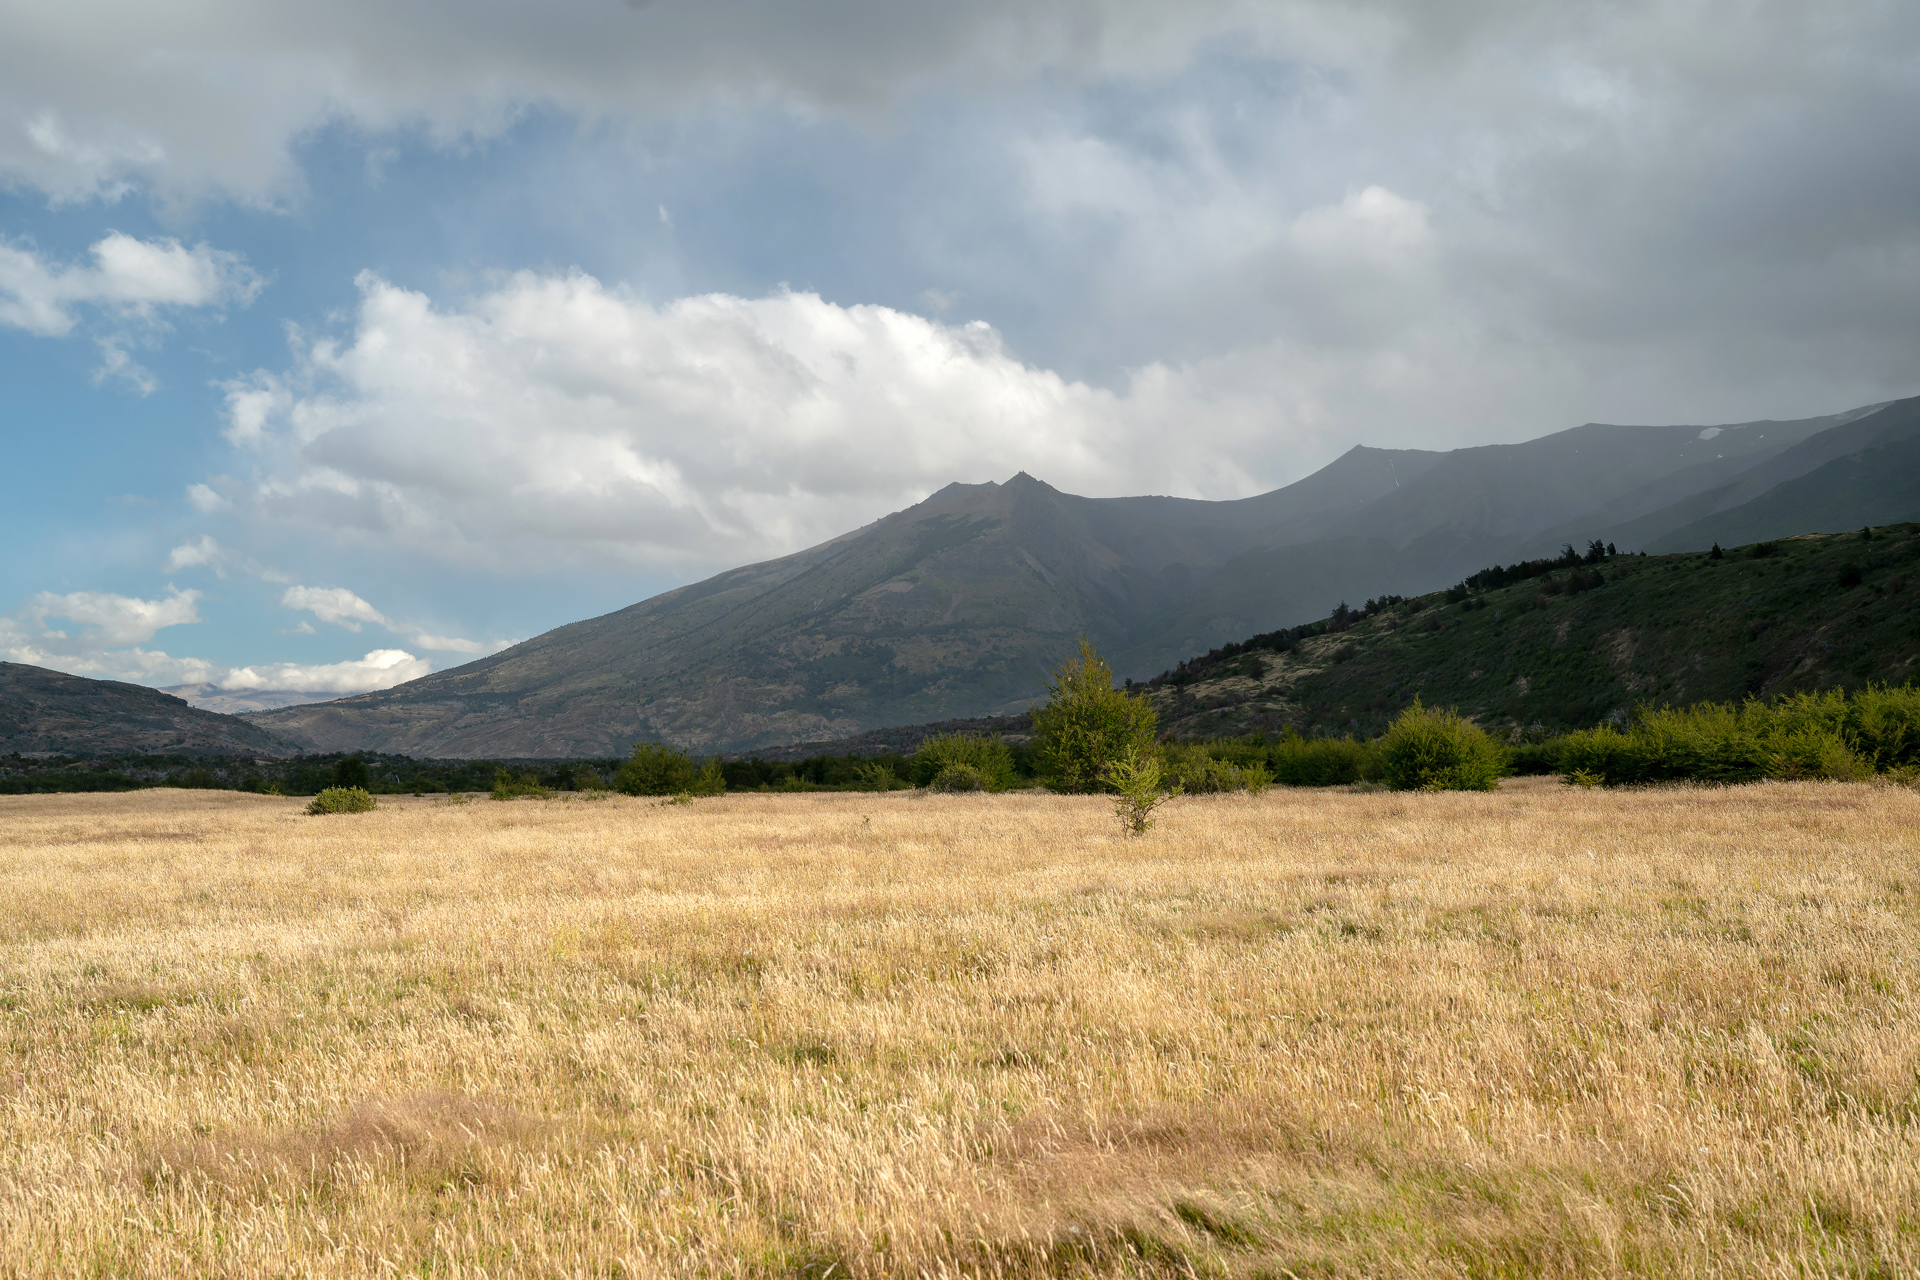
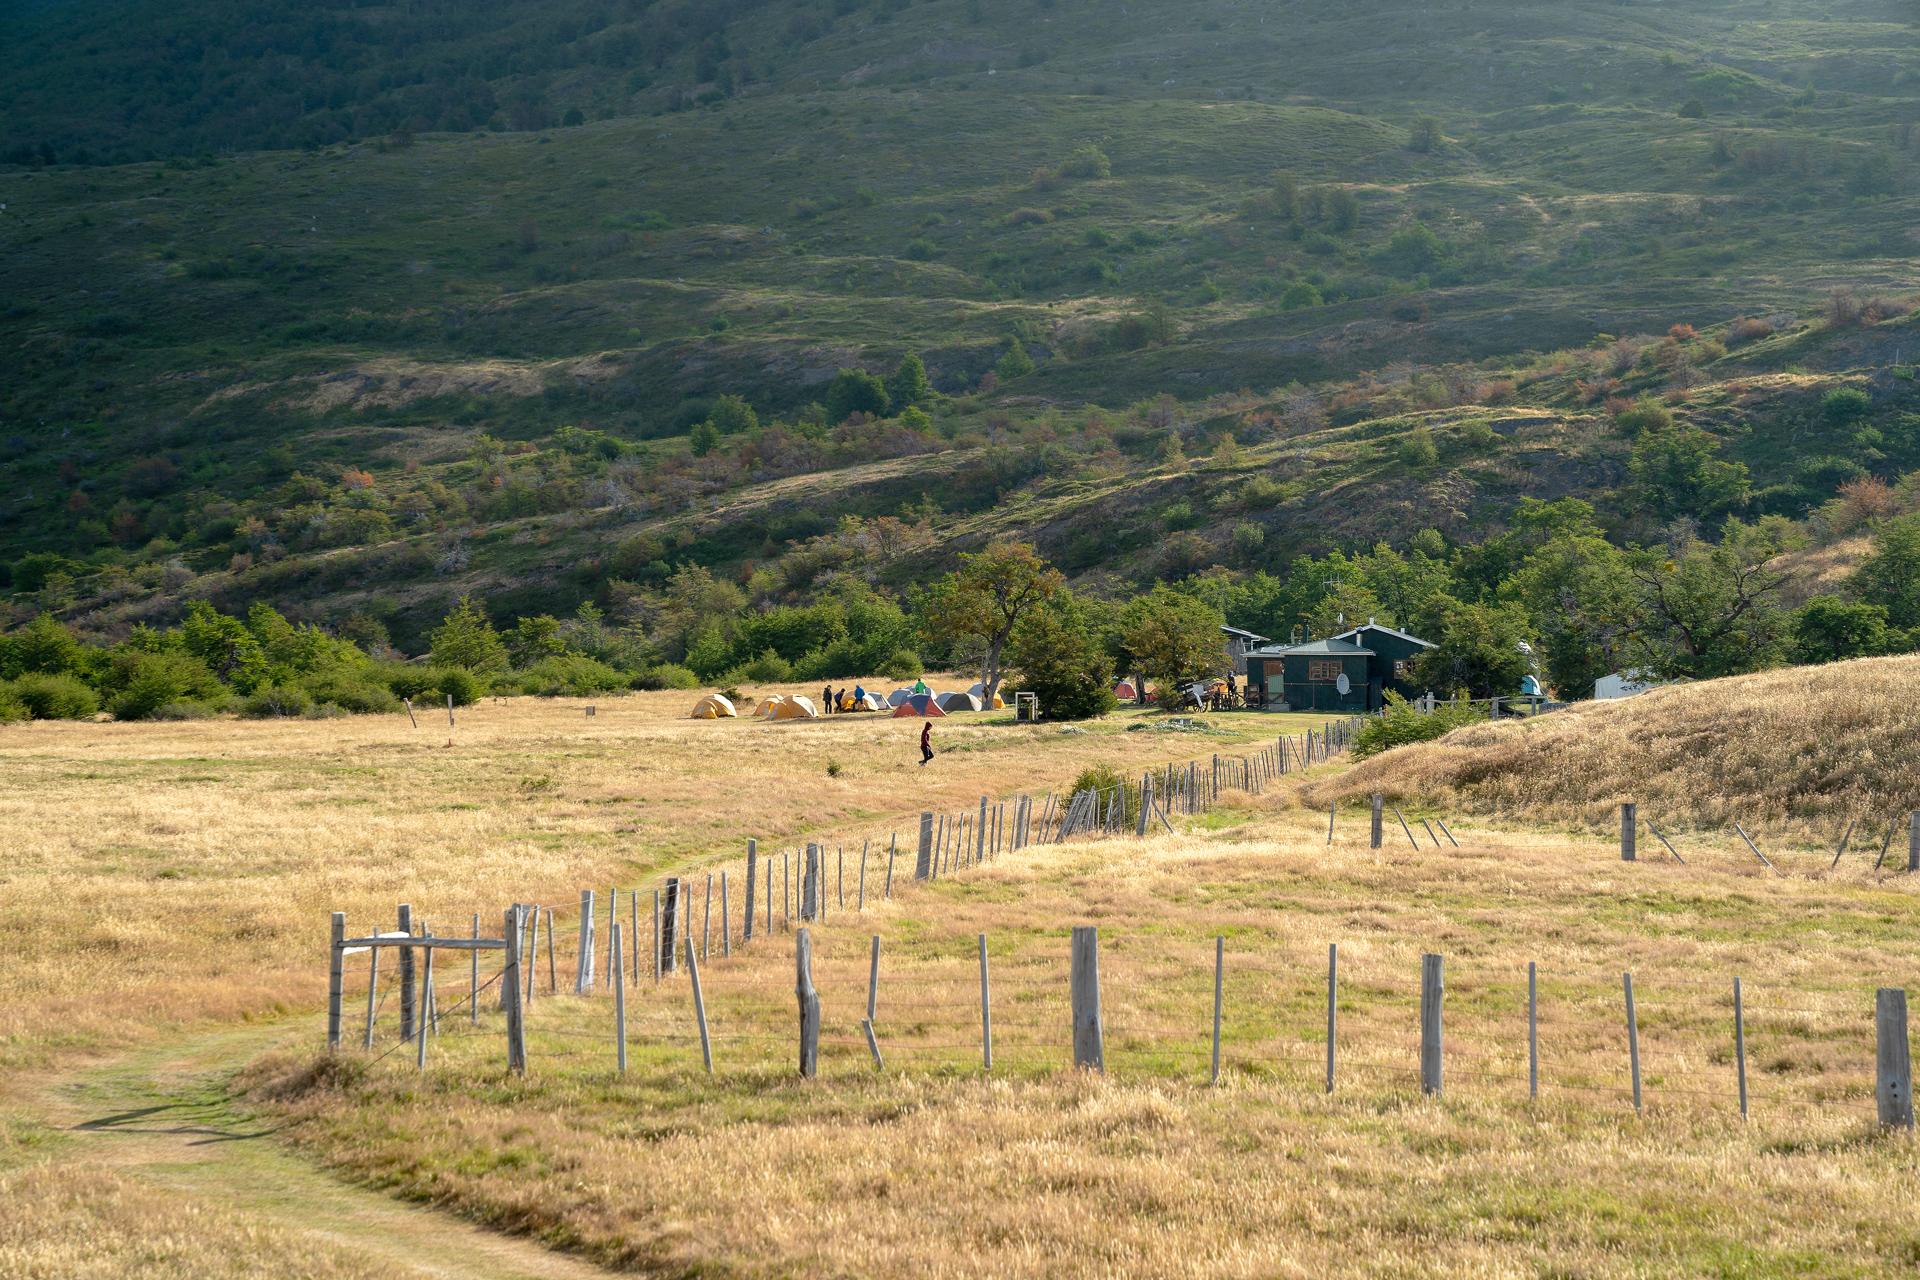
Camp Seron is in a windy, open field
Speaking of dinner, we had the most delicious dinner of the circuit at Seron.
The salmon and potatoes were cooked perfectly.
Even coming from Seattle, the salmon here was probably the most perfectly cooked fish I have ever had.
Be careful wandering in the fields off the obvious trails.
There are tons of prickly things that got stuck to our wool socks and hiking pants.
Day 2: Seron to Dickson
11.3 miles one way, 1,080 feet gain, 920 feet loss, ~1,200 feet highest elevation
Despite being relatively flat, this was one of the longer days on the trail, as the distance between the two camps is over 11 miles in total.
At the start of the trail, the rolling hills and sparse meadows are similar to the terrain from our previous day.
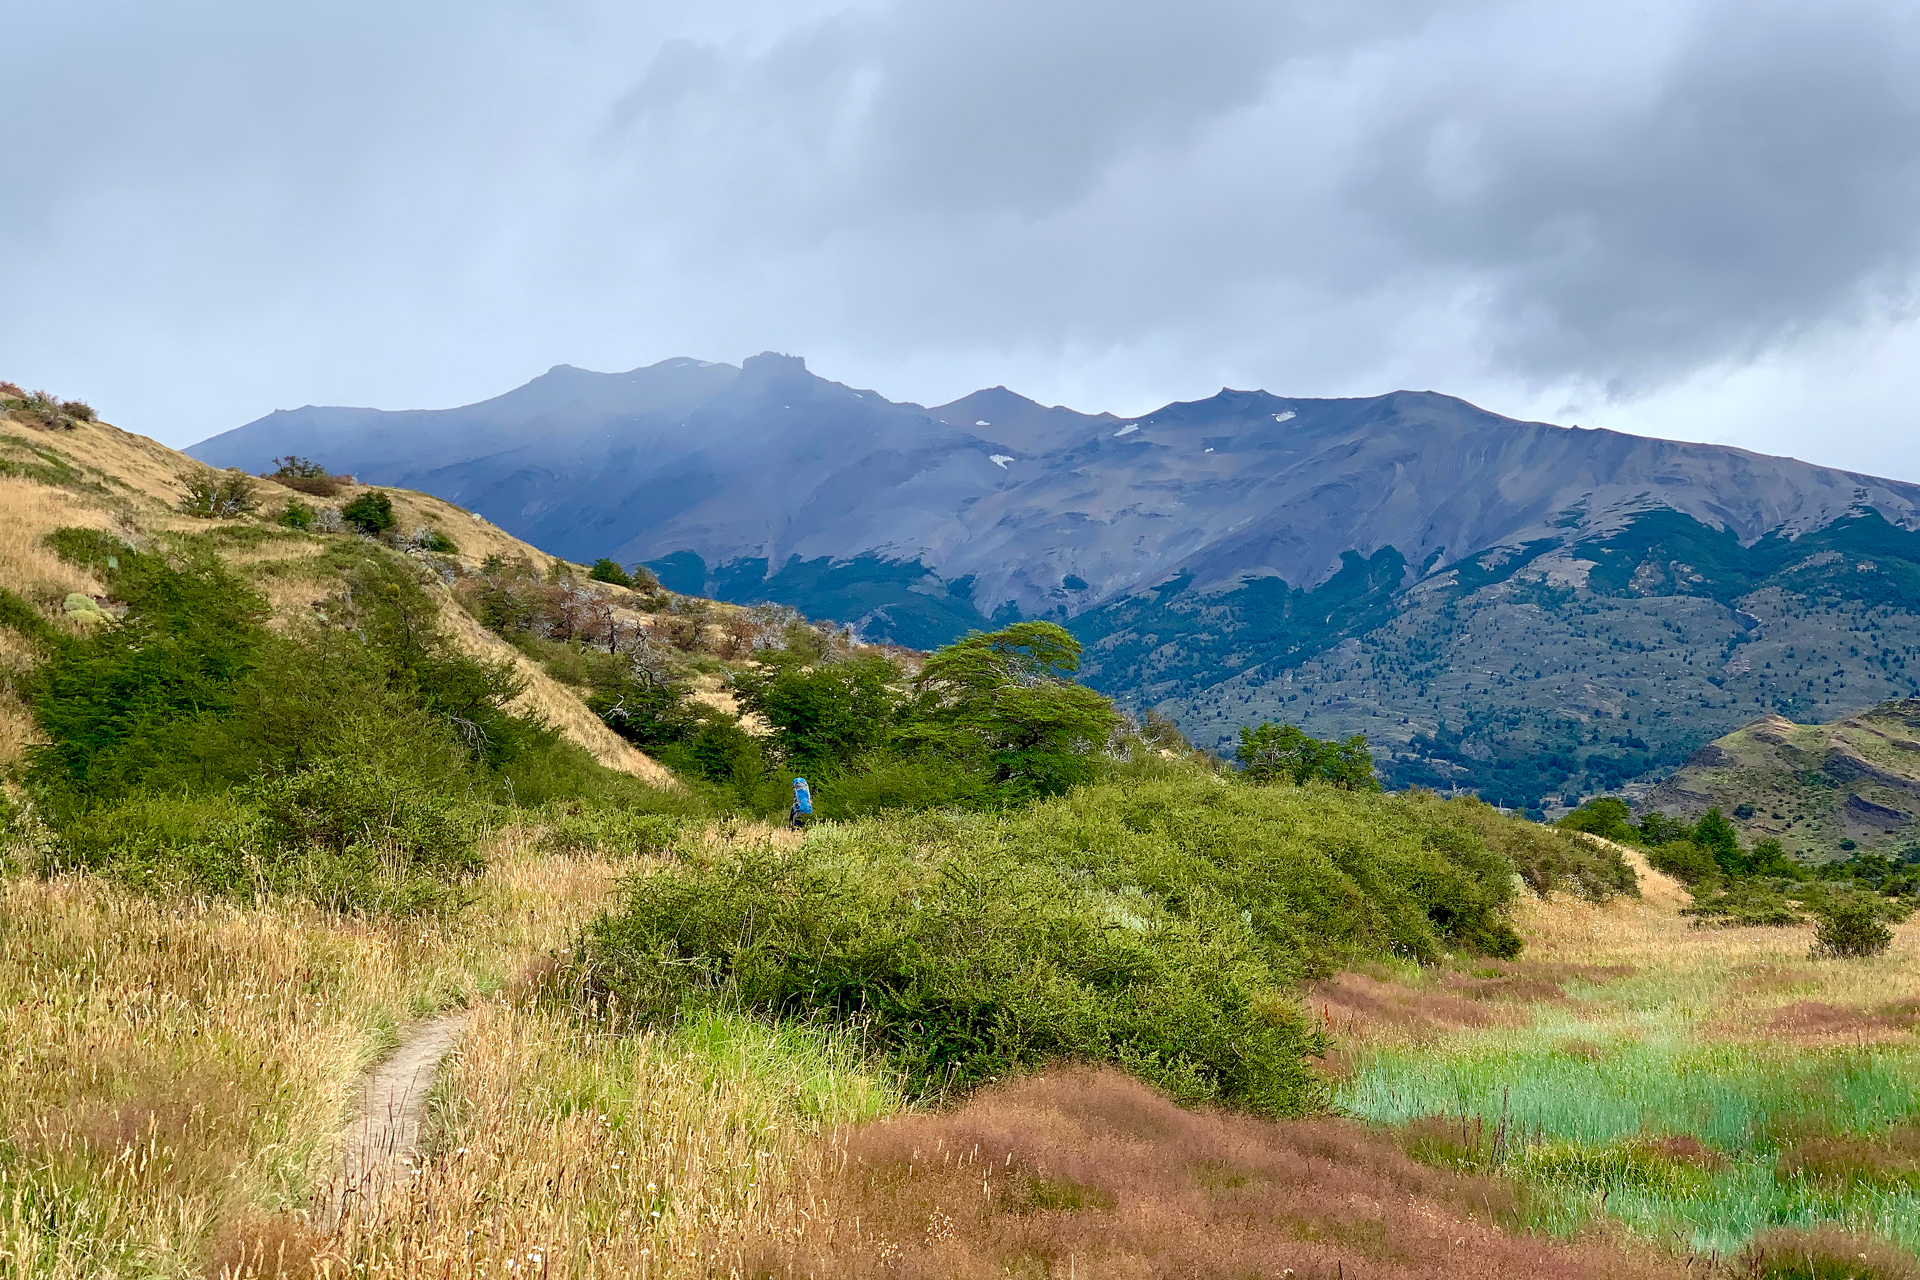
Just before the halfway point, you're required to register at the Coiron Ranger Station, which has basic toilets and a few picnic tables for lunch.
Since it's exposed, I don't think you can cook here, but nonetheless, it was a good place to break.
However, you'll have great views of blue-green Lago Paine before reaching the Coiron Ranger Station then Lago Dickson as you ascend the hill just before camp.
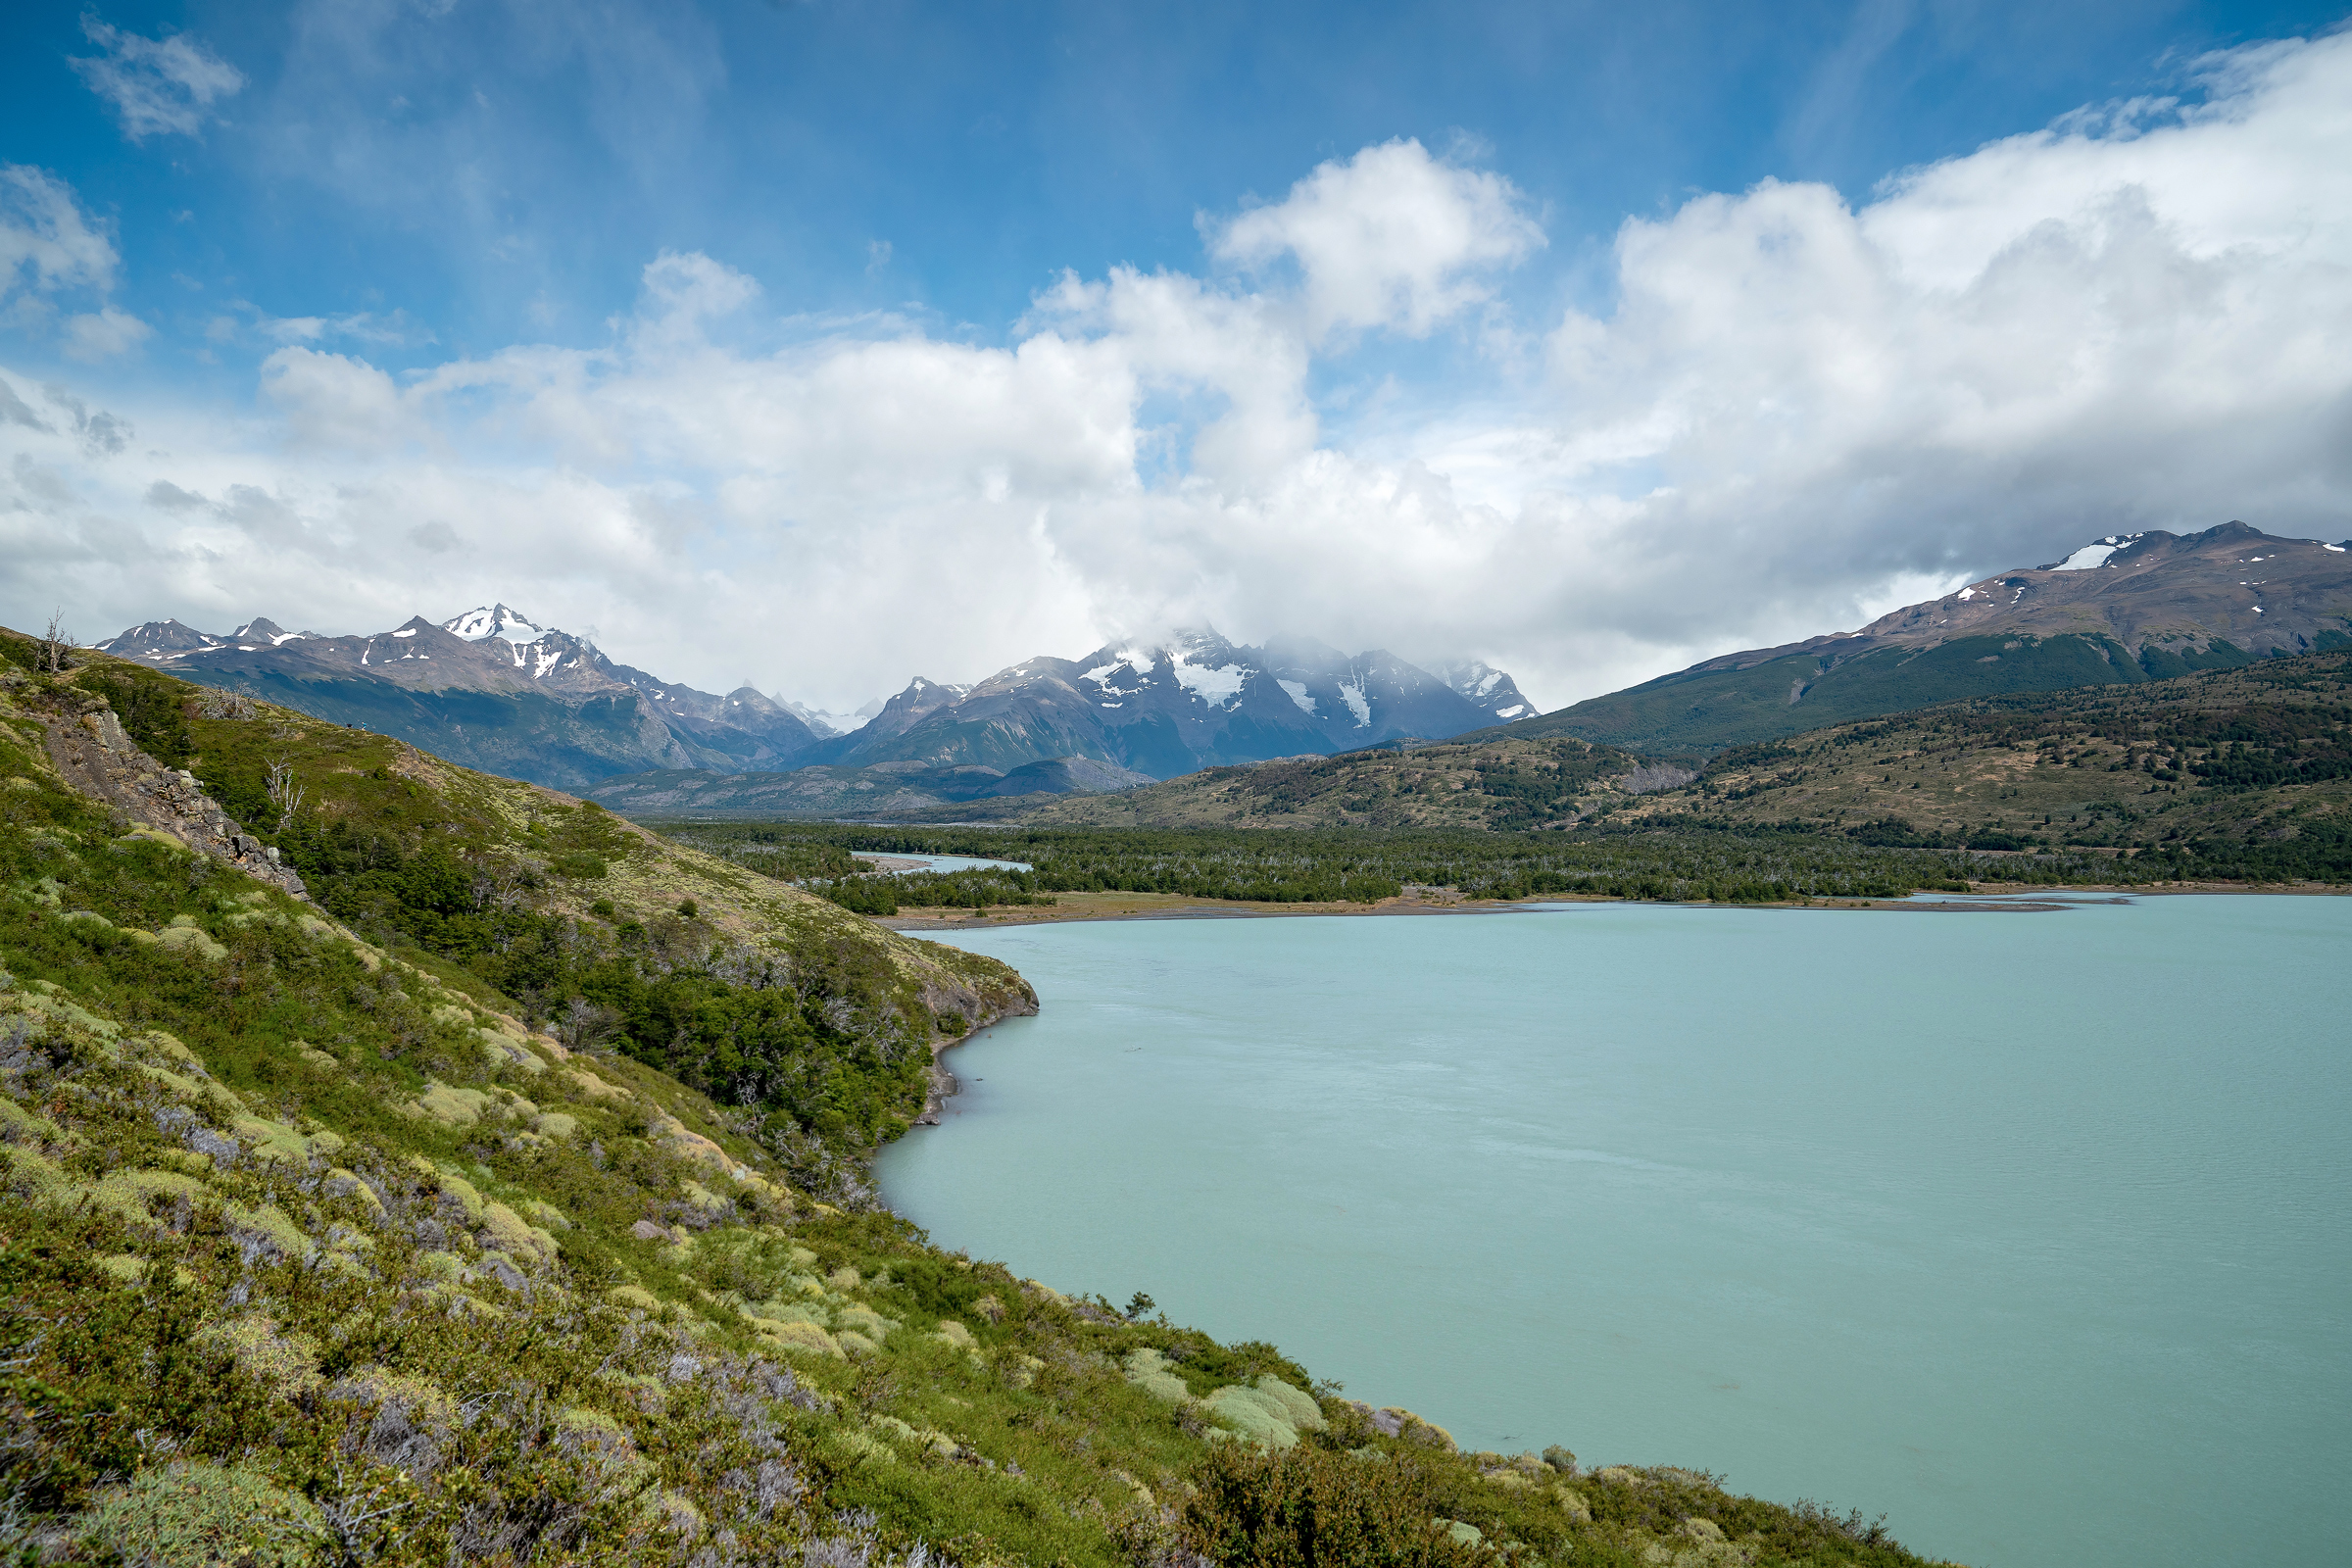
Lago Paine
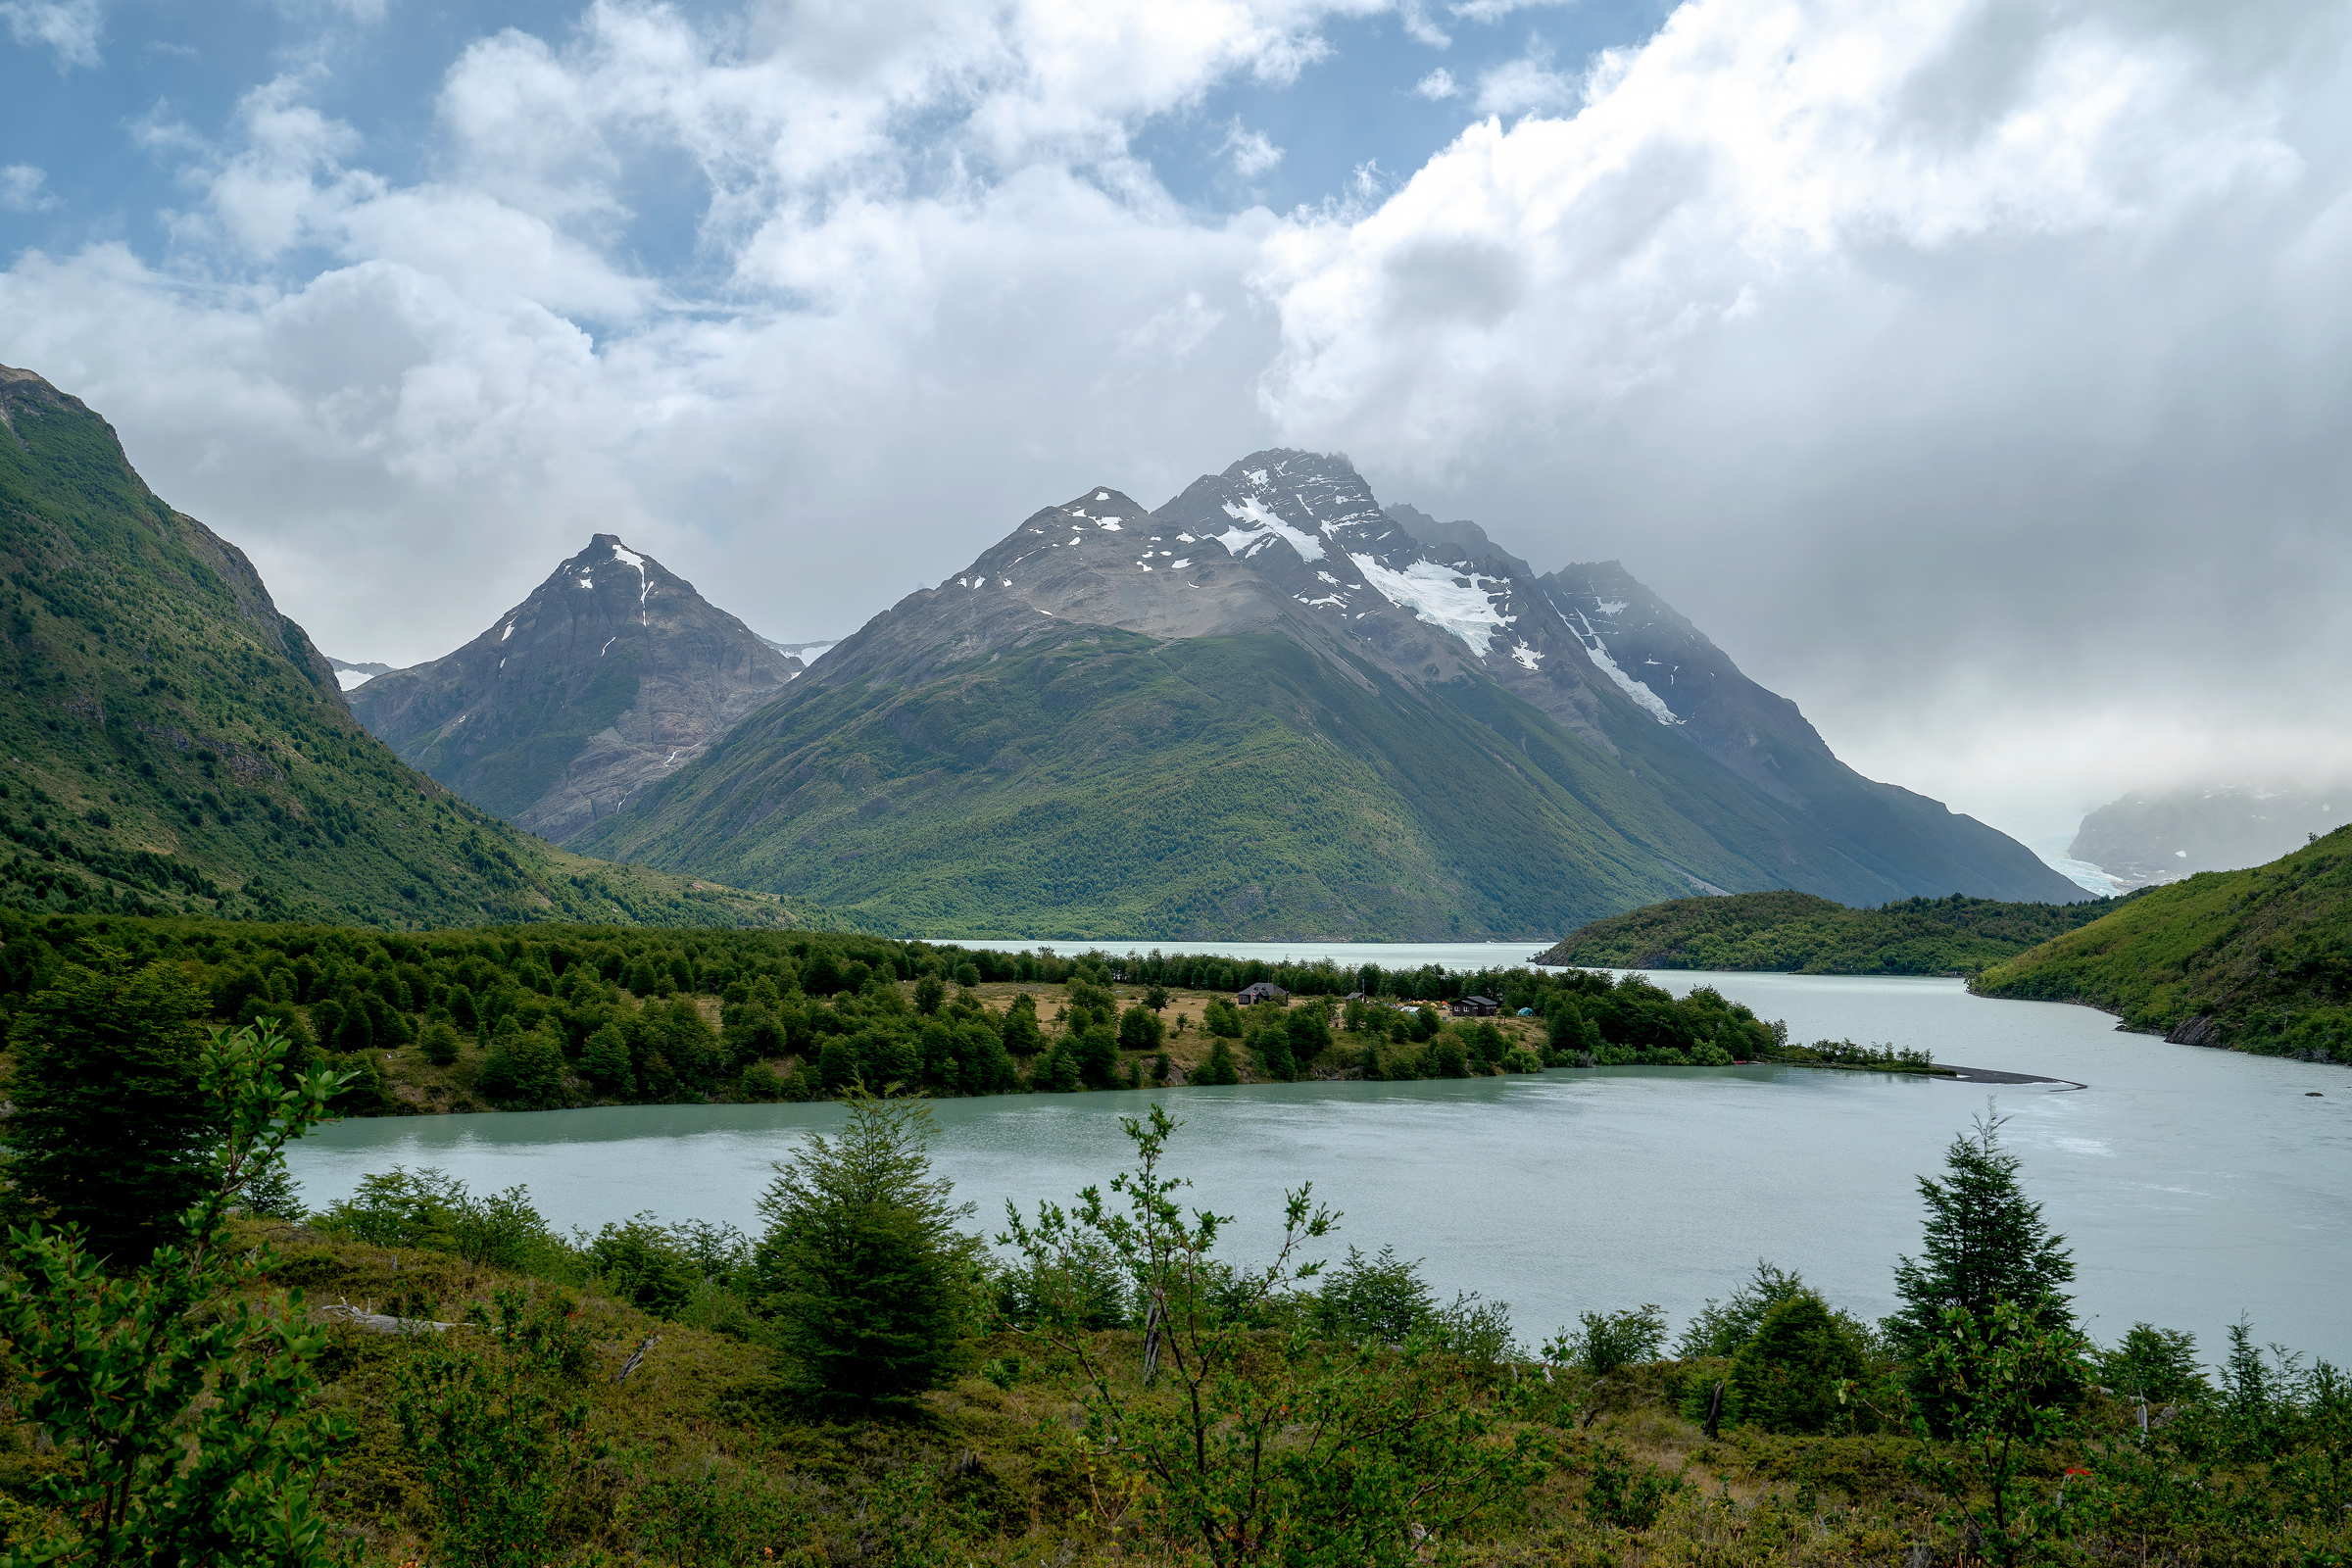
Lago Dickson
The Dickson campsite itself is flat and surrounded by trees, so the best views of Lago Dickson is your first view of it just before reaching camp on the high hill.
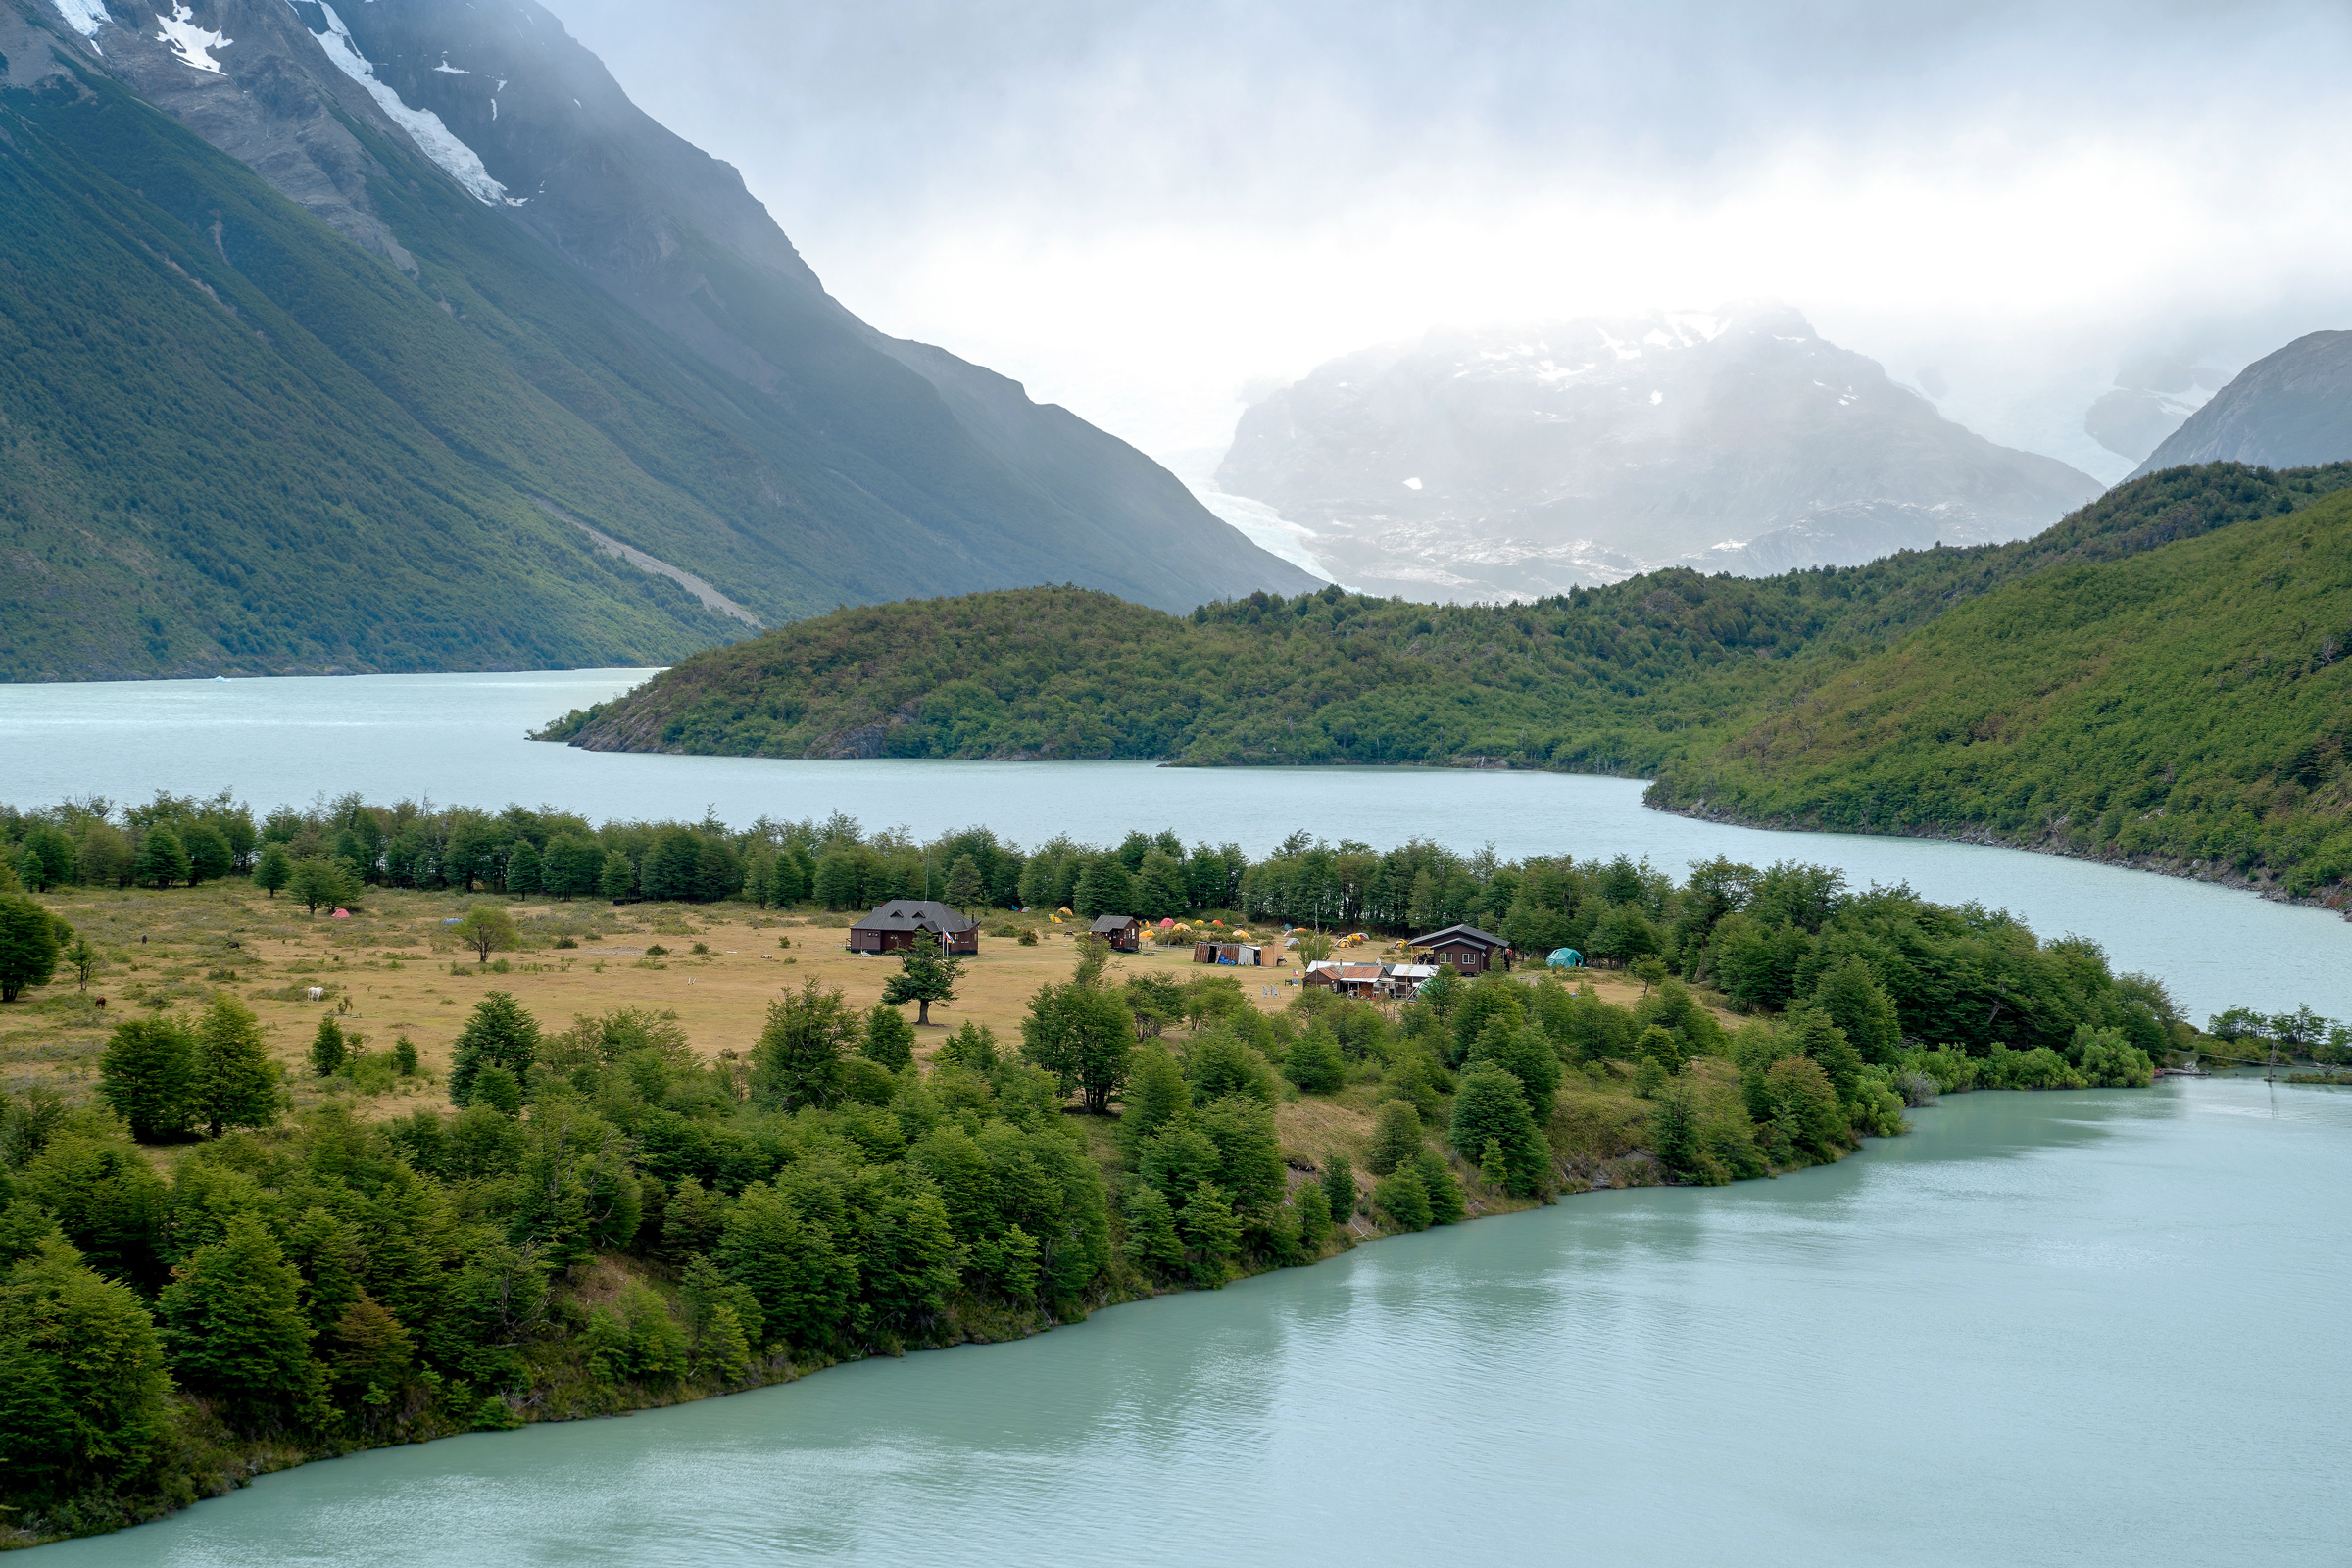
Camp Dickson
Dickson is the most well-supported of the backcountry campsites.
In addition to a ranger station, there is a separate building for campers (where you can cook inside) and people staying in the Refugio.
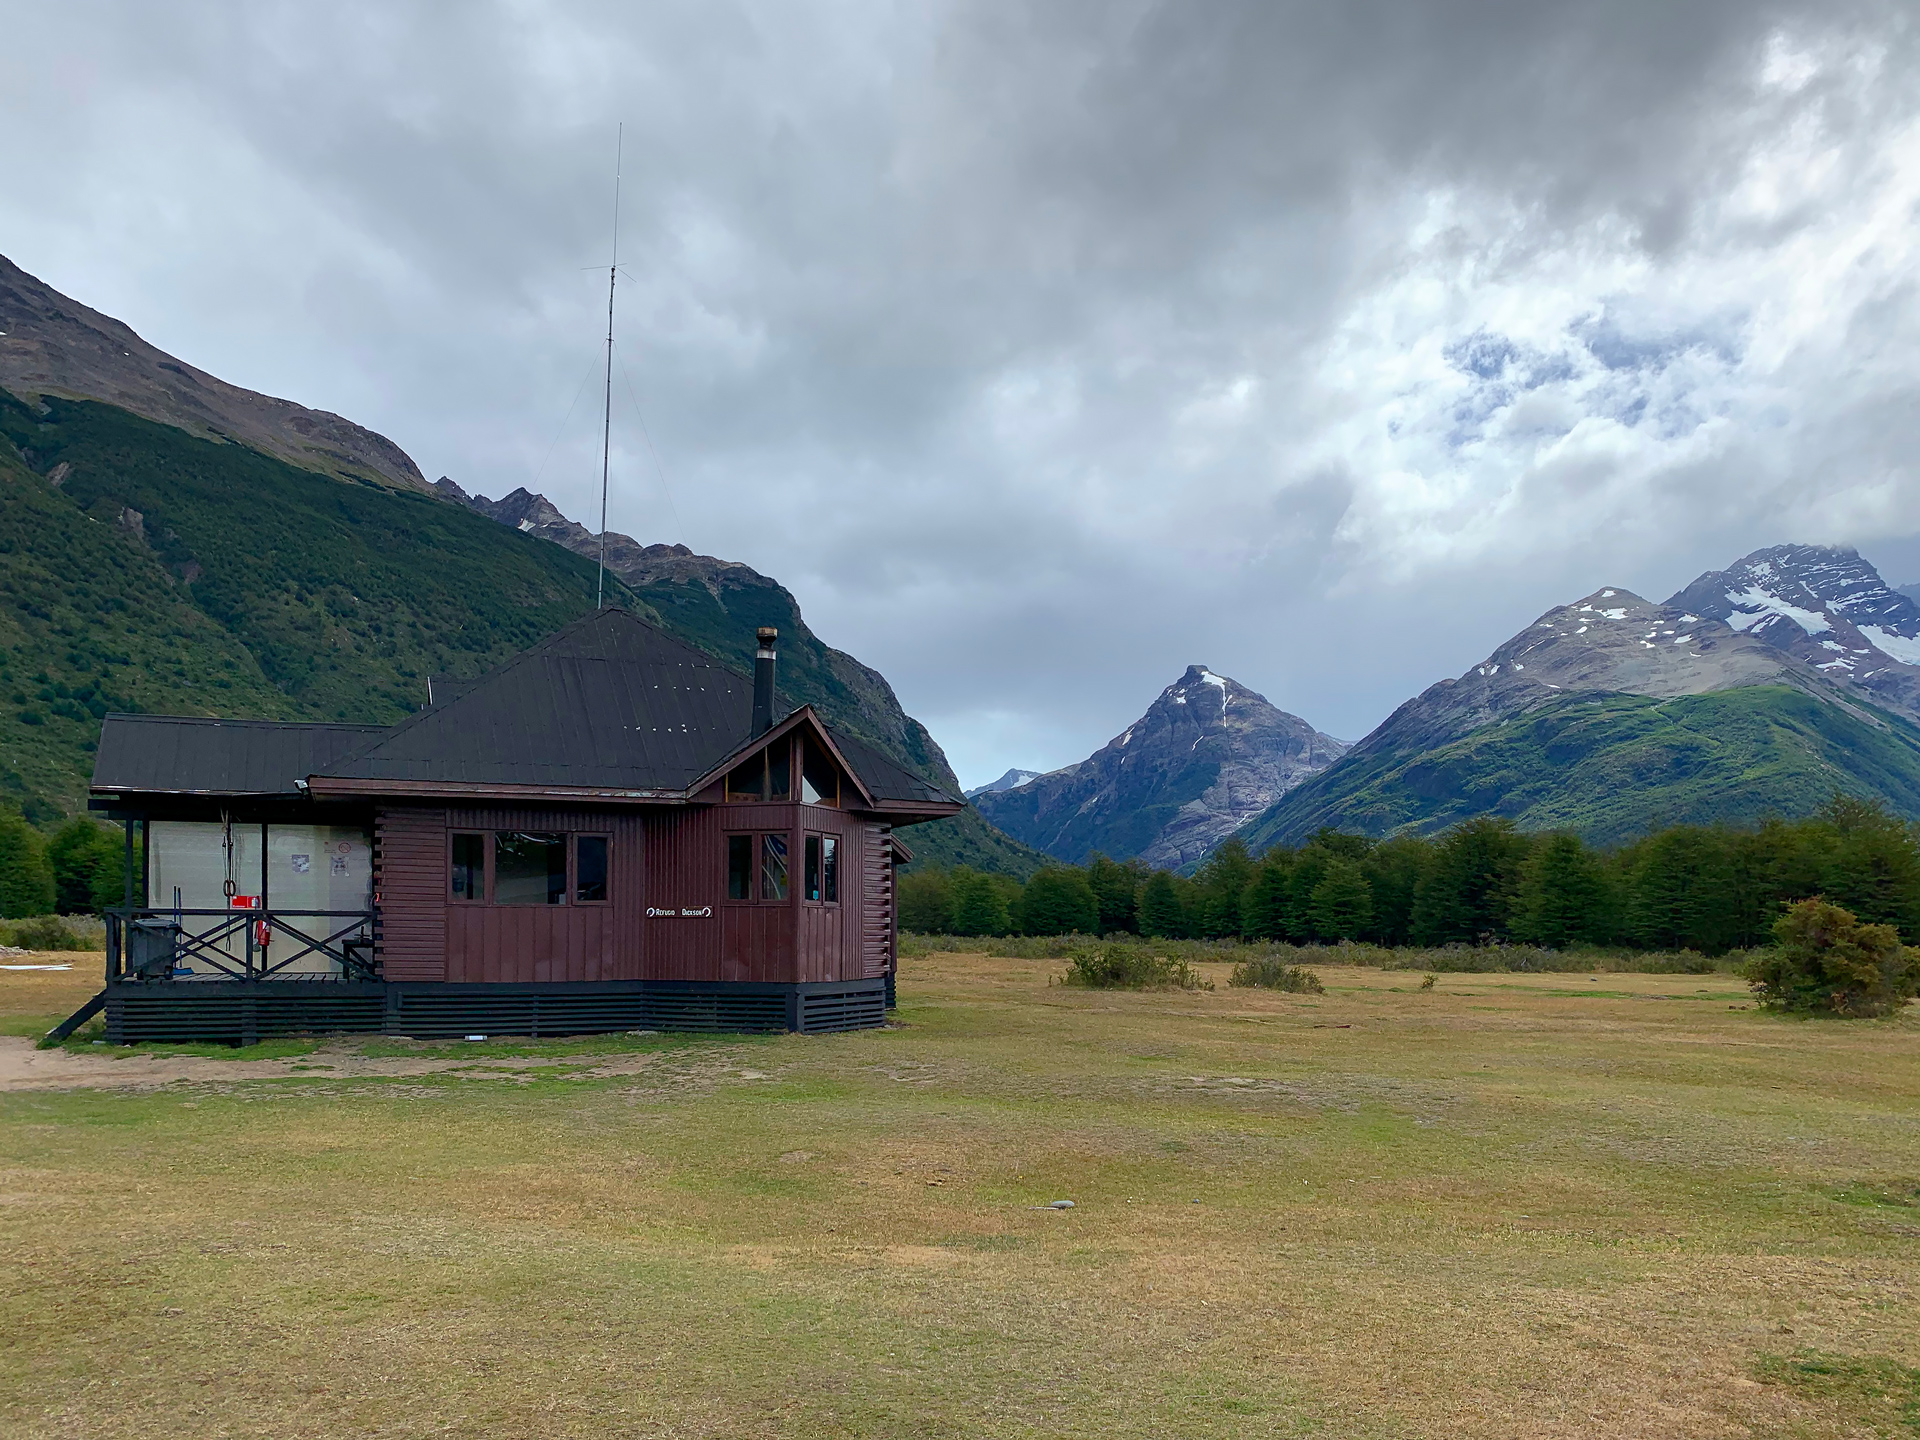
We stayed in an upper room in the Refugio with 3 small beds, but since it was just the two of us, we had it to ourselves.
The Refugio had a nice, clean bathroom and hot showers.
We filled our water bladders with cold water from the bathroom sinks prior to hiking out towards Los Perros.
Day 3: Dickson to Los Perros
8.2 miles one way, 1,300 feet gain, 200 feet loss, ~1,900 feet highest elevation
Though it's true that Dickson has the best campsite on the backside of the Torres massif, Laguna Los Perros, which you'll see near the end of this day's hike, is one of the most stunning places you'll encounter on the O-Circuit.
On the hill climb heading out of Dickson, you'll have another view back at Lago Dickson before tramping through the Lenga forest once again.
Here the terrain gets more rugged and muddy, and there is significantly more elevation gain over a shorter overall distance than the prior days of hiking.
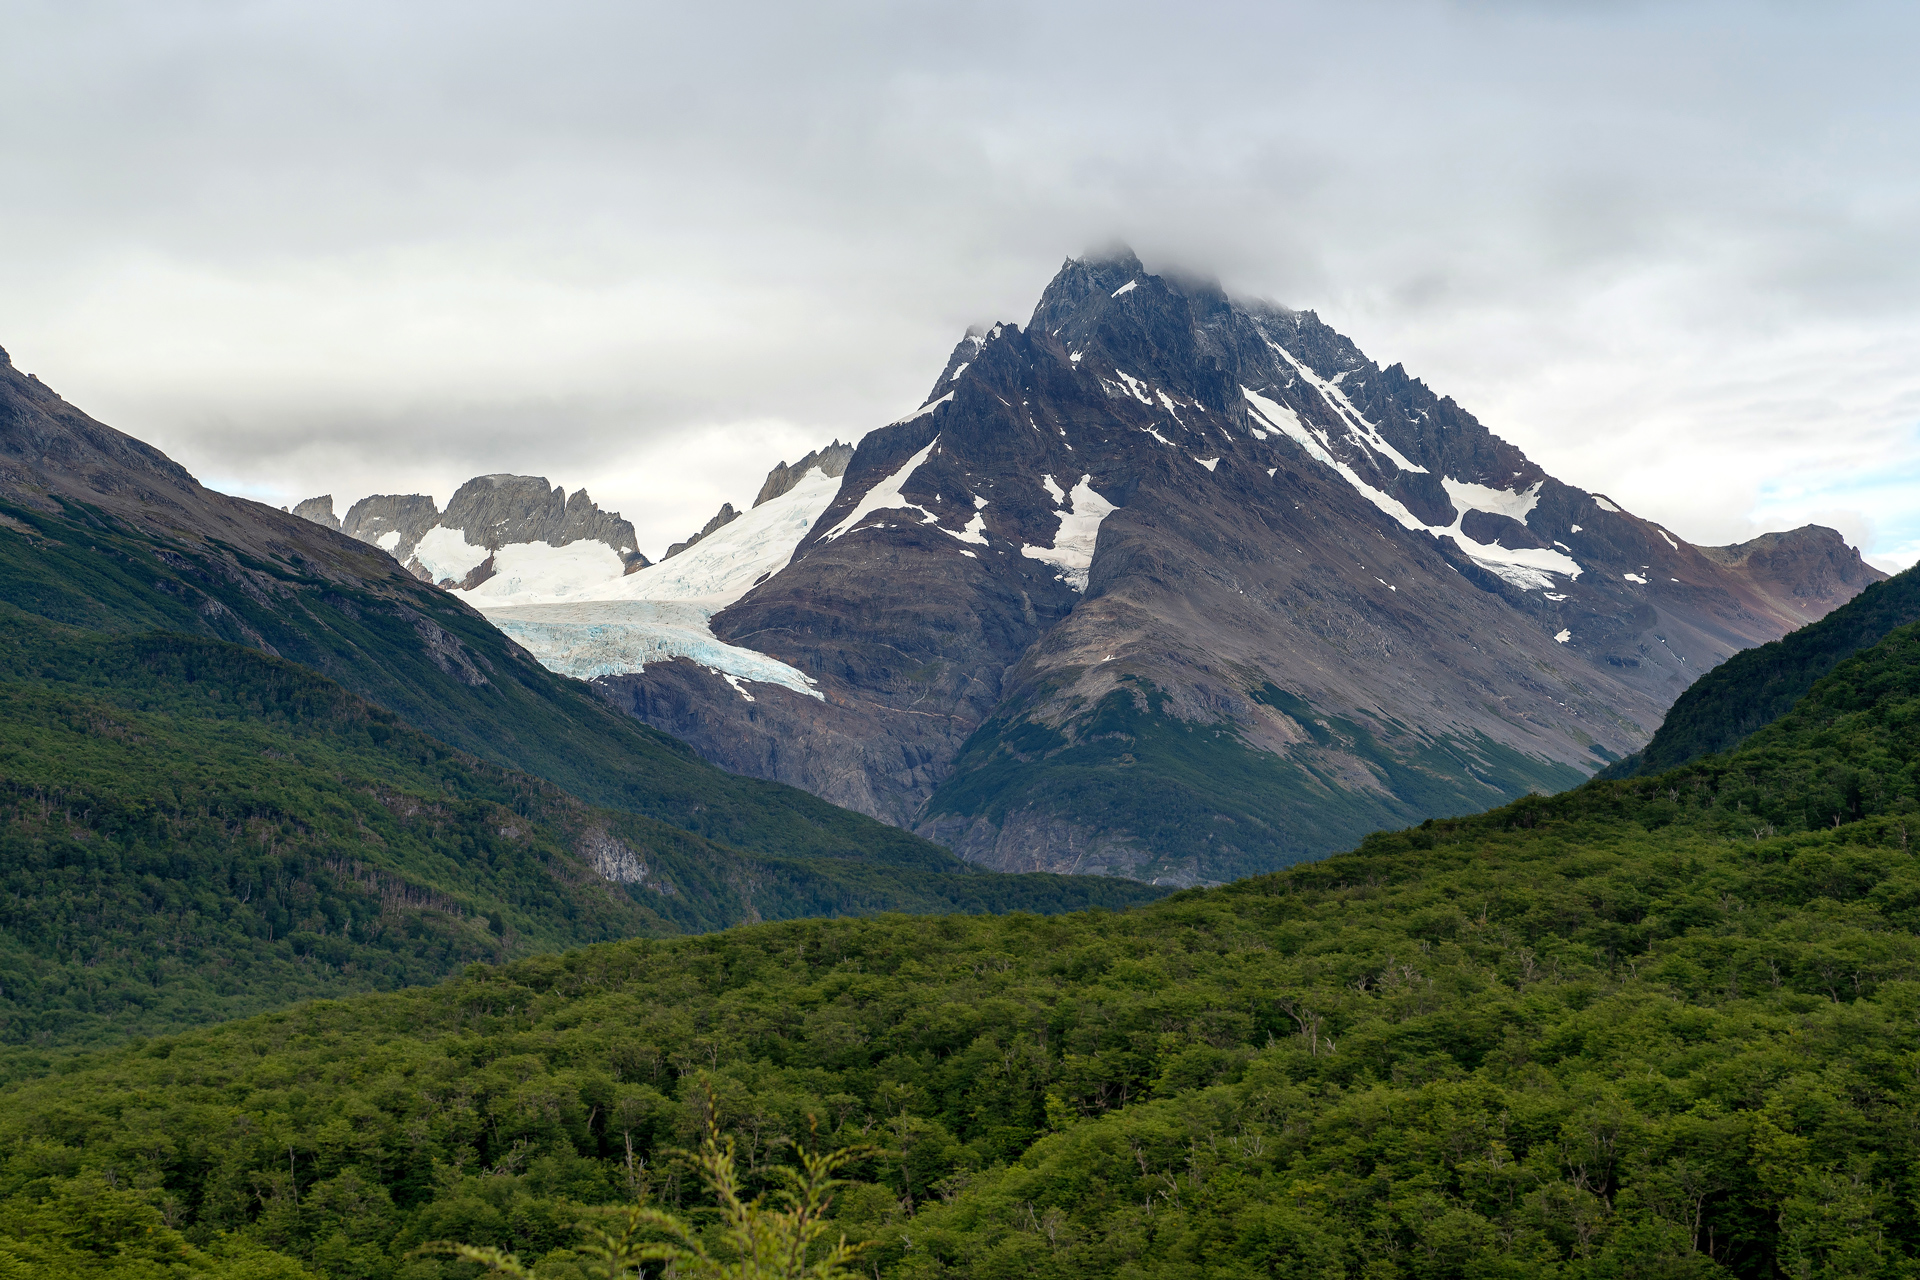
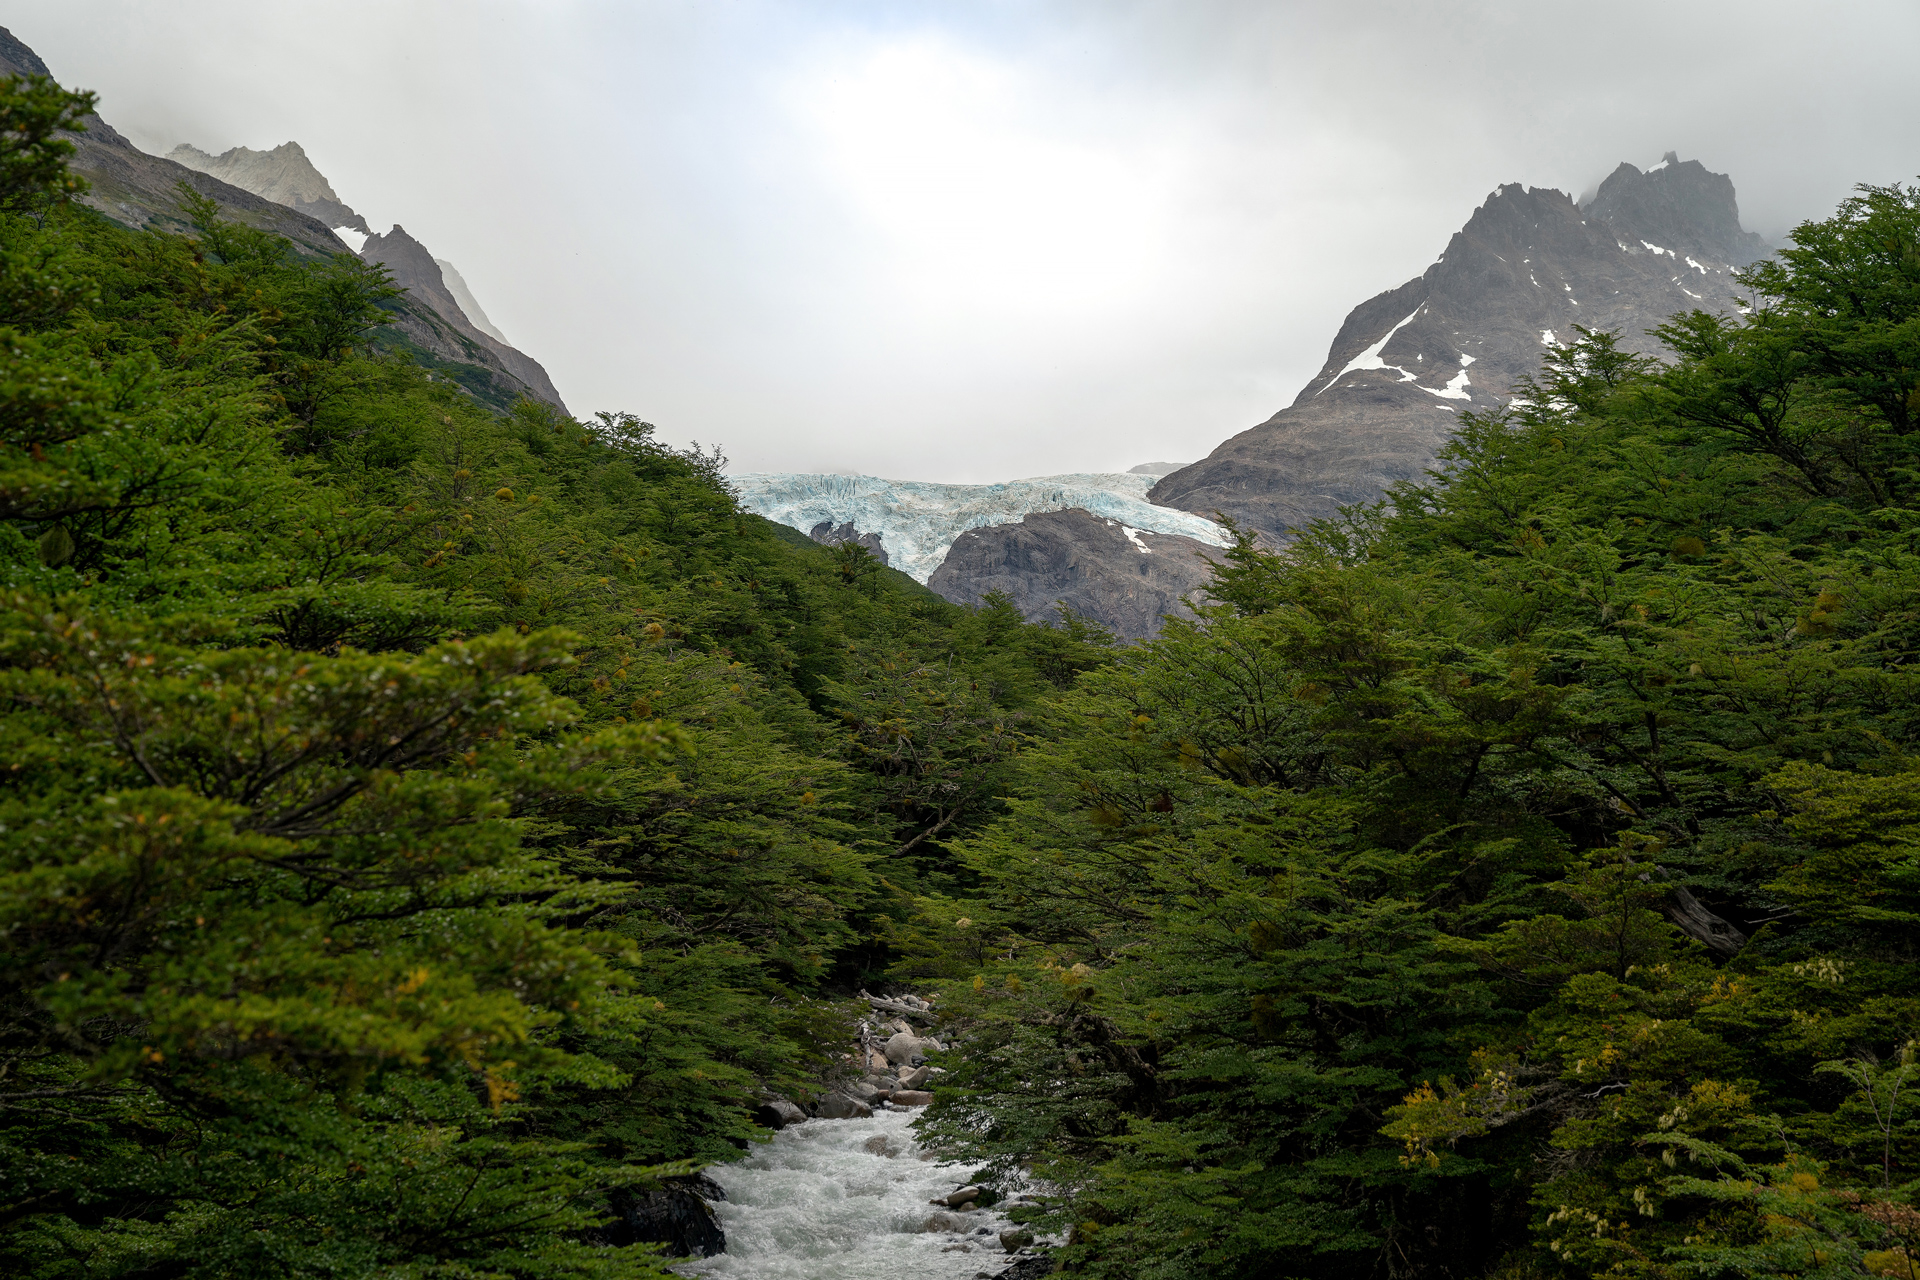
Near the end of the day's hike, you'll reach a boulder field which you'll have to climb before getting your first views of Laguna Los Perros.
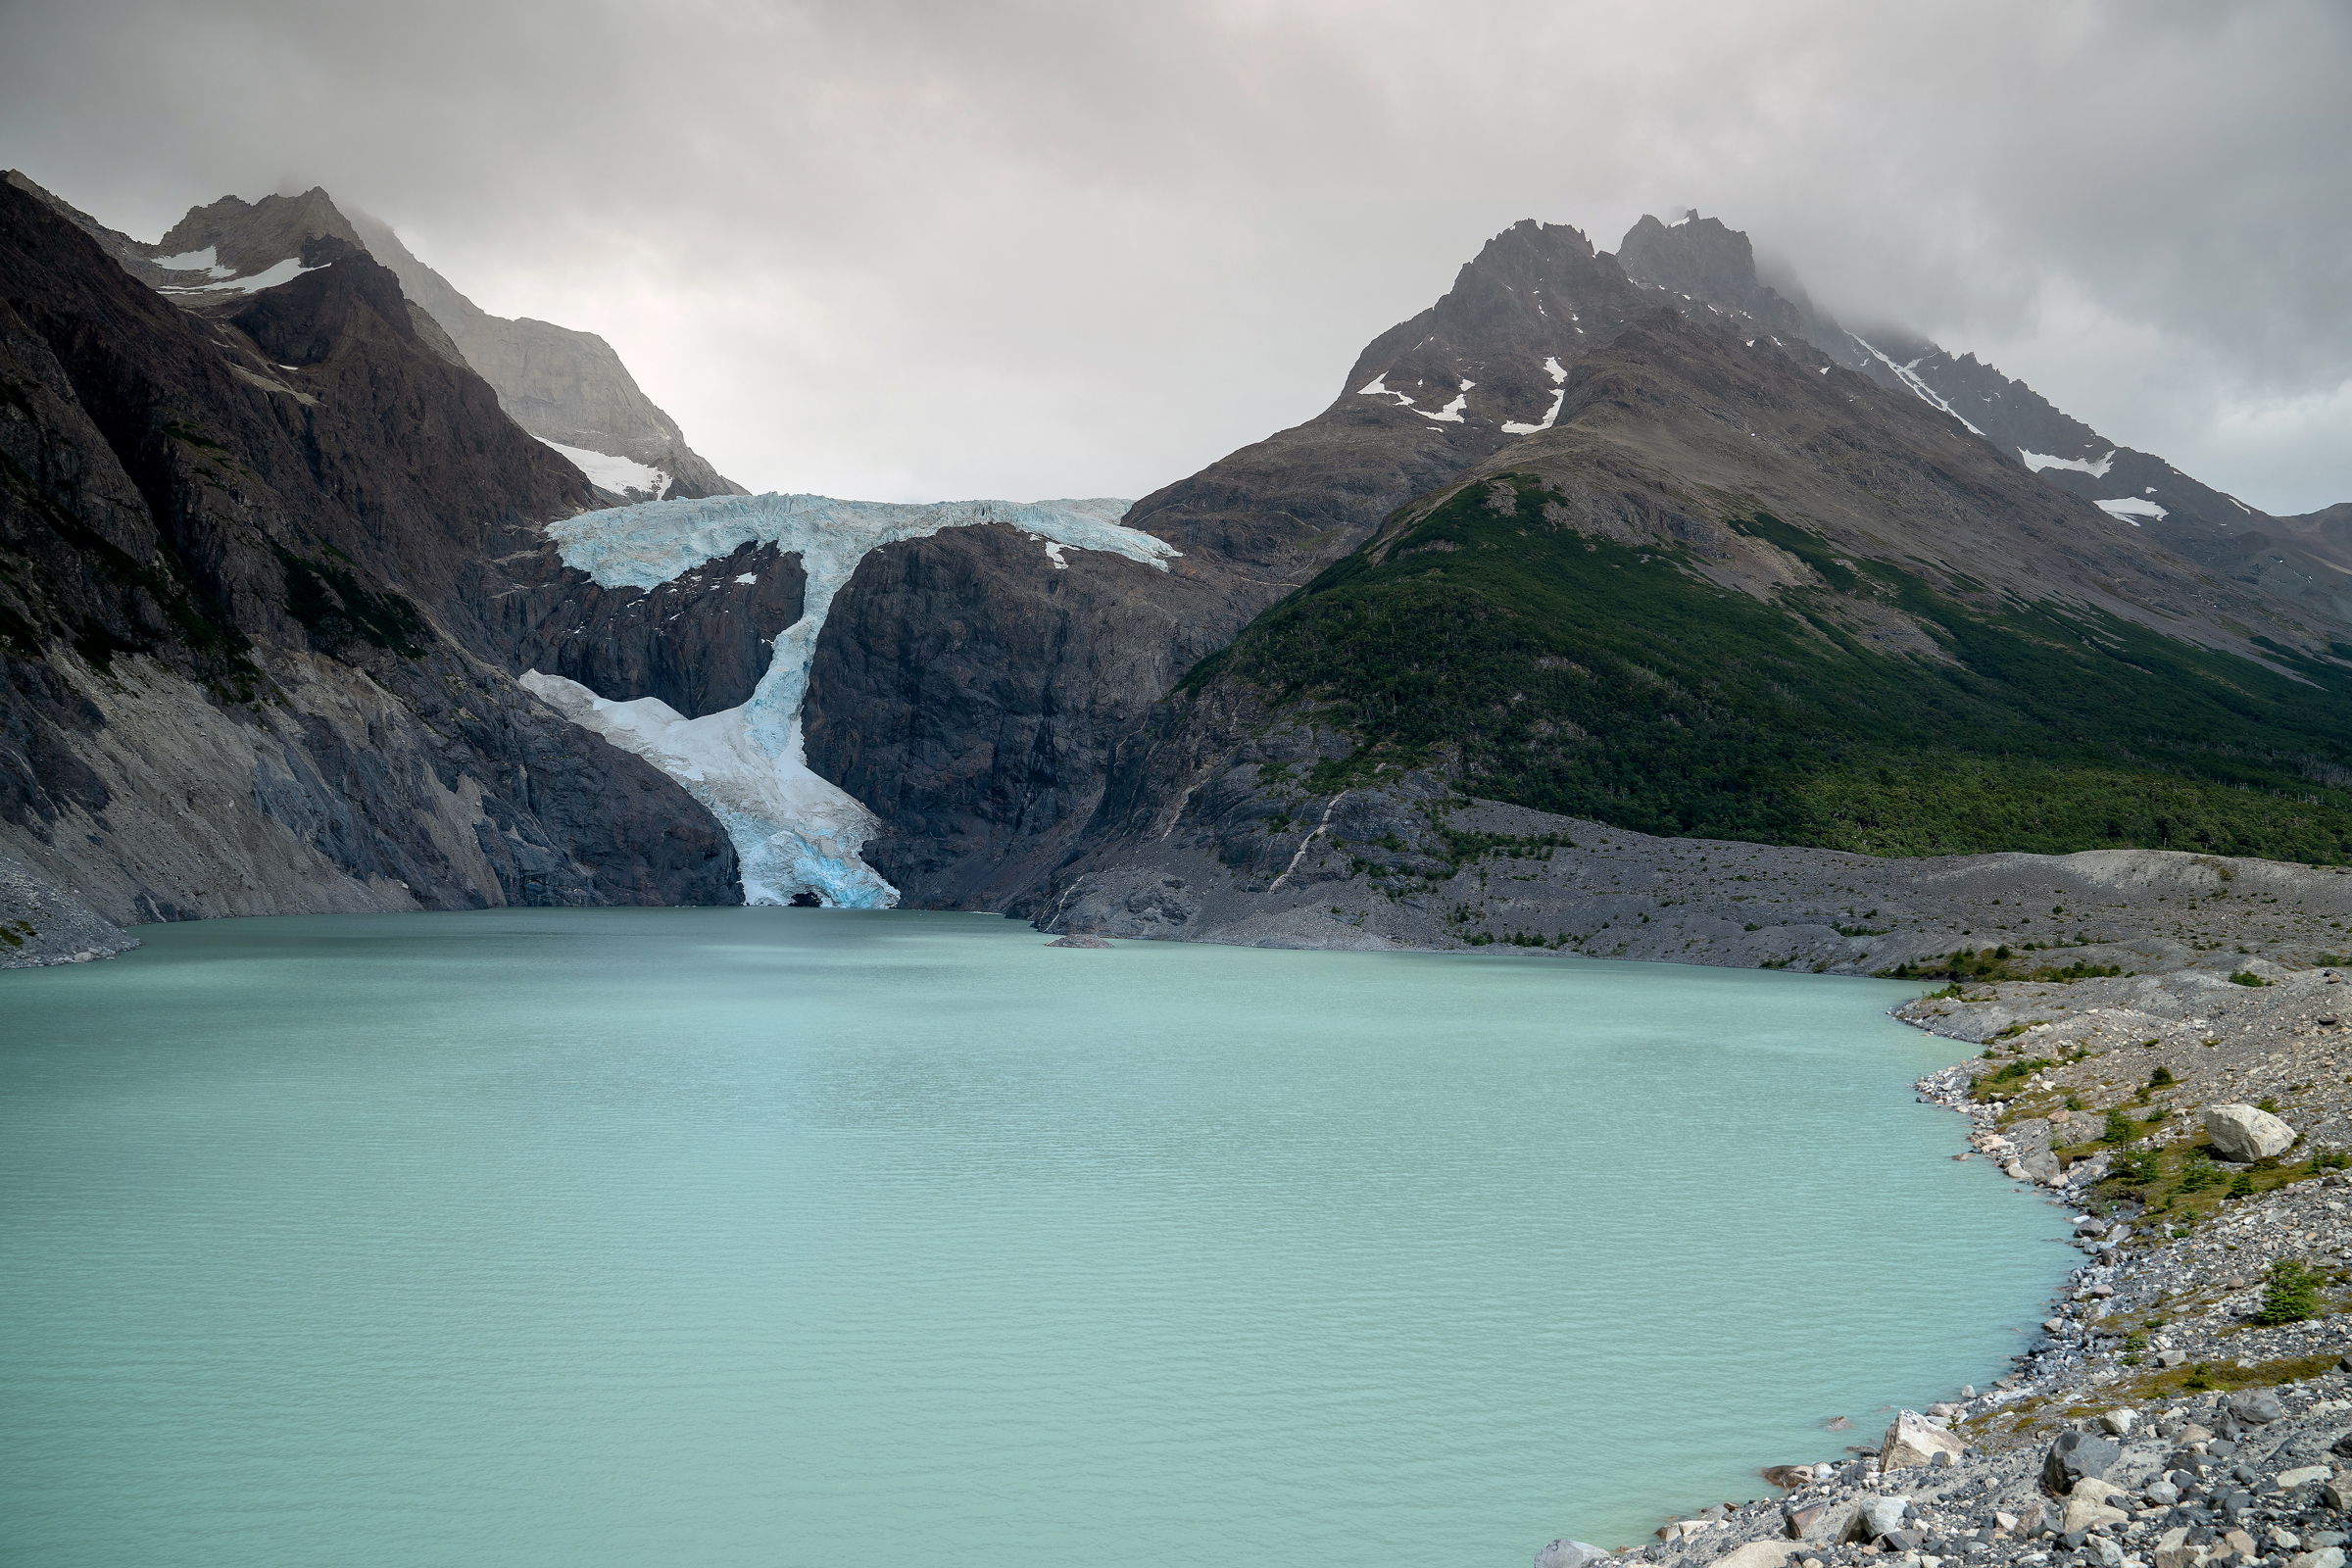
Laguna Los Perros
Further along and downhill, there is a short side path which leads directly to the lake shore with perfect views of the glacier just in front of you.
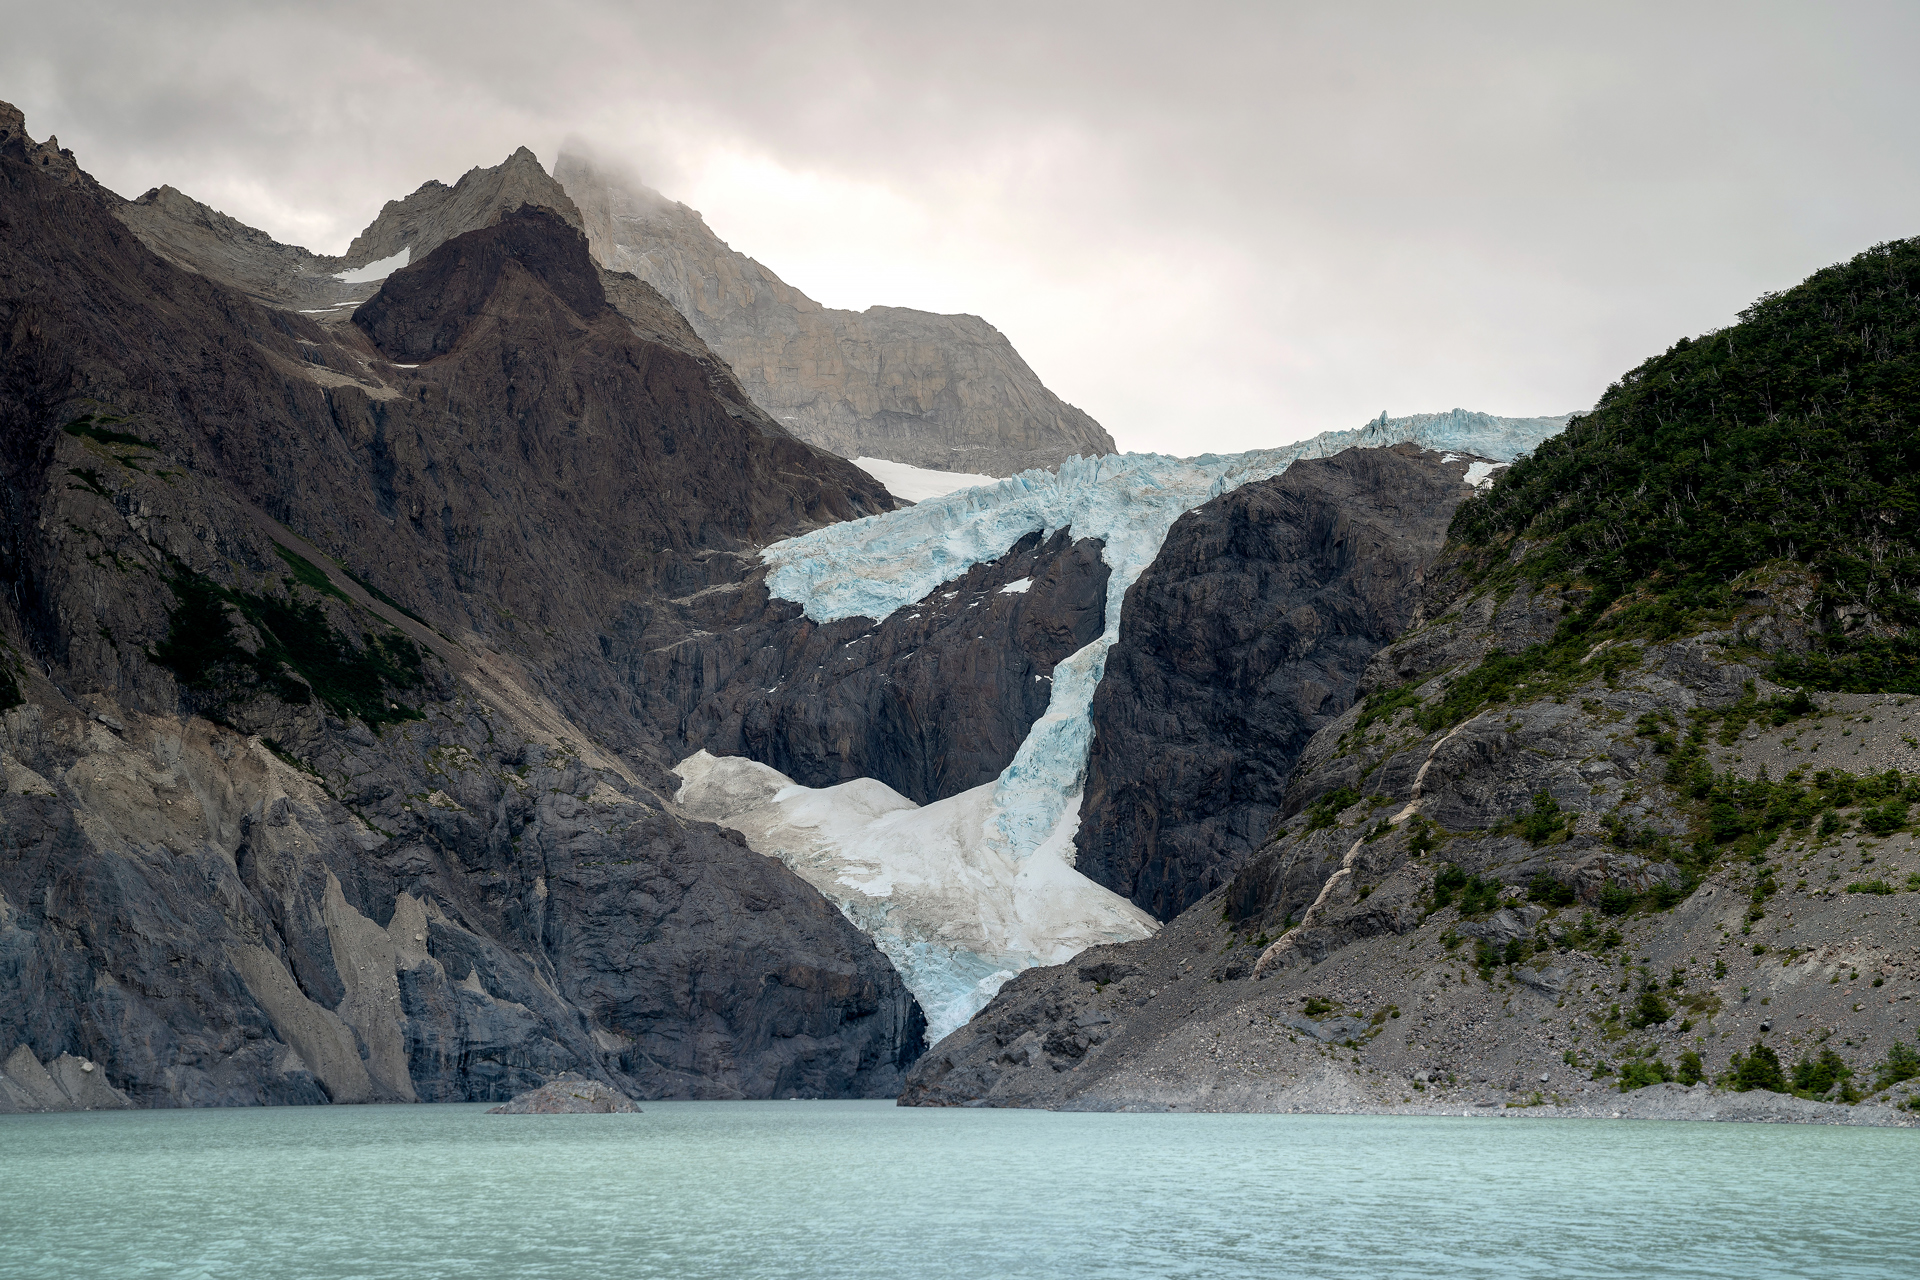
A few minutes just before reaching Los Perros, you can refill your water supply from the river if the camp water pump is not working.
Los Perros has the most basic campsite, with large rental tents situated directly on the ground.
Under the cover of trees and situated against a mountain, the campsite gets dark and cold earlier in the day.
There is only a cold shower available (which I opted not to take), but there are flushing toilets, an outdoor sink, and an enclosed building with large tables to cook and eat at.
Overnight, the water pumps at camp may be cut off, so if you're planning on leaving Los Perros early, then you should plan on filling your water bladder and breakfast water supply before going to bed.
The next day will be a brutal hike over the John Gardner Pass.
Day 4: Los Perros to Grey
11 miles one way, 2,400 feet gain, 4,000 feet loss, ~3,900 feet highest elevation
By far, this was the most difficult day of hiking.
A storm that had been brewing since we started the O-Circuit was finally dumping rain on the lower elevations, then hail and snow as we approached the John Gardner Pass.
If your destination for the night is Grey, you are required to leave camp no later than 7 am.
After a windy night of sleeping in a cold tent, we woke up at 4:30 am so we could leave camp by 6 am.
Water was not coming out of the camp faucet, but thankfully we had filled our water bladders with drinking water the previous night.
With very little cooking water, we managed to scrap together a small breakfast before heading out.
Just as we were leaving camp, the water pumps began operating as normal.
Just our luck!
Starting our hike in the dark, we used our headlamps to follow the two signs toward Paso.
Shortly after we climbed steeply into the forest, we followed another group ahead of us, but then the trail seemed to disappear.
All of us were lost, but looking at our GPS, we managed to bushwhack our way toward the official trail and found it a few minutes later downhill.
This seemed to be a common problem—almost everyone we spoke to after the hike was also lost shortly after leaving camp.
About an hour after starting the hike, we no longer needed our headlamps.
The steep, muddy trail just outside of camp is mostly under the forest canopy, but there are several breaks in the treeline just before you approach the long, exposed, rocky stretch before the pass.
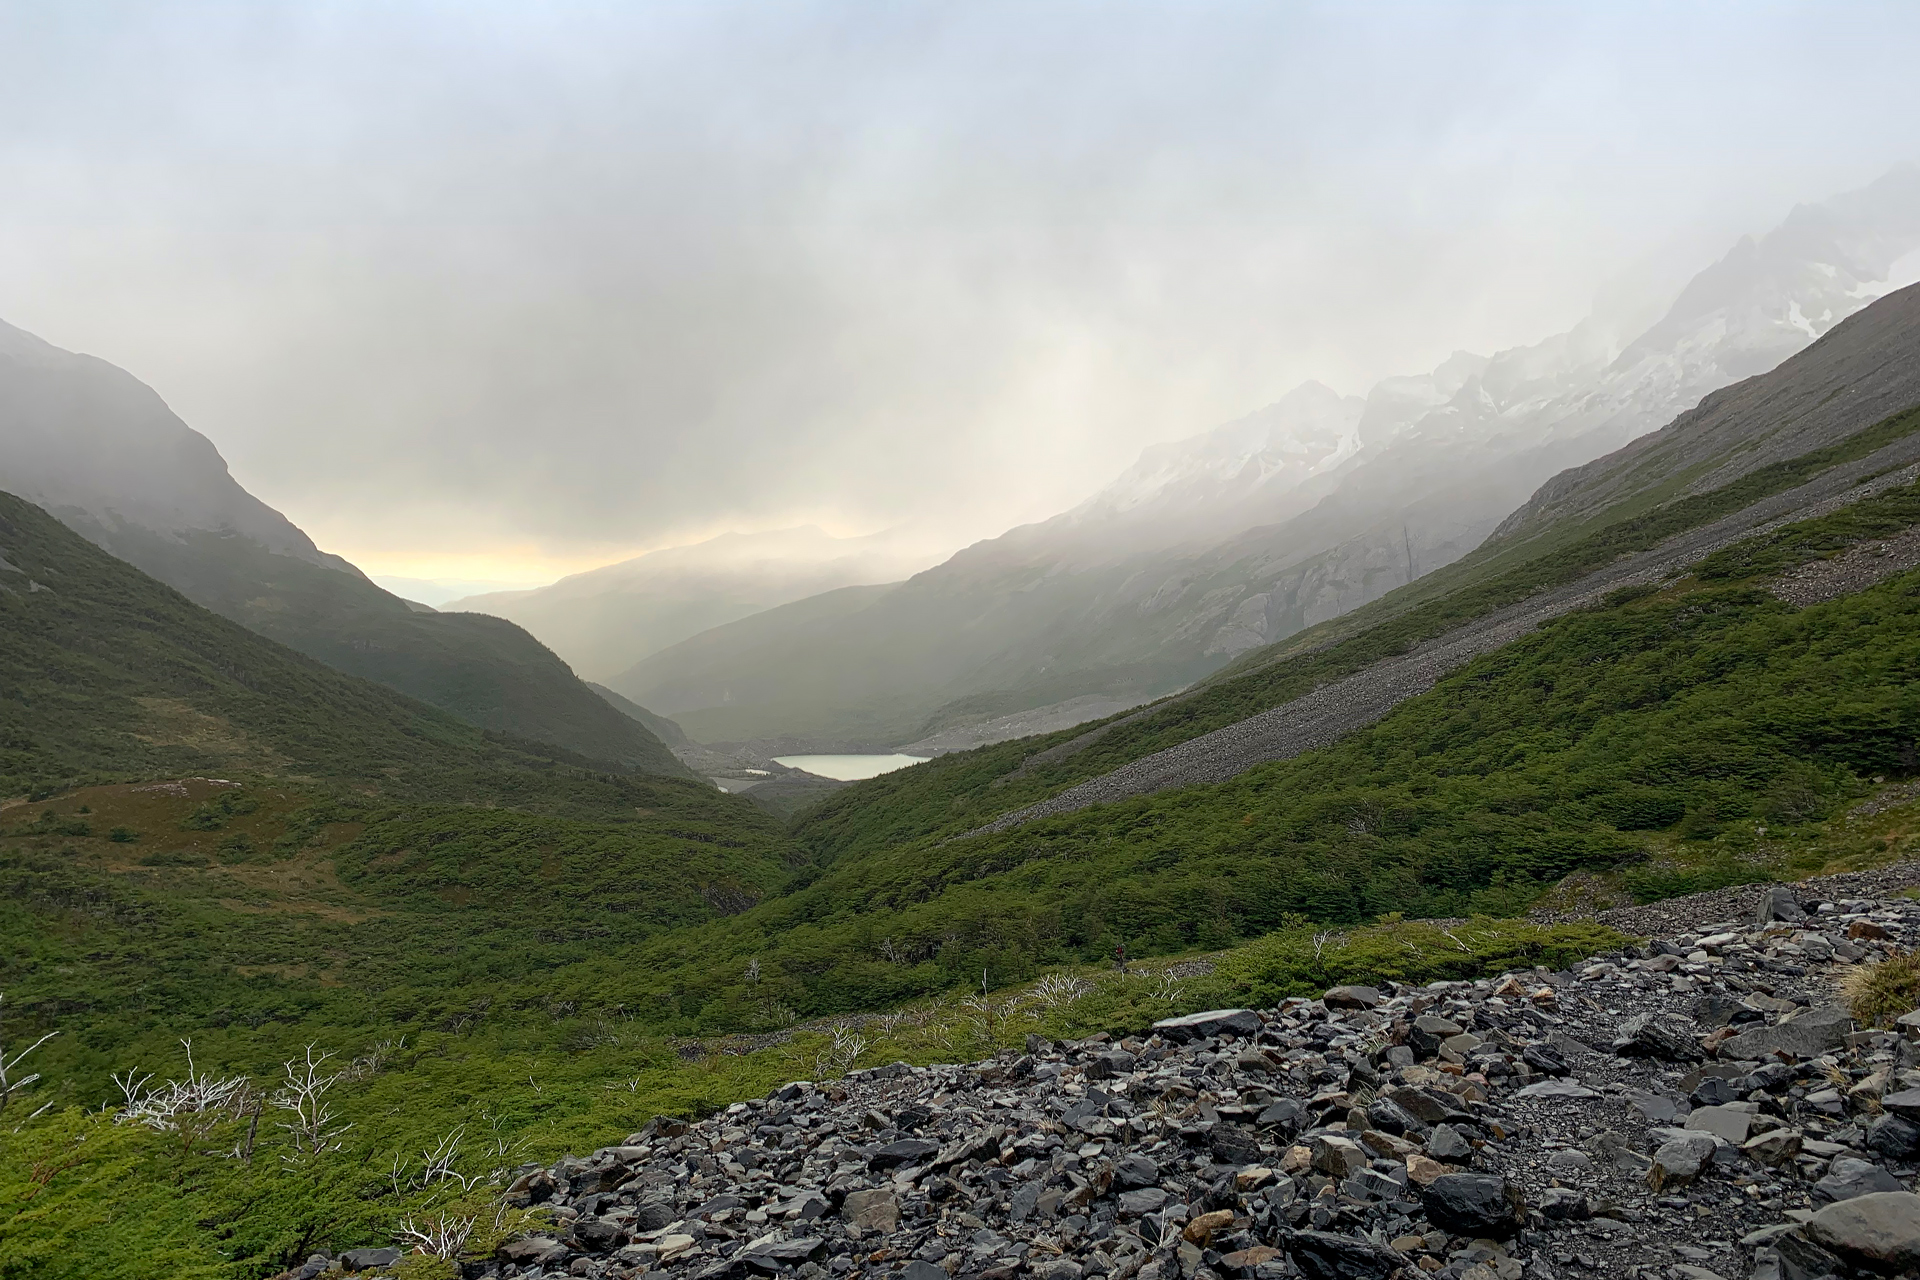
Looking back at Laguna Los Perros after hiking through the canopy
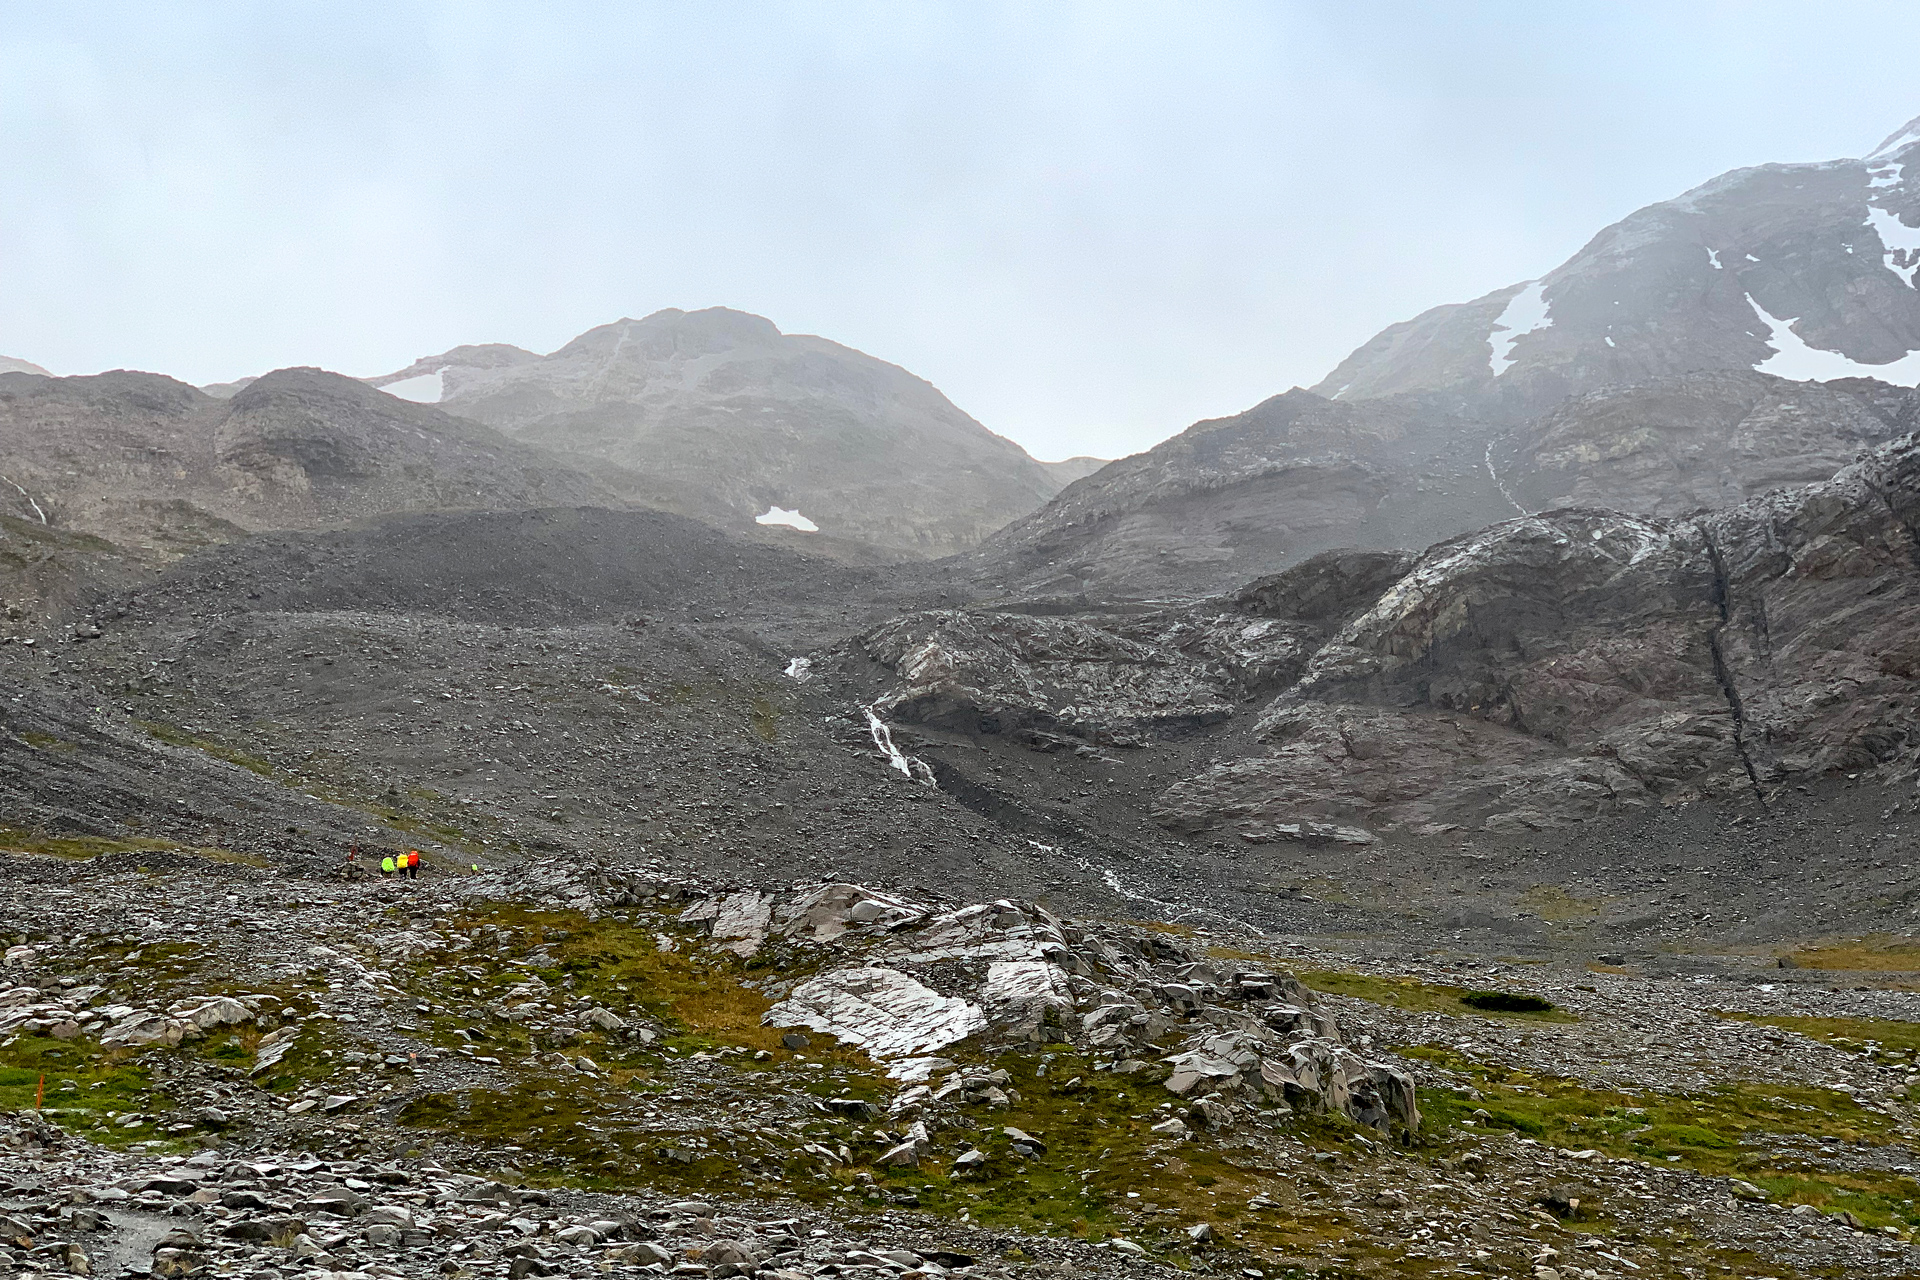
Approaching the John Gardner Pass
There were extreme windgusts this day, making us wish there were more trees along the way.
The fog and snow made the glacier of Cerro Condor barely visible ahead and to the right as we dragged ourselves up the rocky terrain.
It was beautiful to look at even as the downhill wind demoralized us on our ascent toward the pass.
There were alternating moments of regret and elation on this section of the hike.
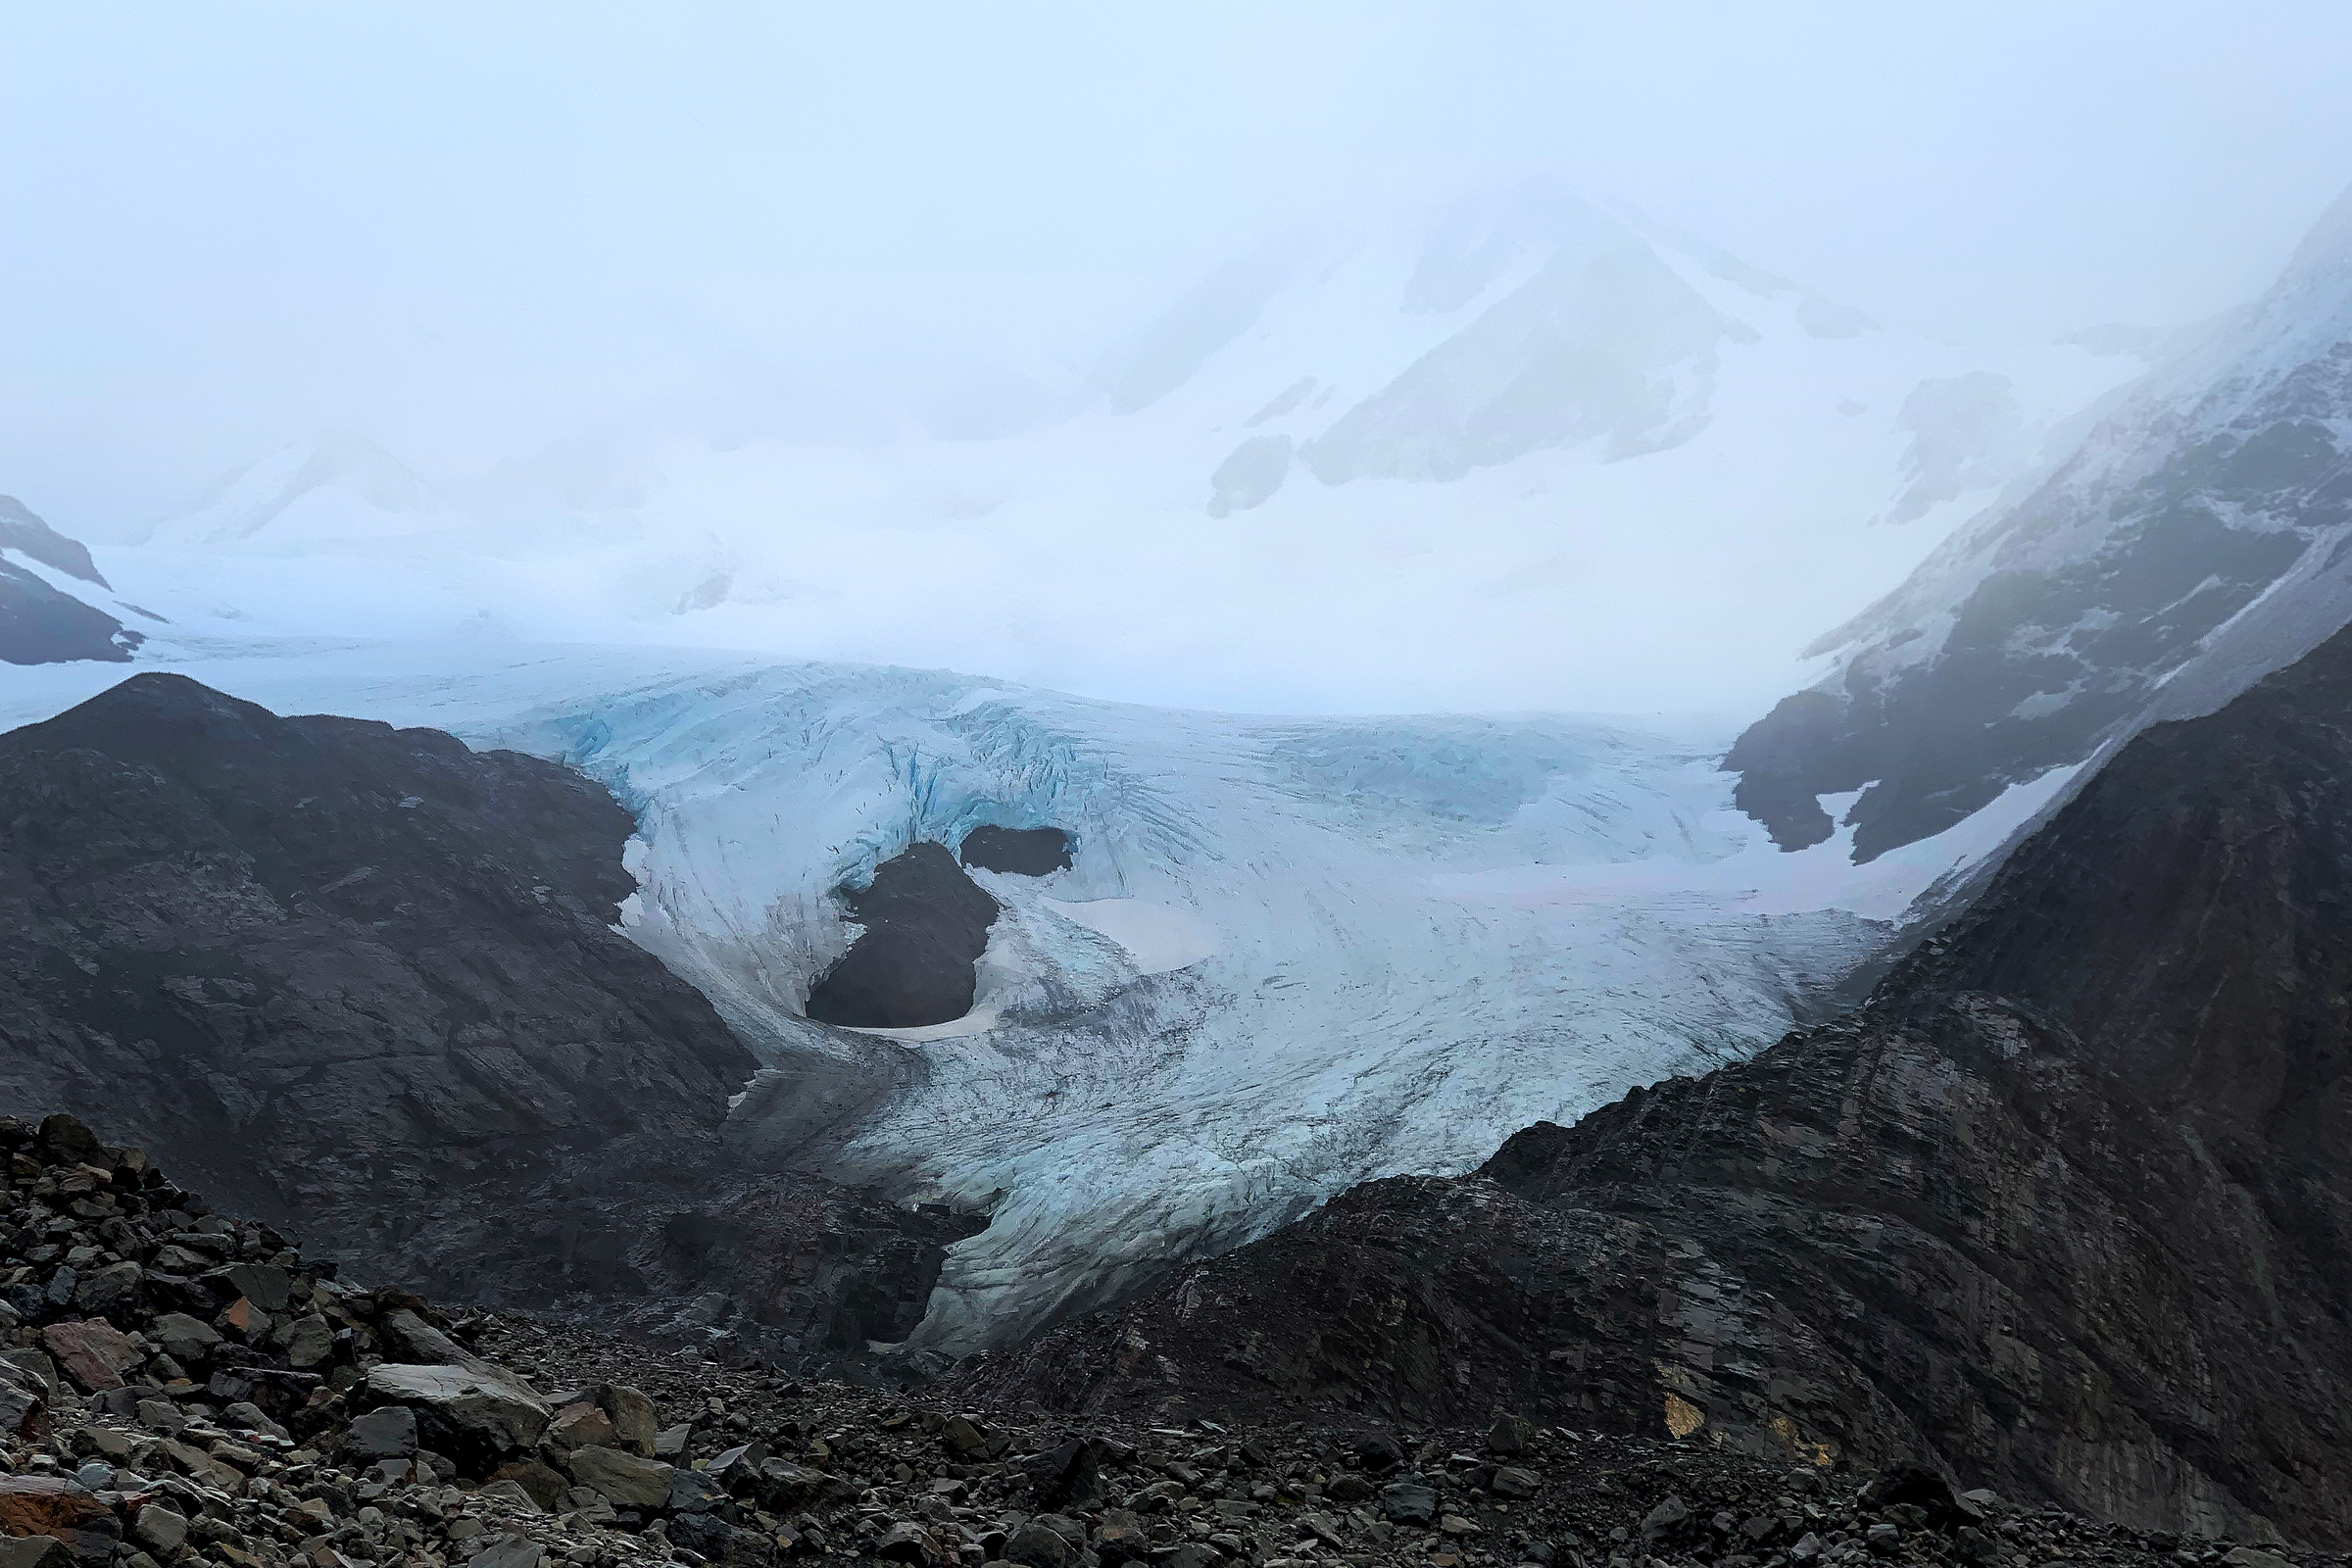
Cerro Condor
At the pass, all the strangers that made it up smiled and high-fived one another.
We were getting snowblasted, but this was the first time the whole day I took out my camera.
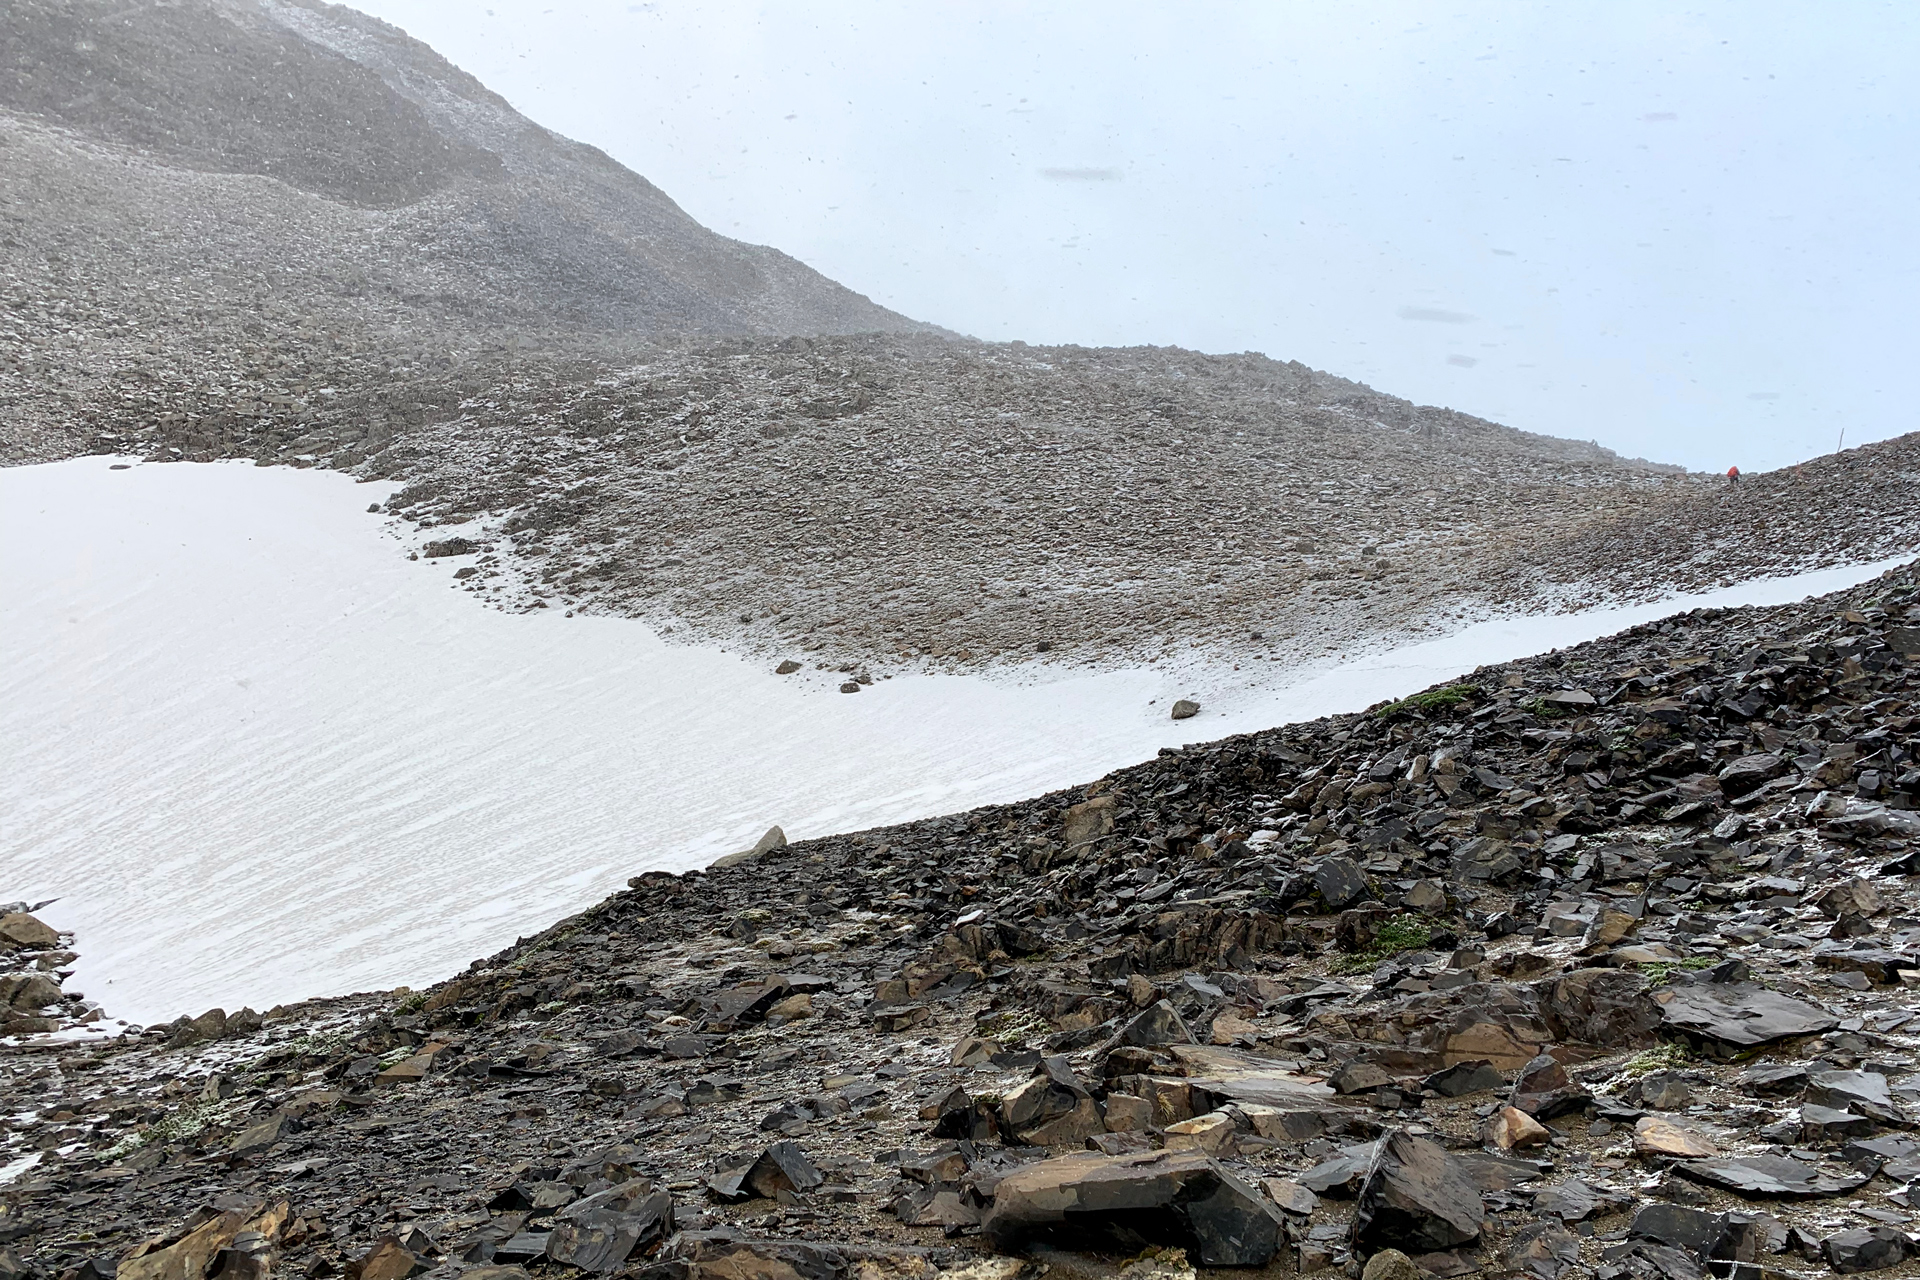
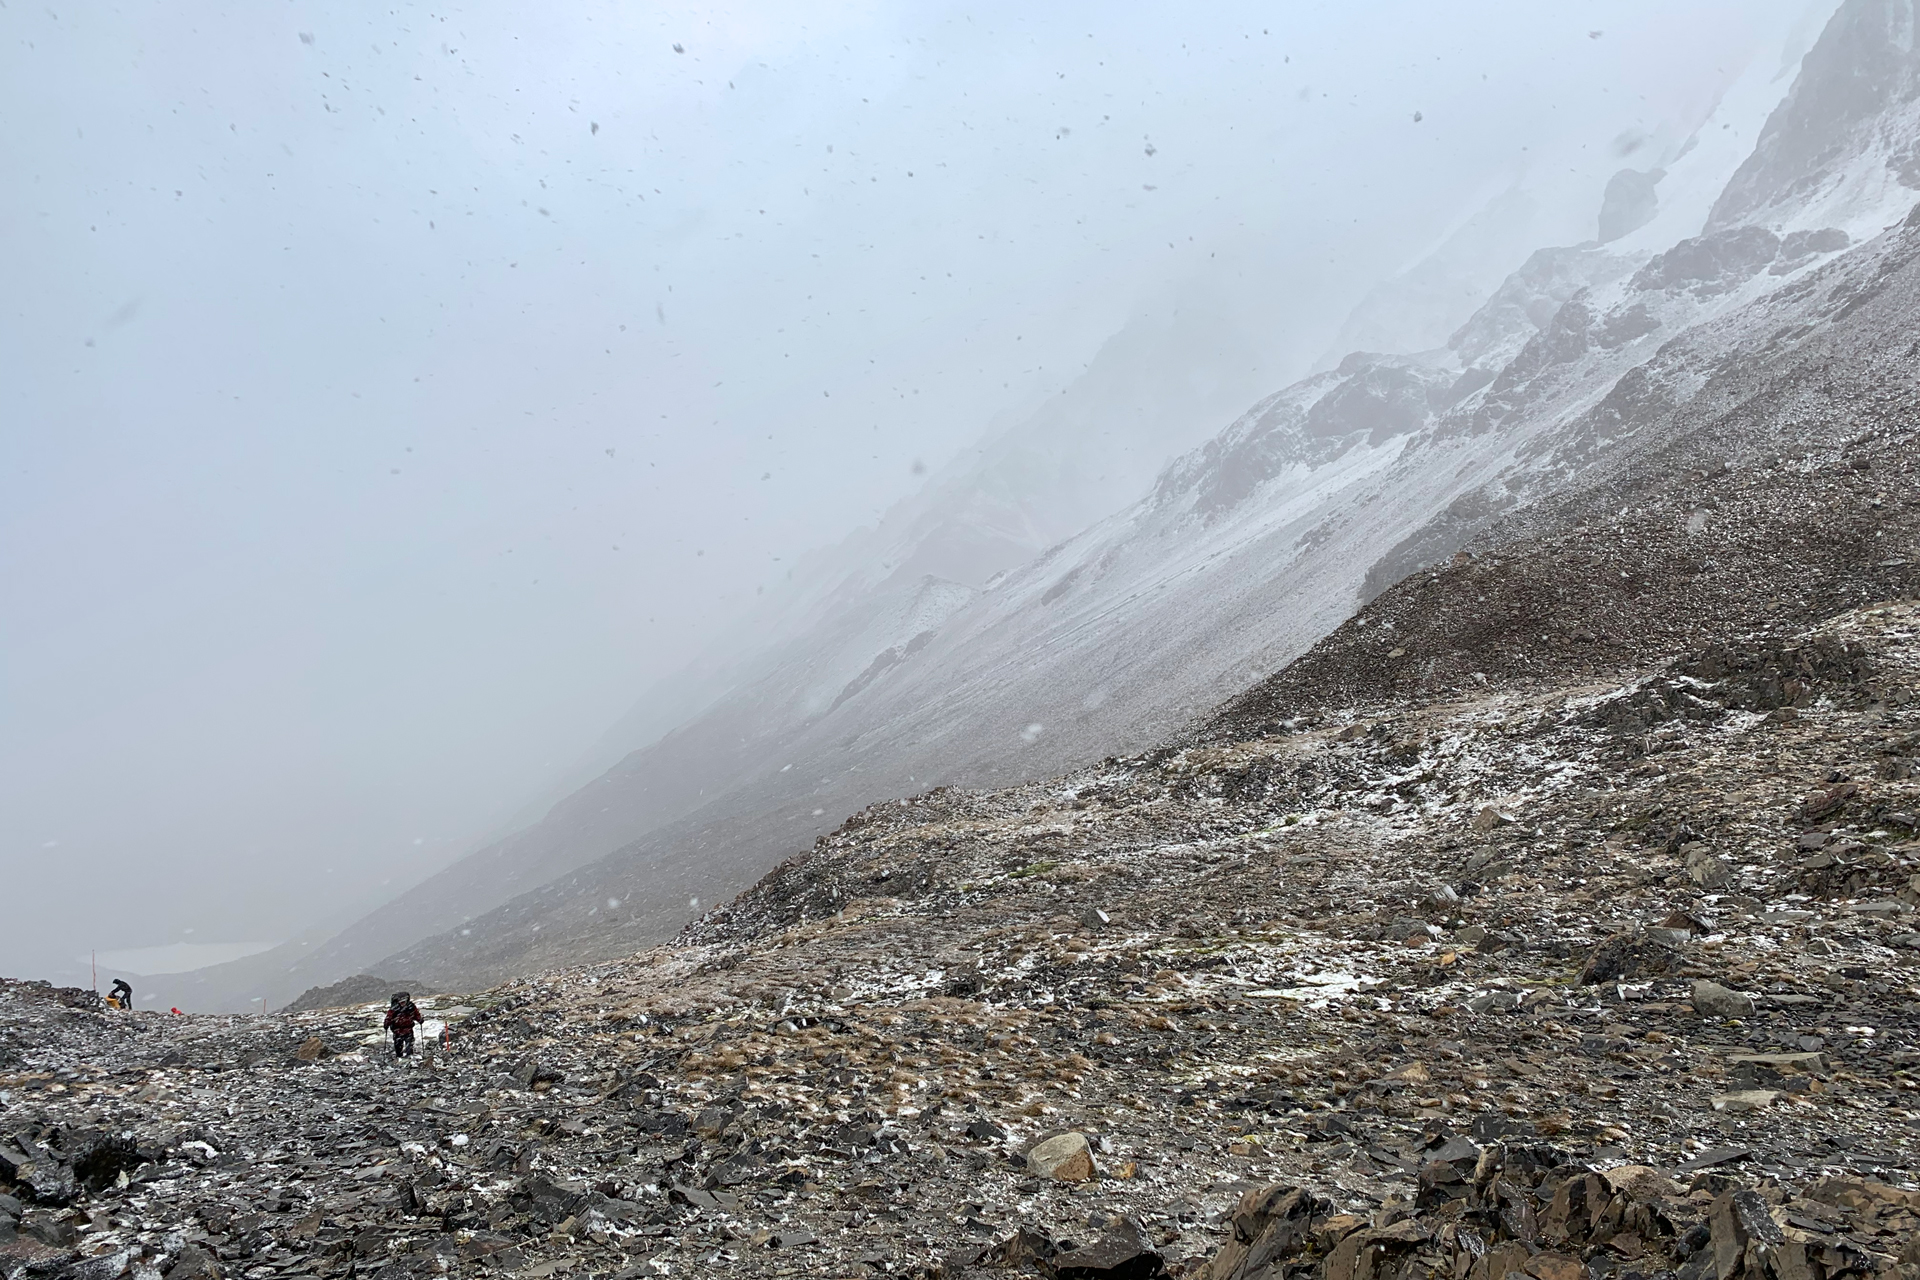
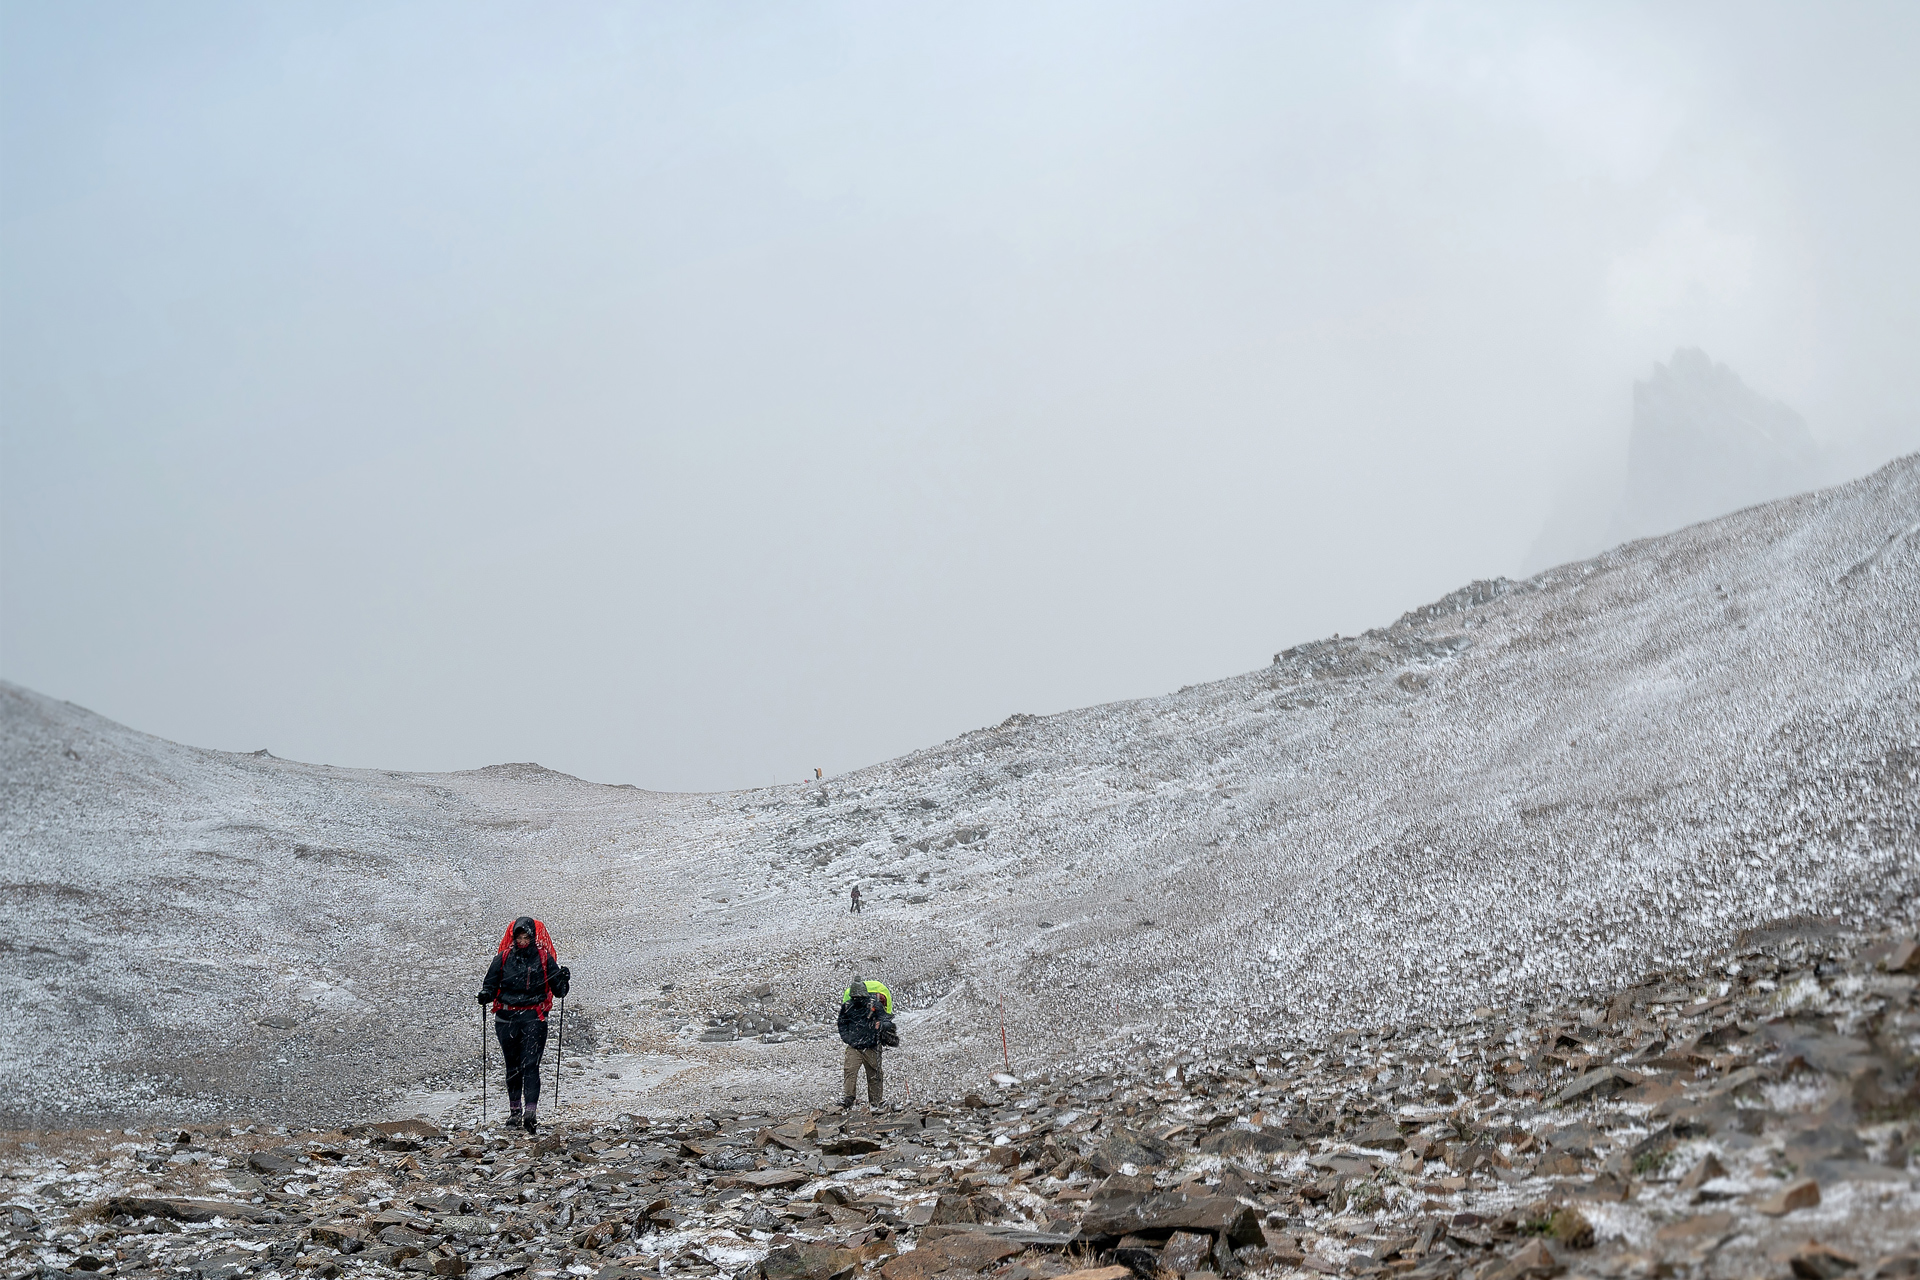
Approaching the John Gardner Pass
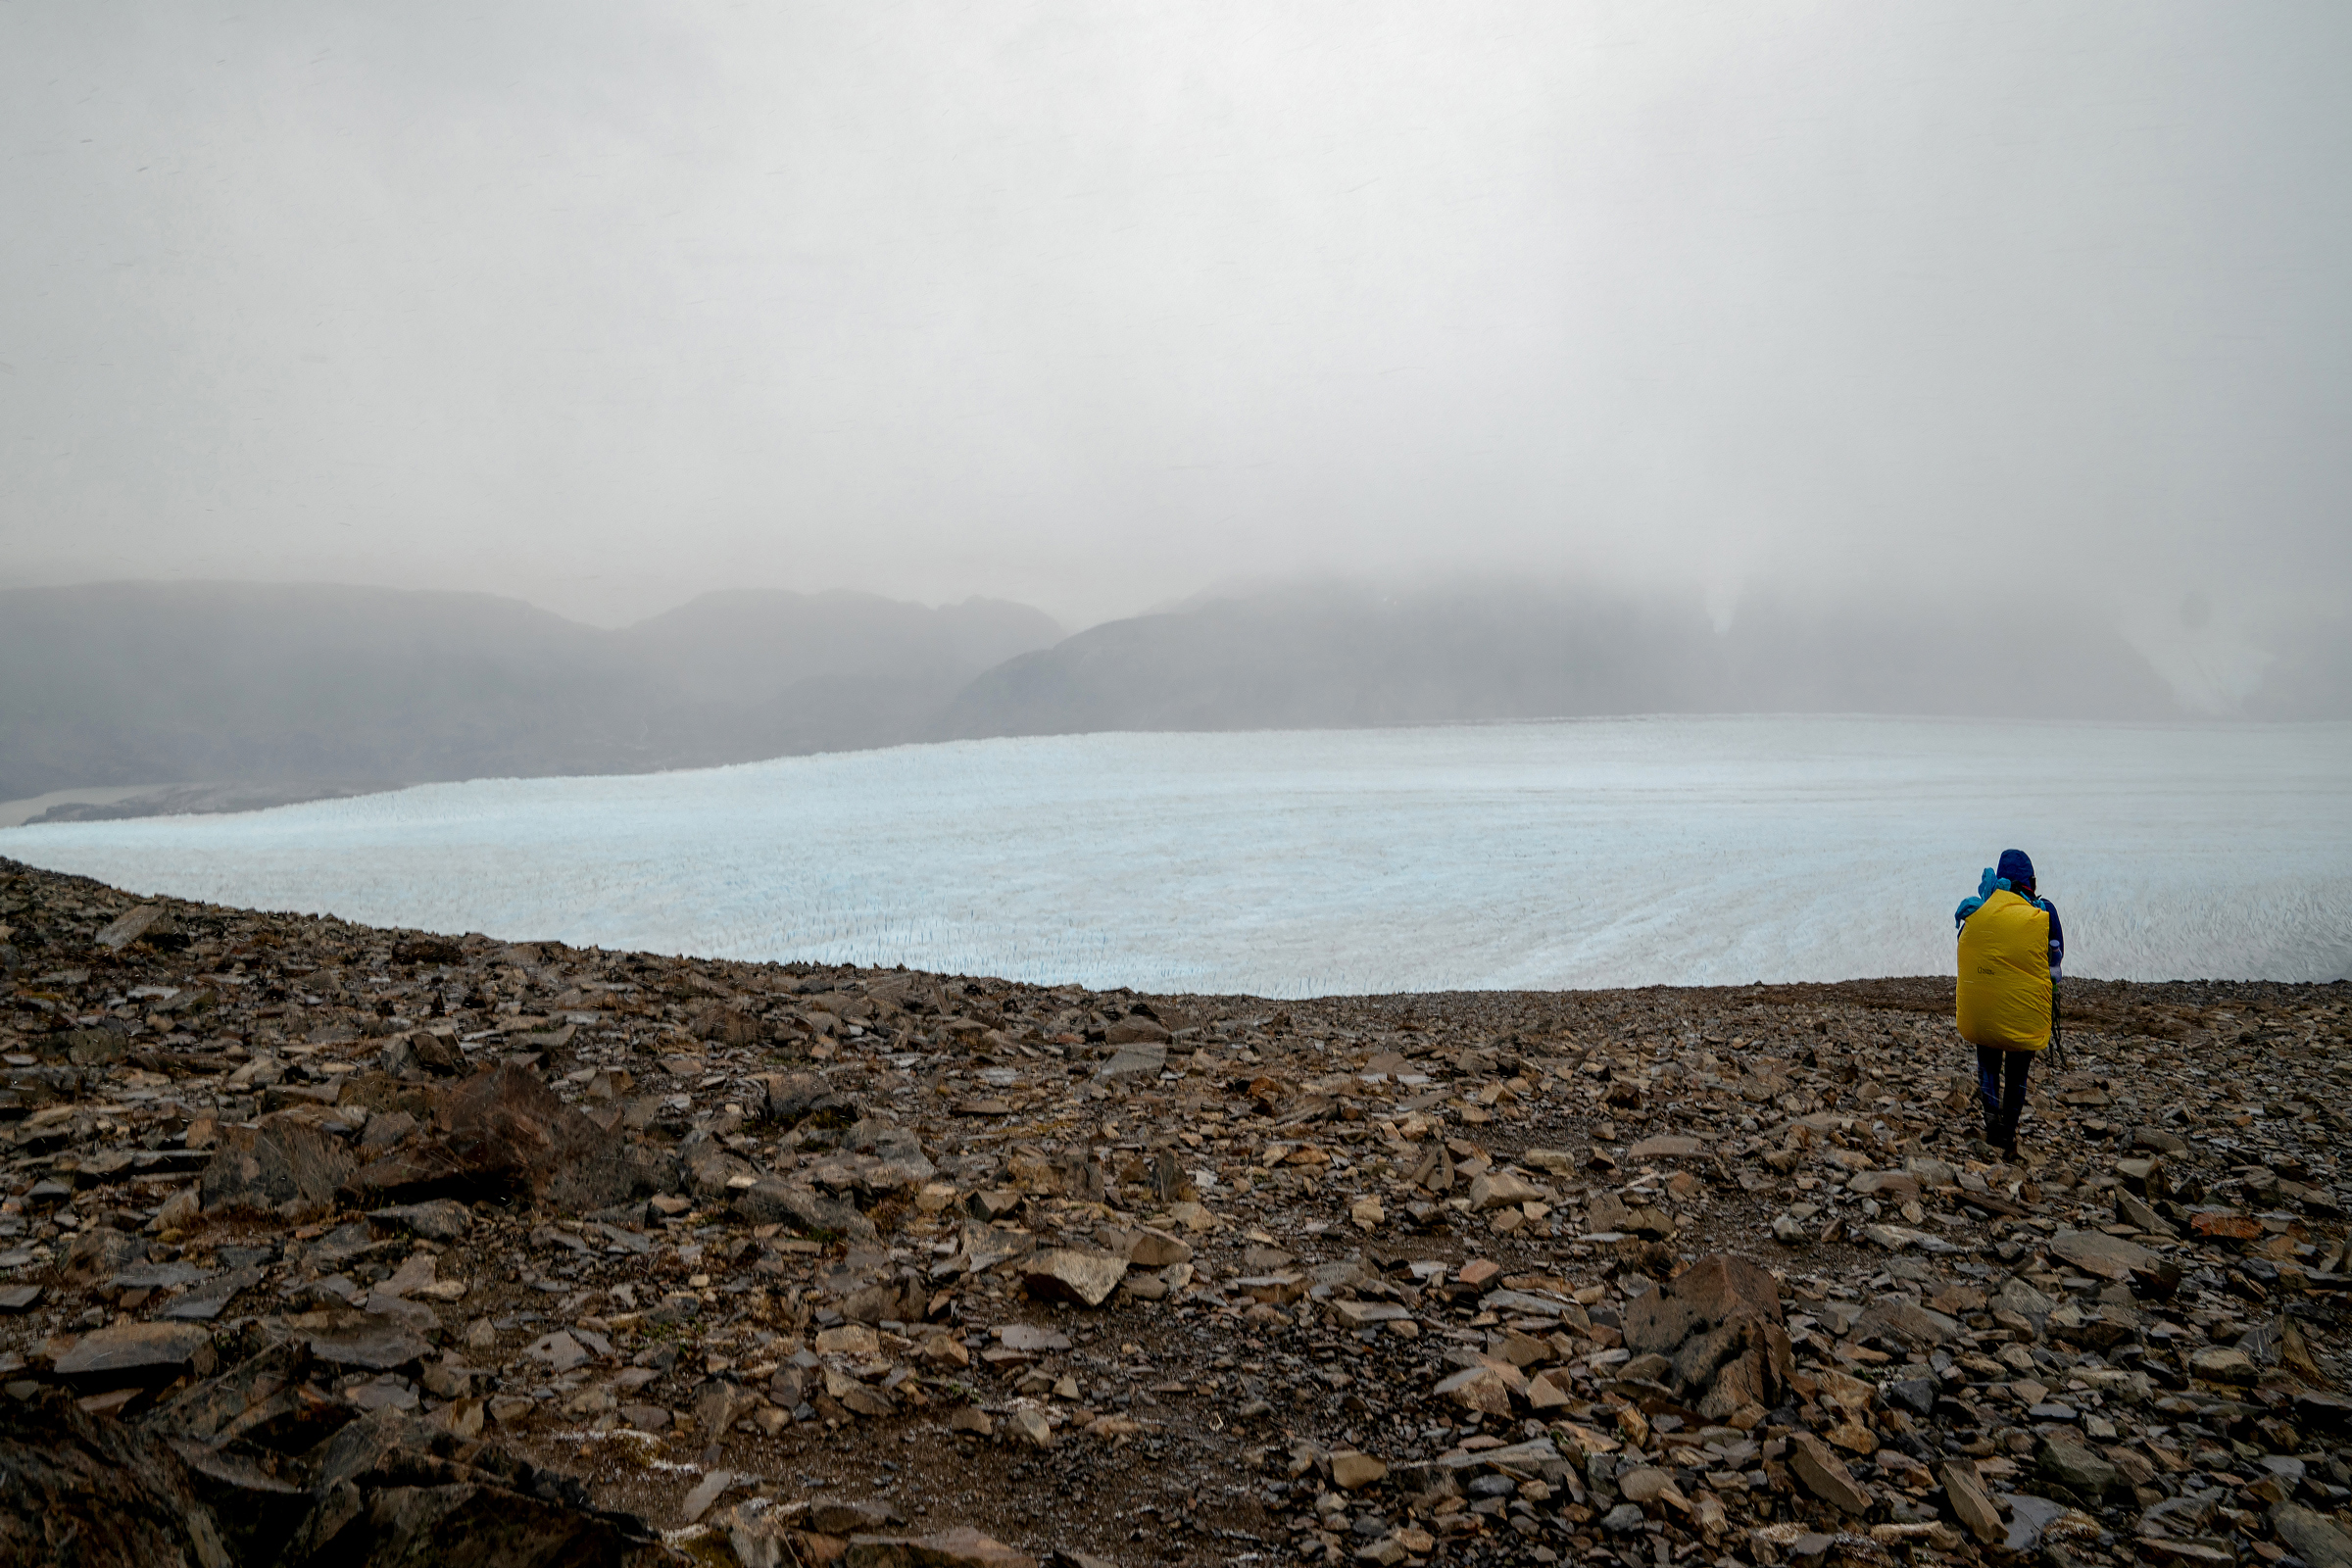
Overlooking the Patagonia Icefield after summiting the John Gardner Pass
We thought the hardest work was done and we would be making lunch soon at Paso.
I had not studied the maps that morning.
The trail to Paso would descend more than the amount we had gained all day, and much more steeply.
It took forever to get there.
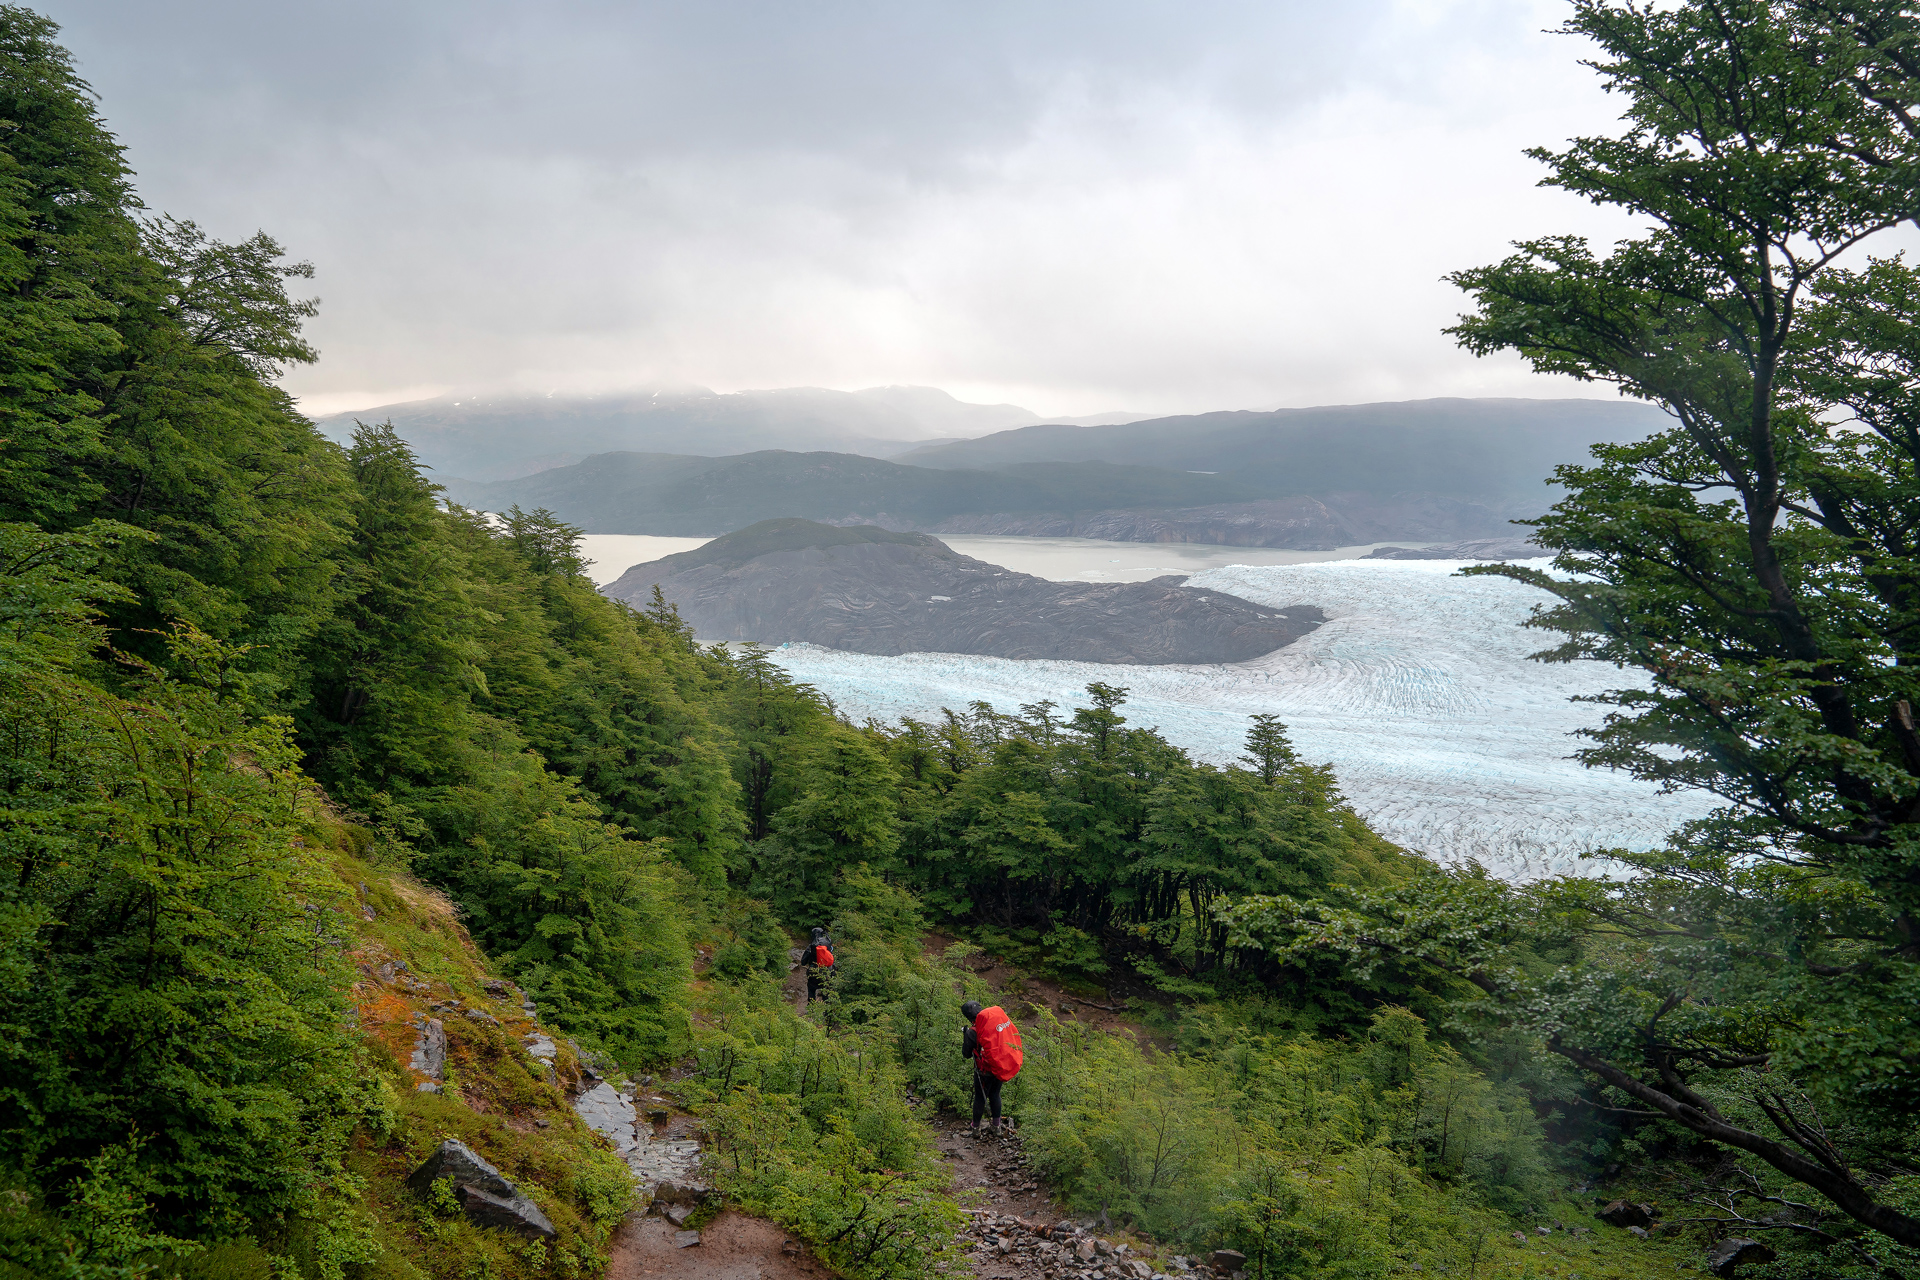
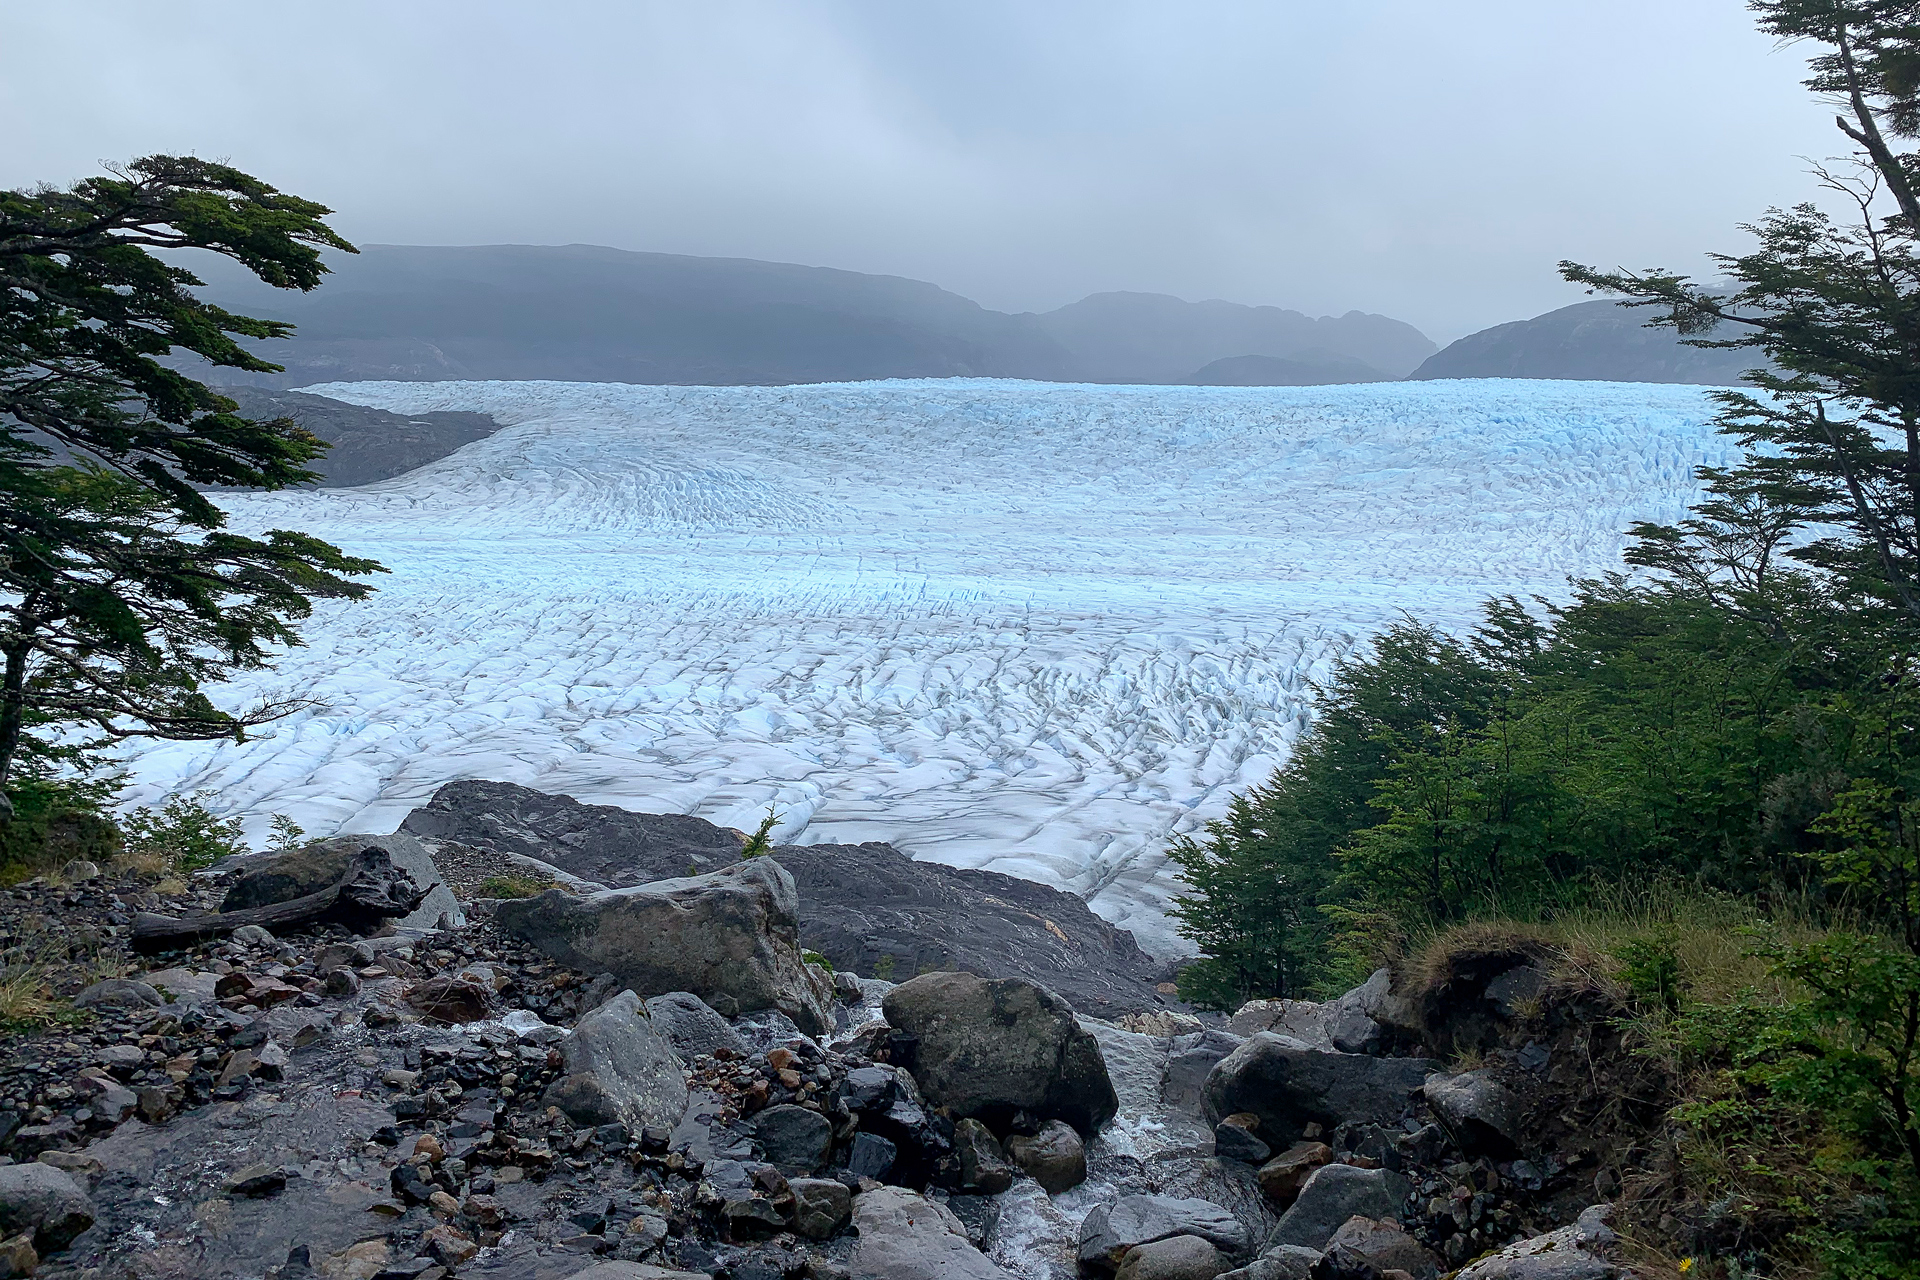
Paso was small, cold, wet, and windy.
We made lunch in an open, 3-sided structure, but considered ourselves fortunate to have not booked a night there.
Although the trail from Paso to Grey was also long and difficult, it might have been harder to spend a night at Paso than to limp our way to the cozy comforts of Refugio Grey.
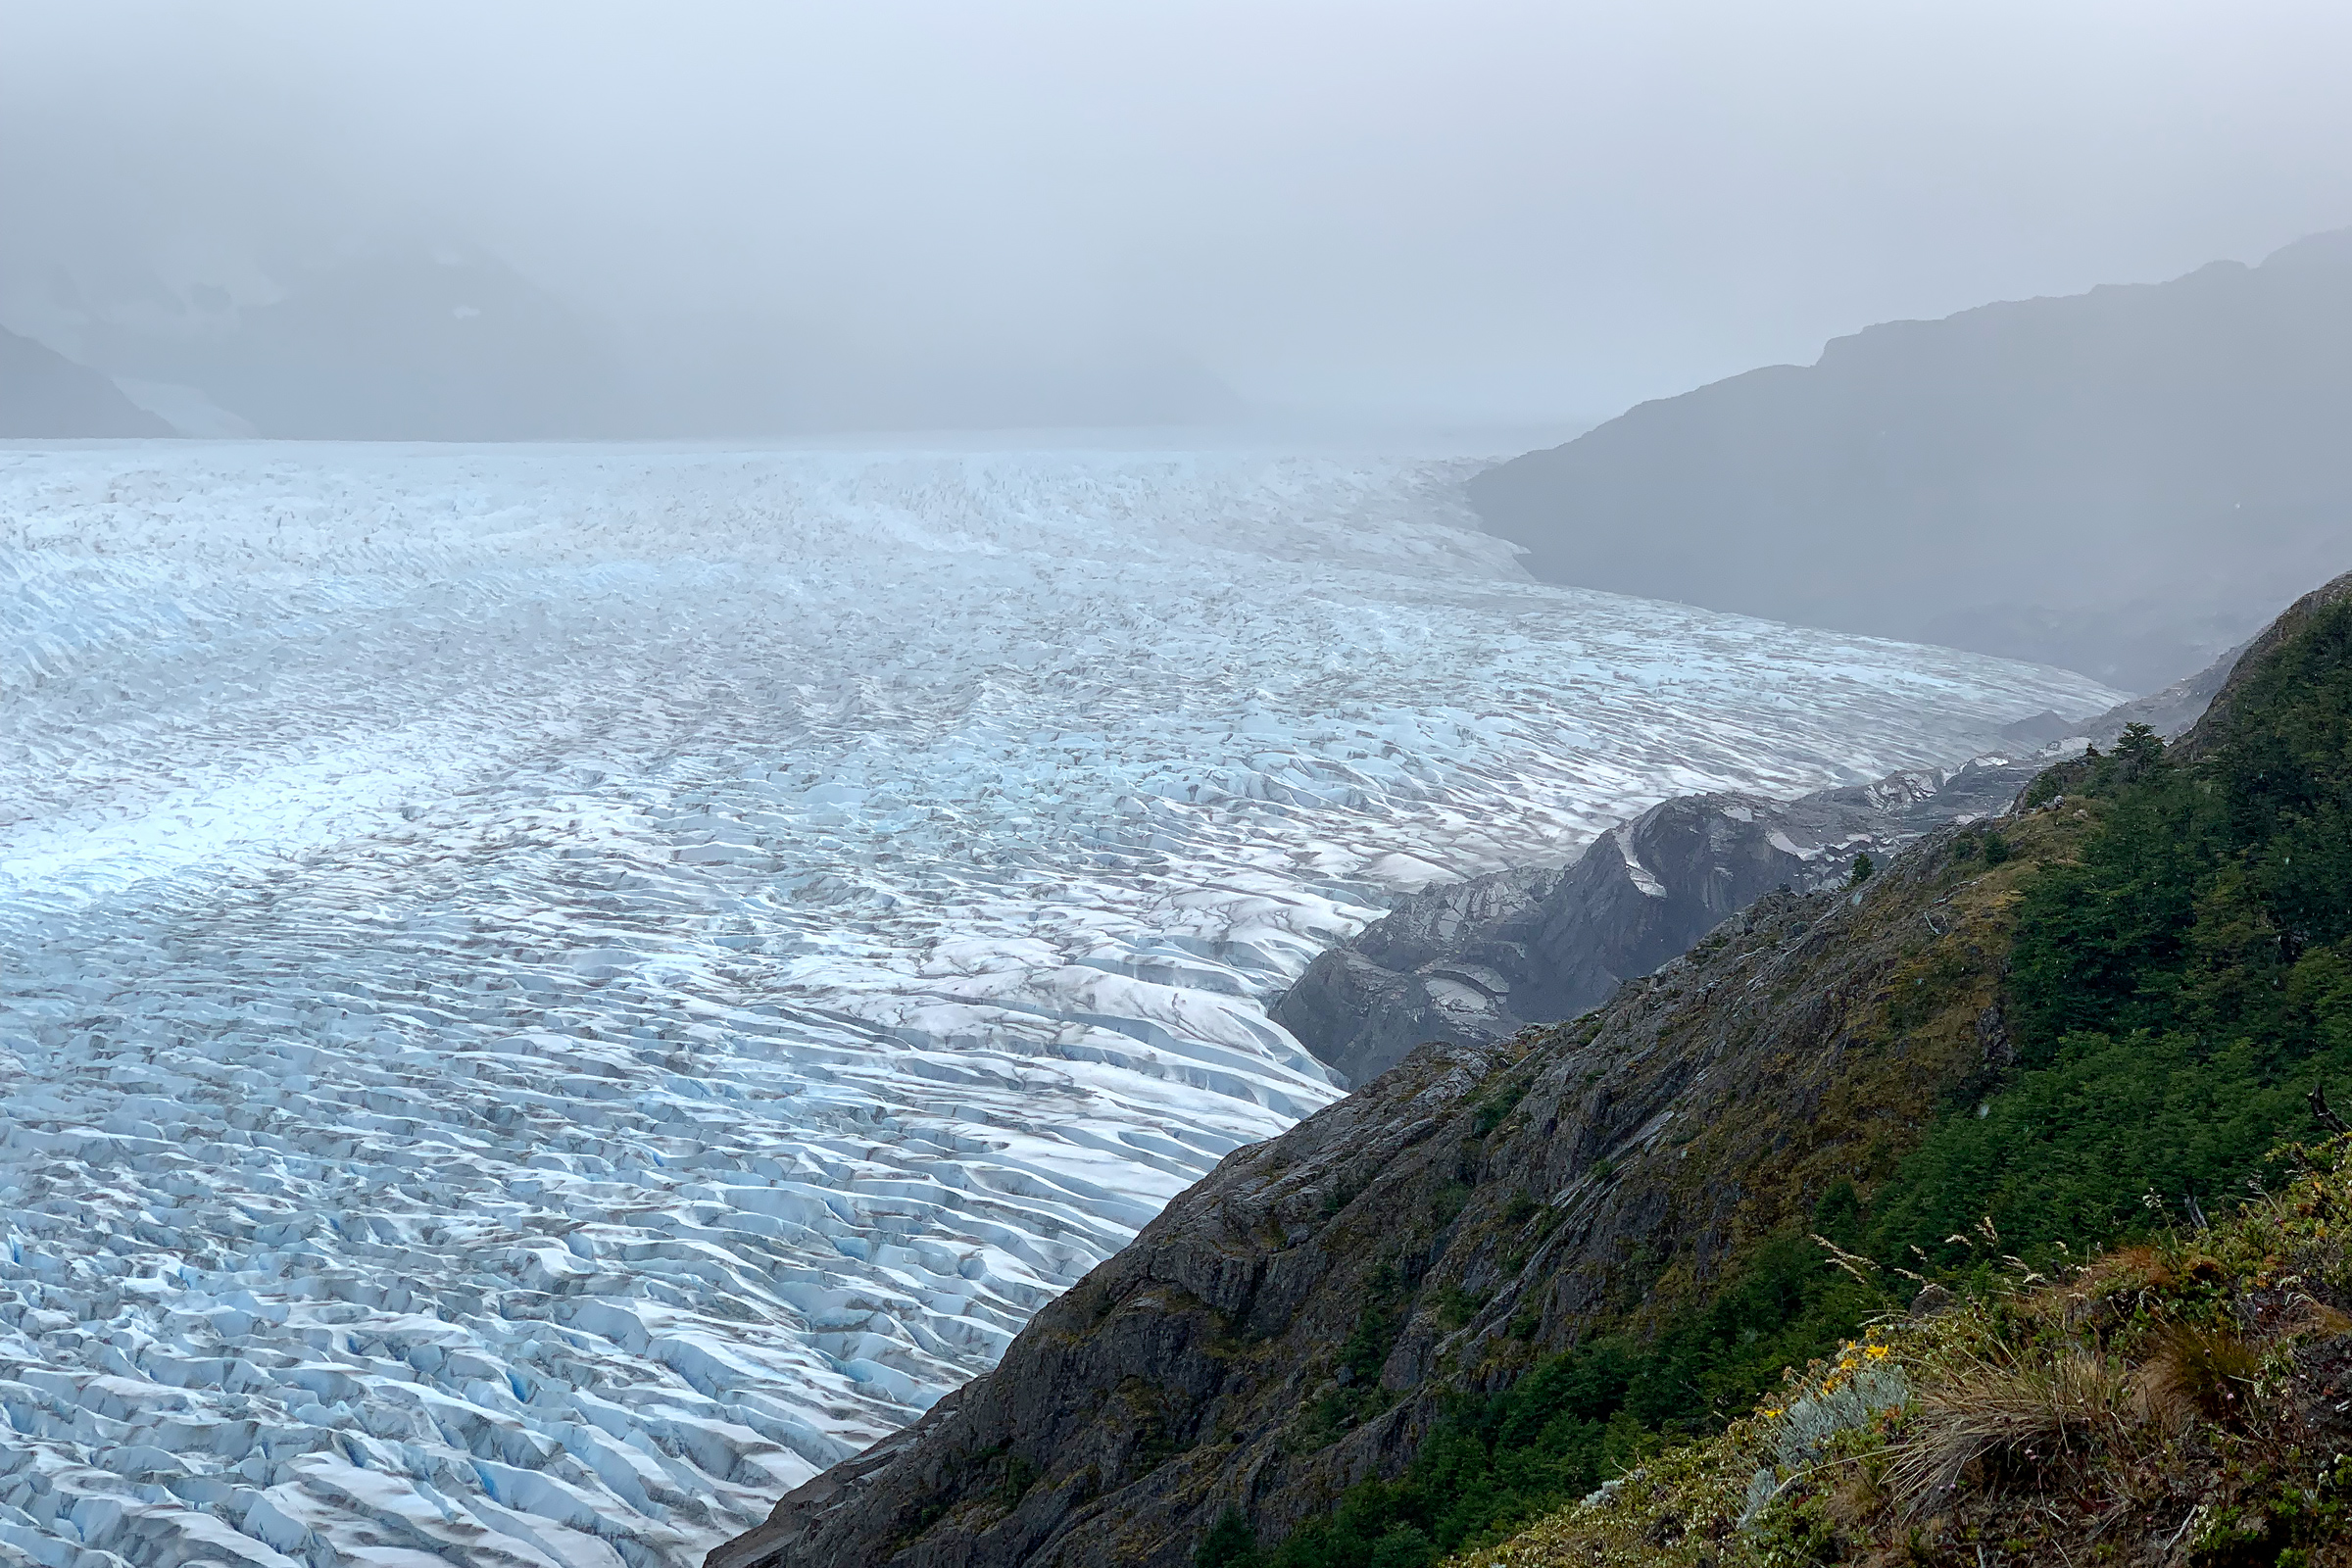
From Paso to Grey, the cliffside route is more exposed, the path is often narrow, and there are several switchbacks for negotiating the hillside.
Though the views above the glacier are incredible, it's here that the strong winds were the most scary.
At times, the winds would knock us off balance, and we had to grab on to shrubs for balance.
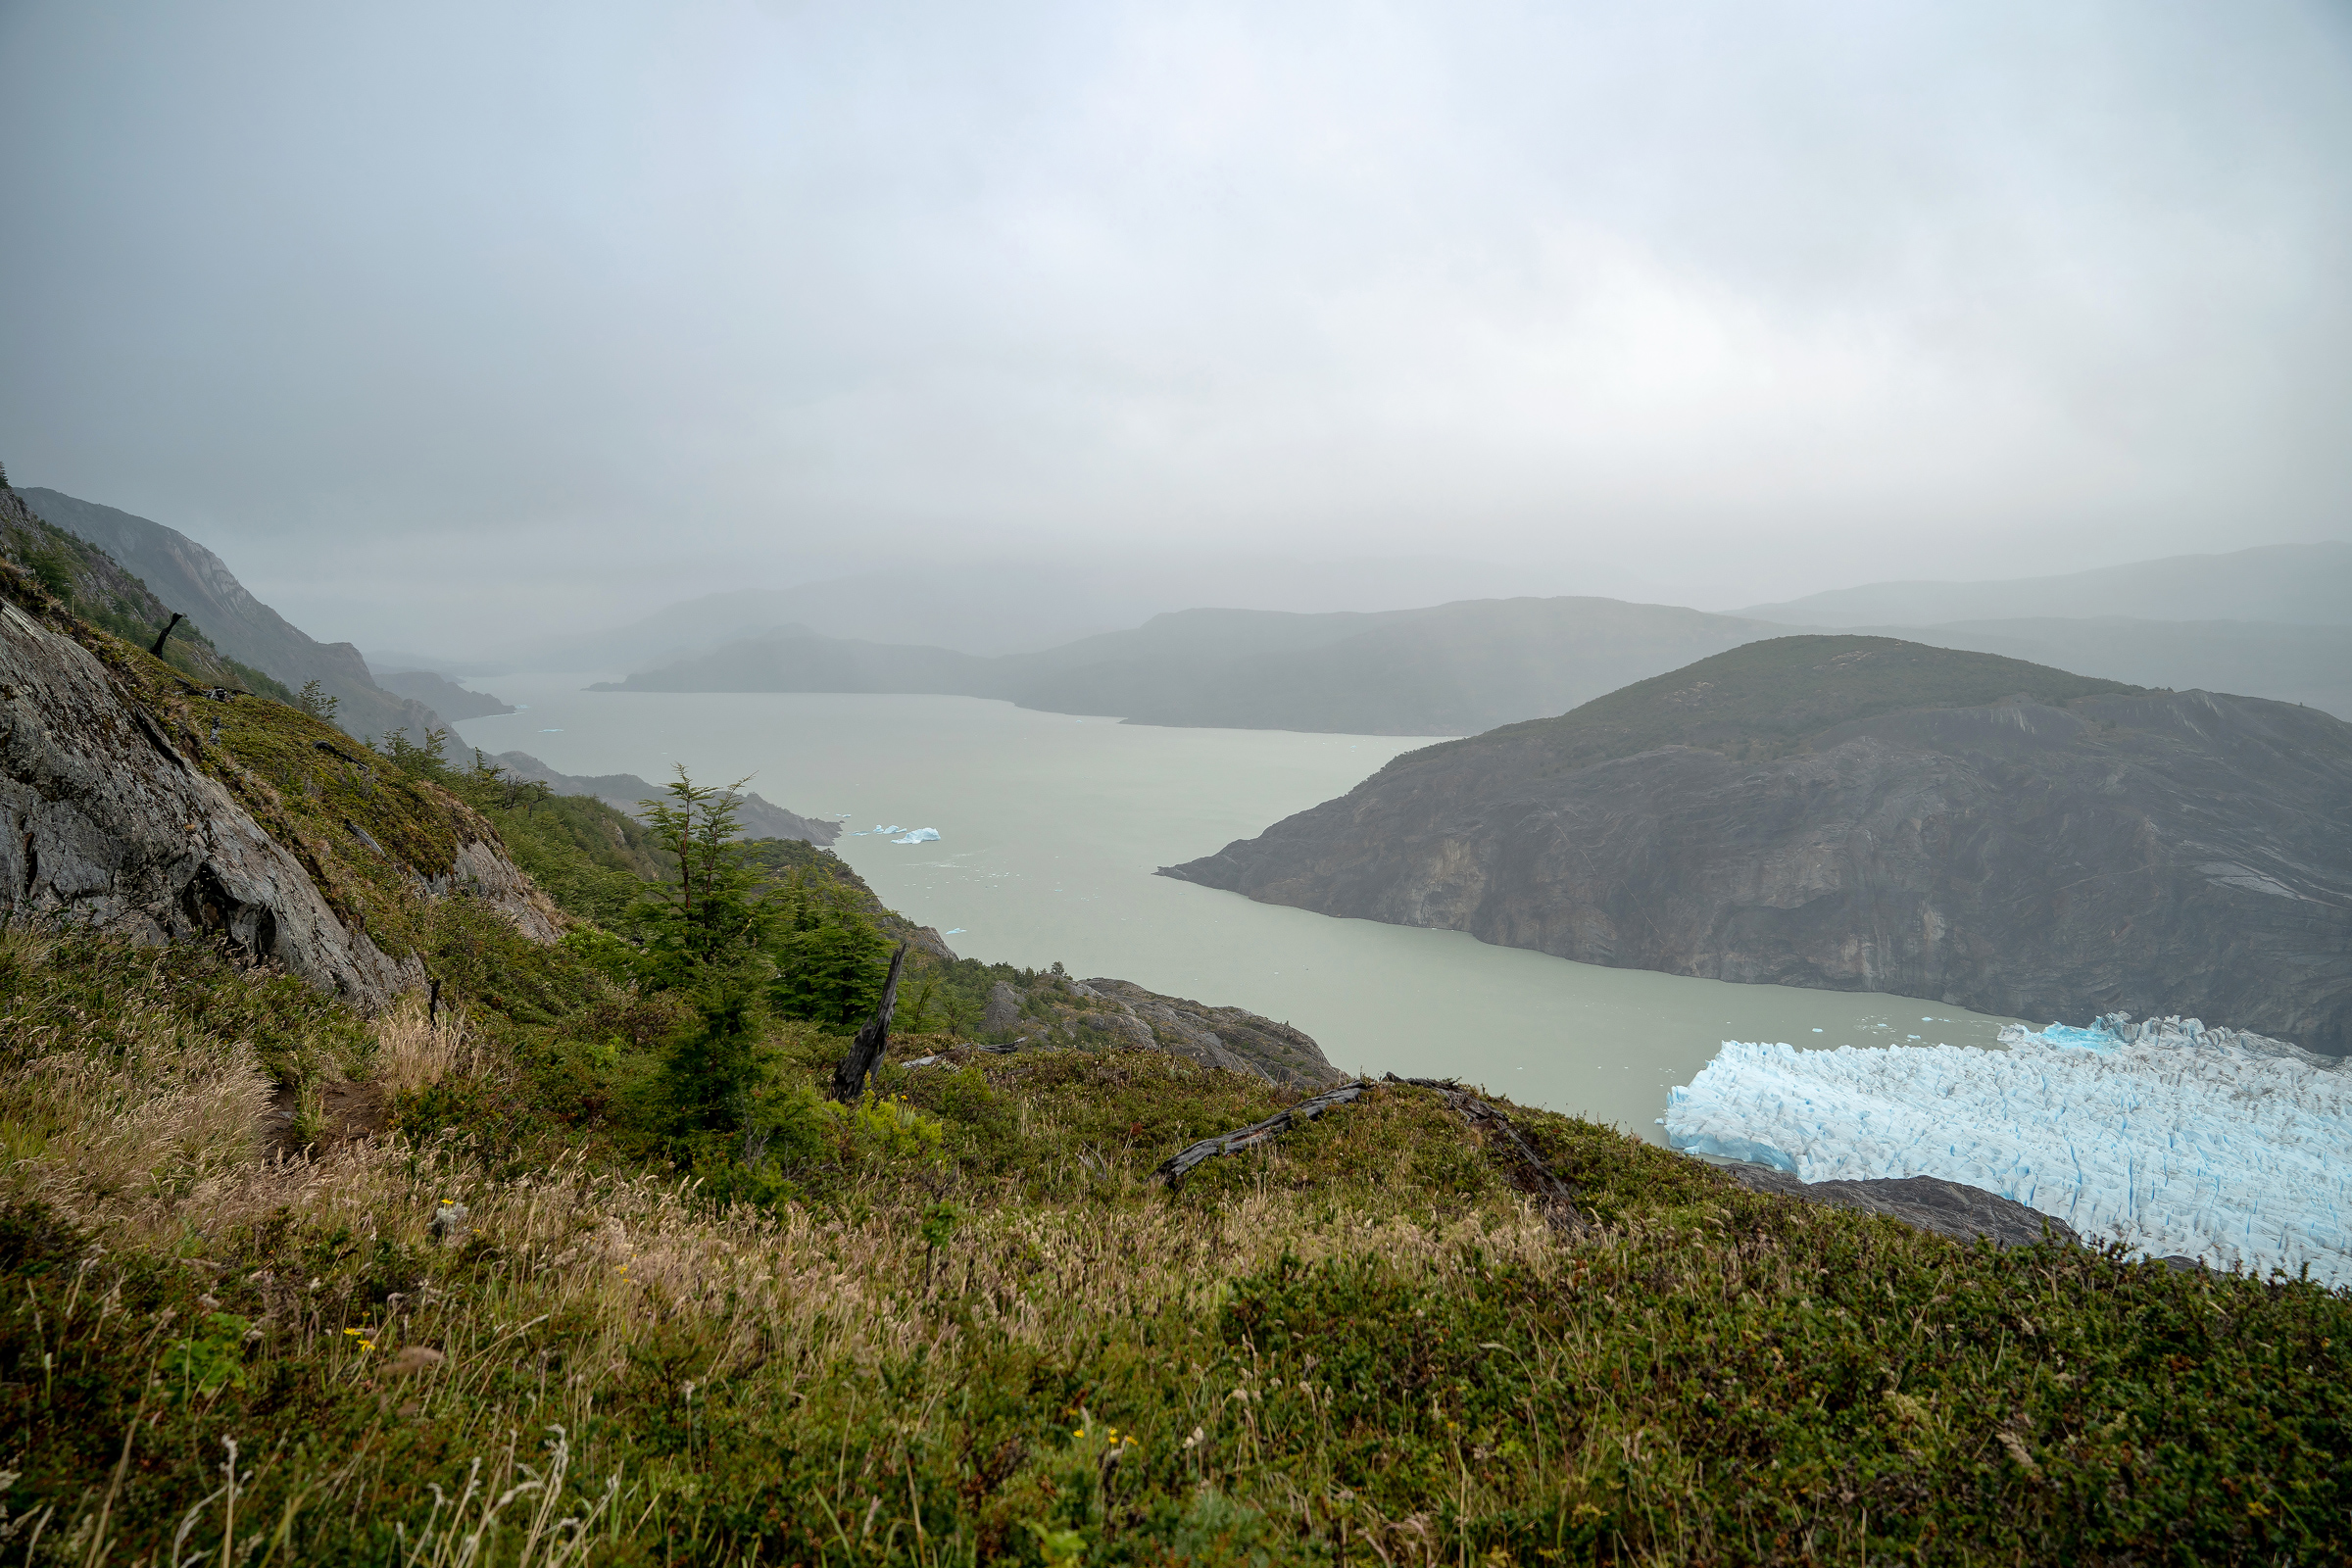
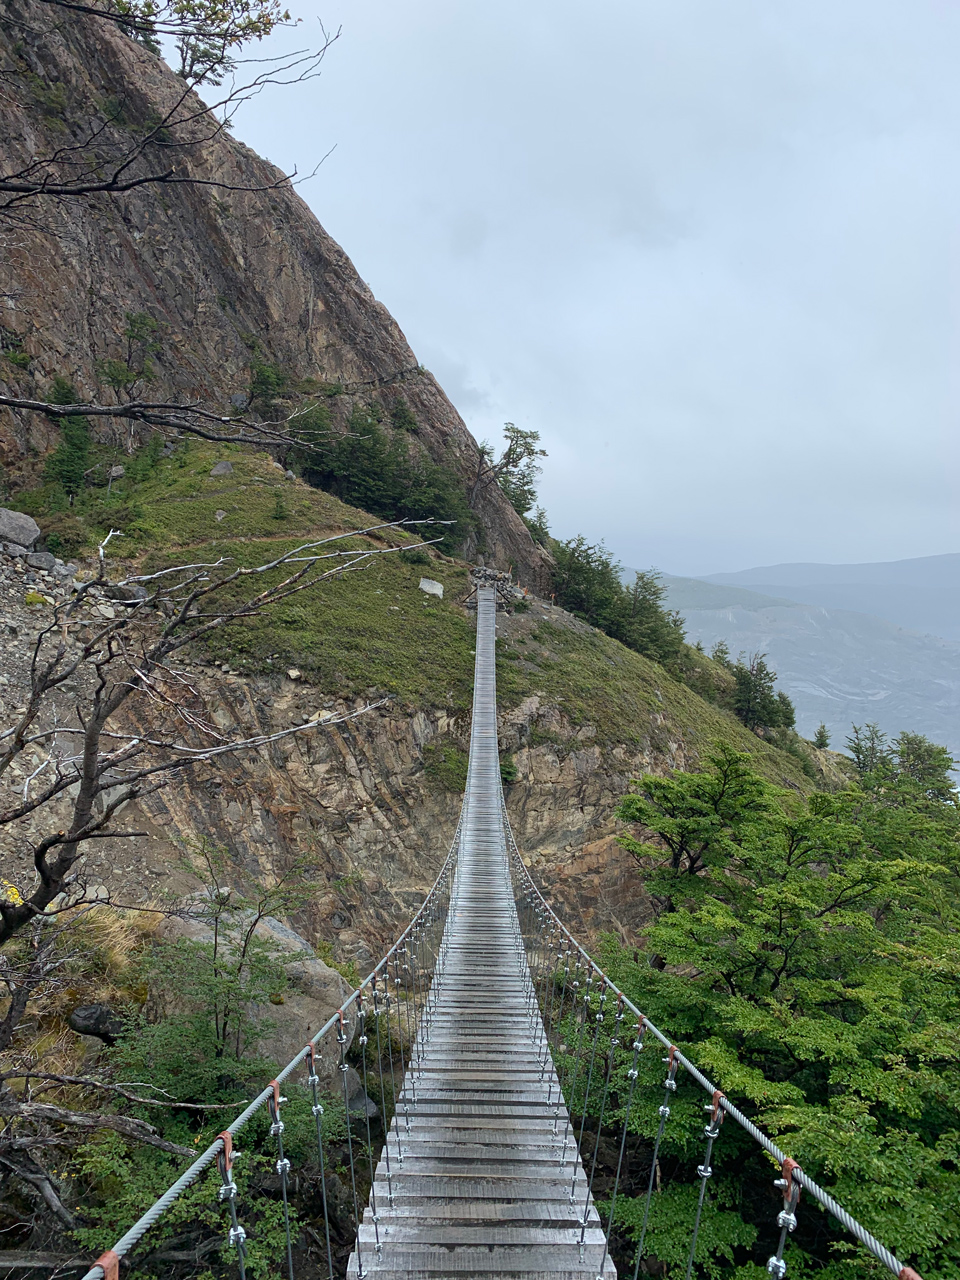
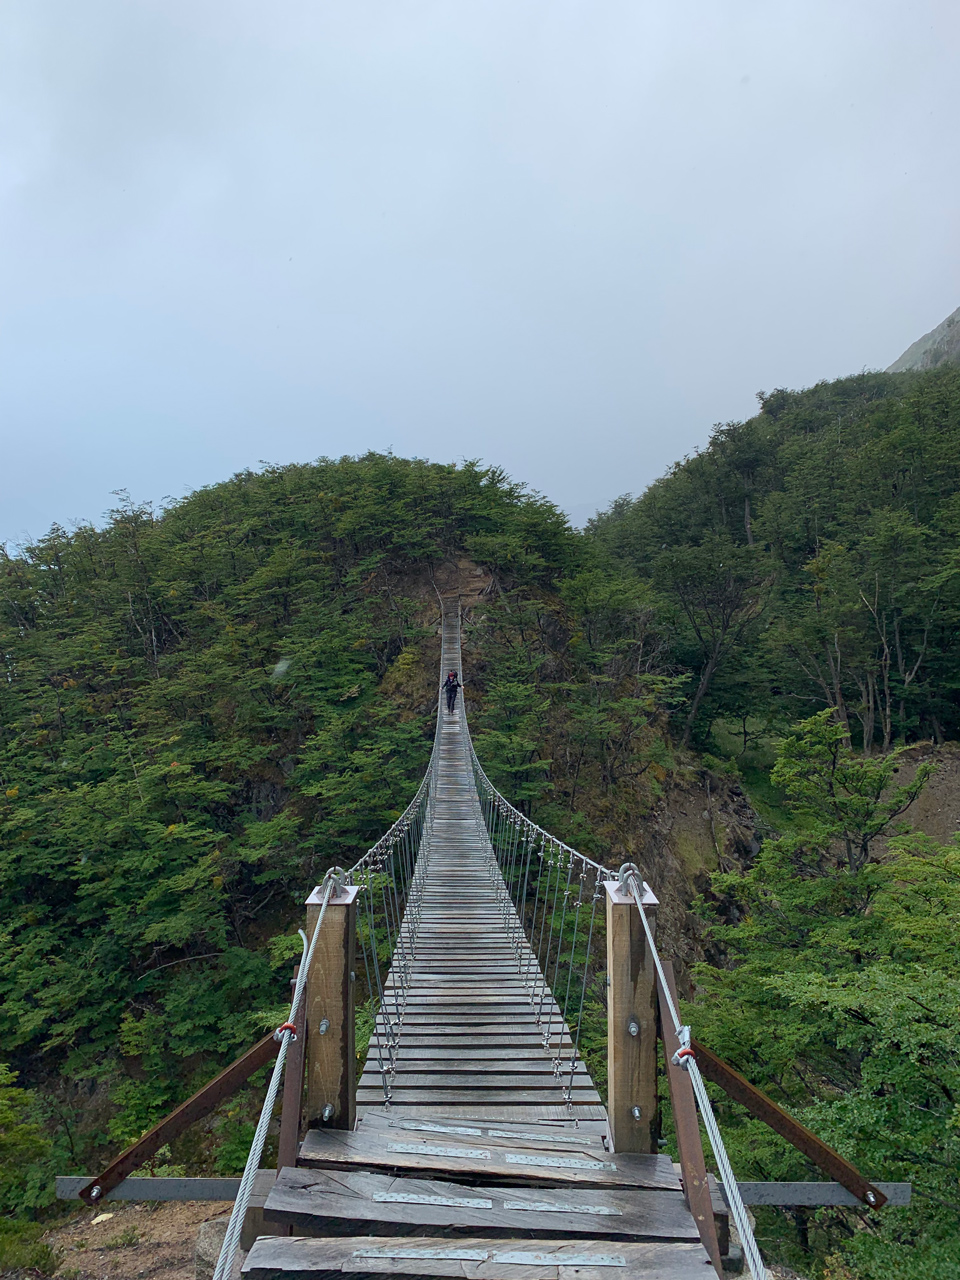
There were 3 suspension bridges we needed to cross to traverse the gorges along the route.
Frightening stuff with the winds blowing, and you'll want to take it slow and steady.
Reaching Grey was a huge relief.
The bar in the refugio doubles as the dining area, and there are also a couple of sofas next to a fireplace.
Here, they offered quesadillas, burgers, and a variety of coffee drinks.
Those staying at the refugio have access to showers and bathrooms on the second level.
I never stopped in the campsite building, but there was an indoor cooking area as well as communal showers and bathrooms.
Day 5: Kayaking Lago Grey
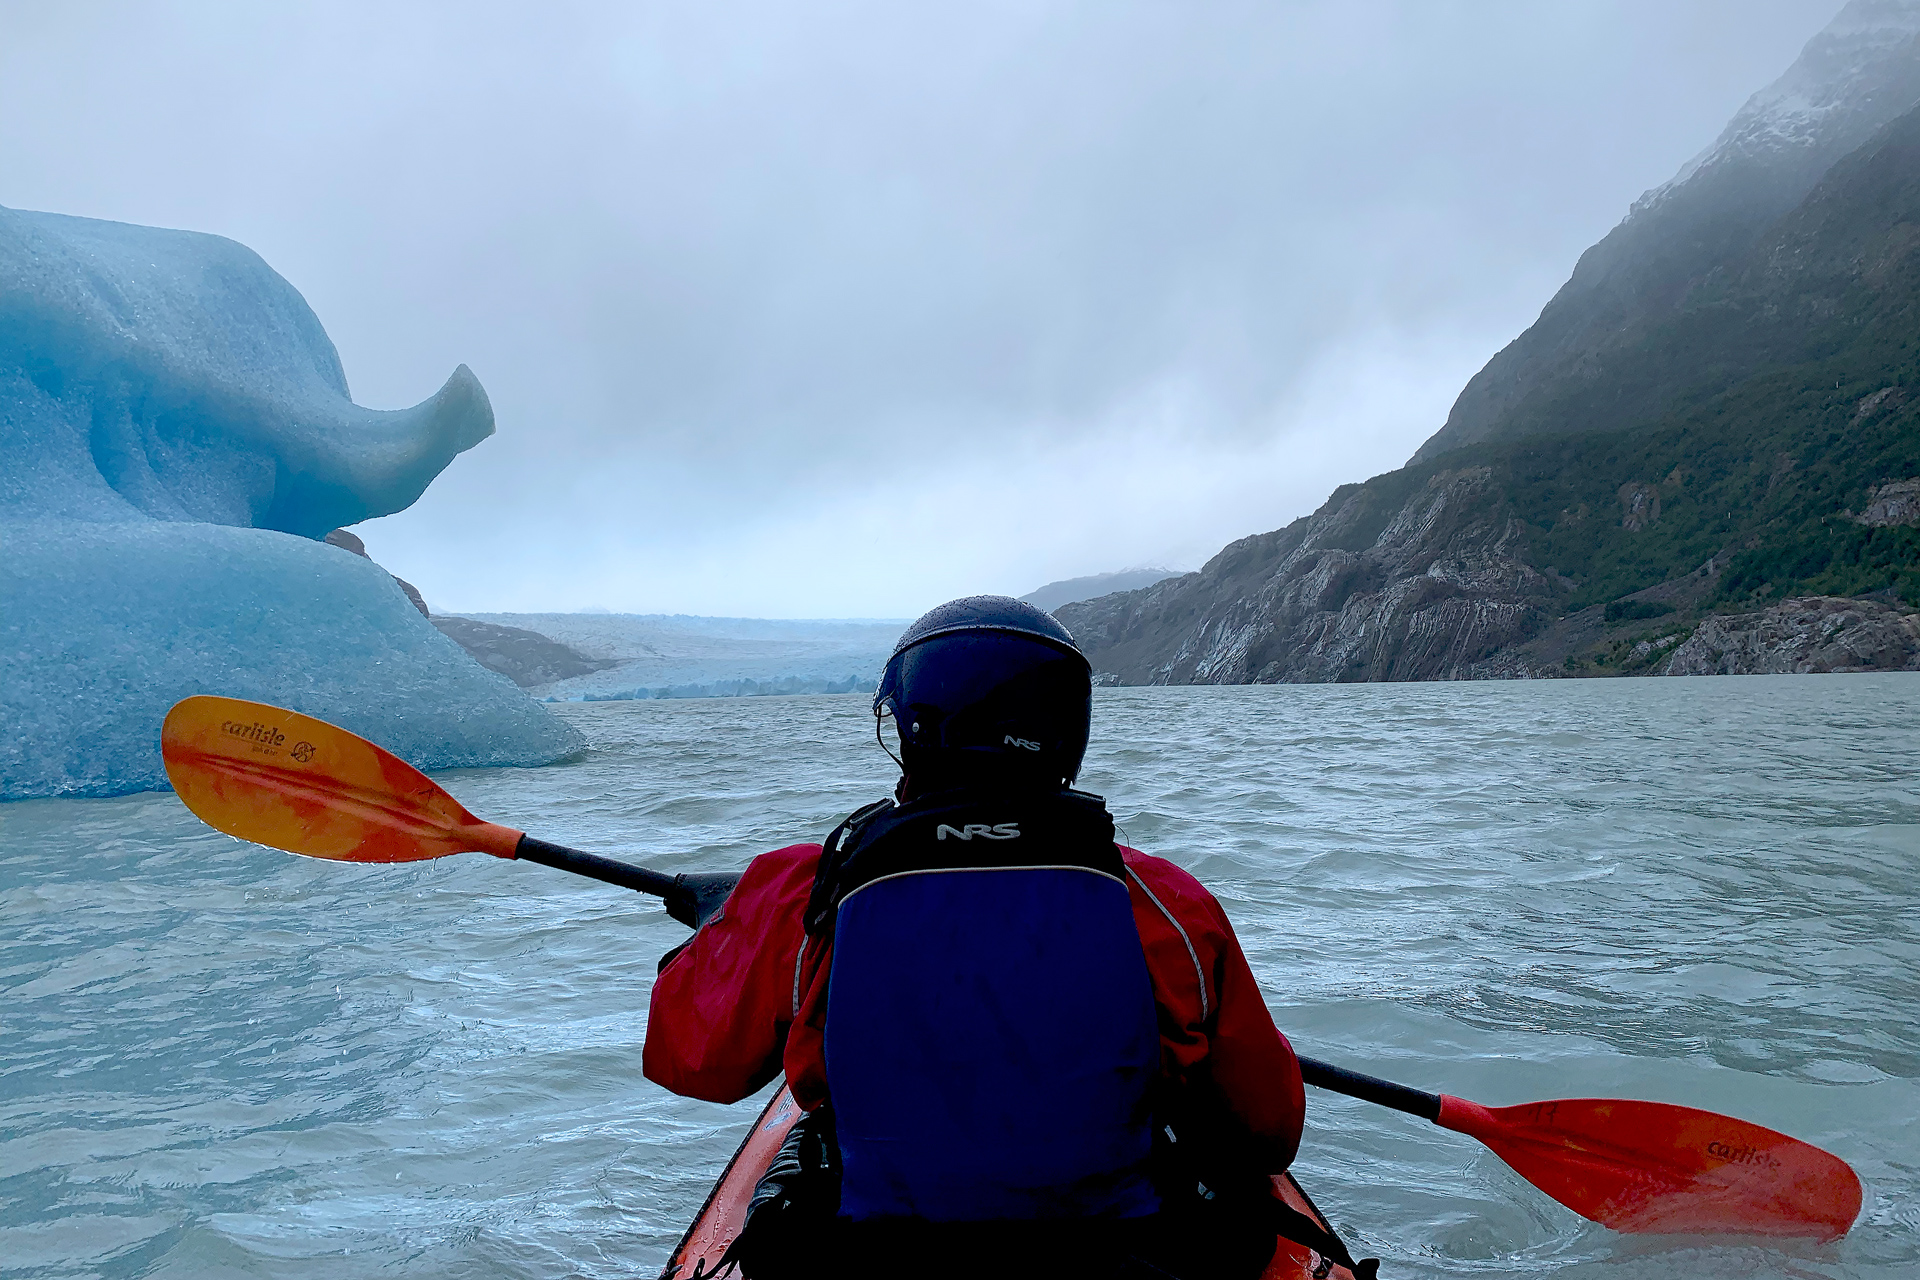
A company called Big Foot operates a half-day kayak tour in the mornings and afternoons.
Reservations are required and can book out quickly.
Since there are limited spots, I booked the kayak excursion a few months ahead.
On the morning of our excursion, we walked about 7 minutes from Refugio Grey to the Bigfoot meeting area.
The exact route for the kayak tour may change based on wind and rain.
On the day we went, there was light rain and wind, but we were able to see quite a lot.
Our kayaks made landfall a few hundred meters from the foot of the glacier, where we could complete a short walk to a nice viewing area.
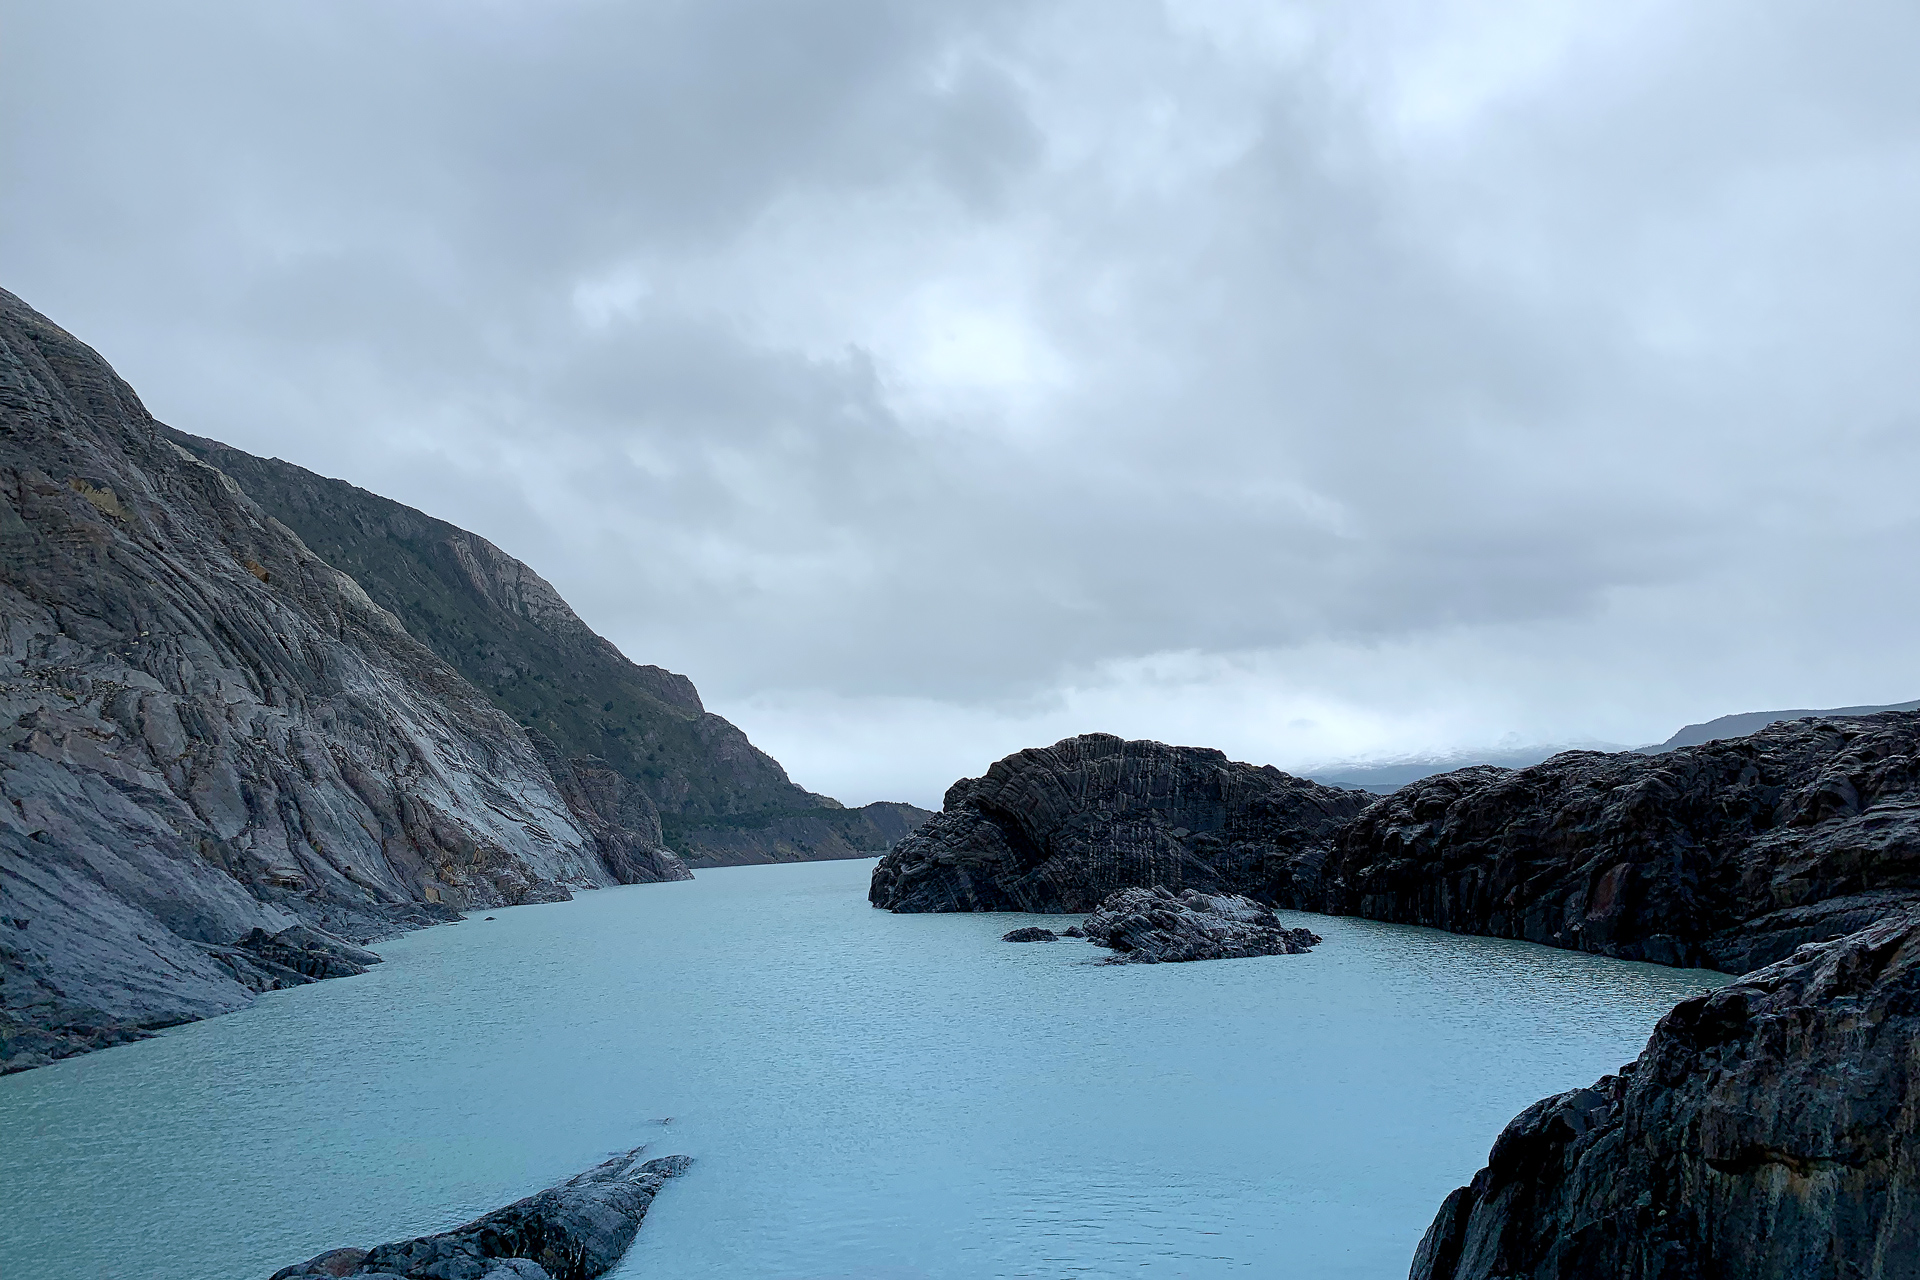
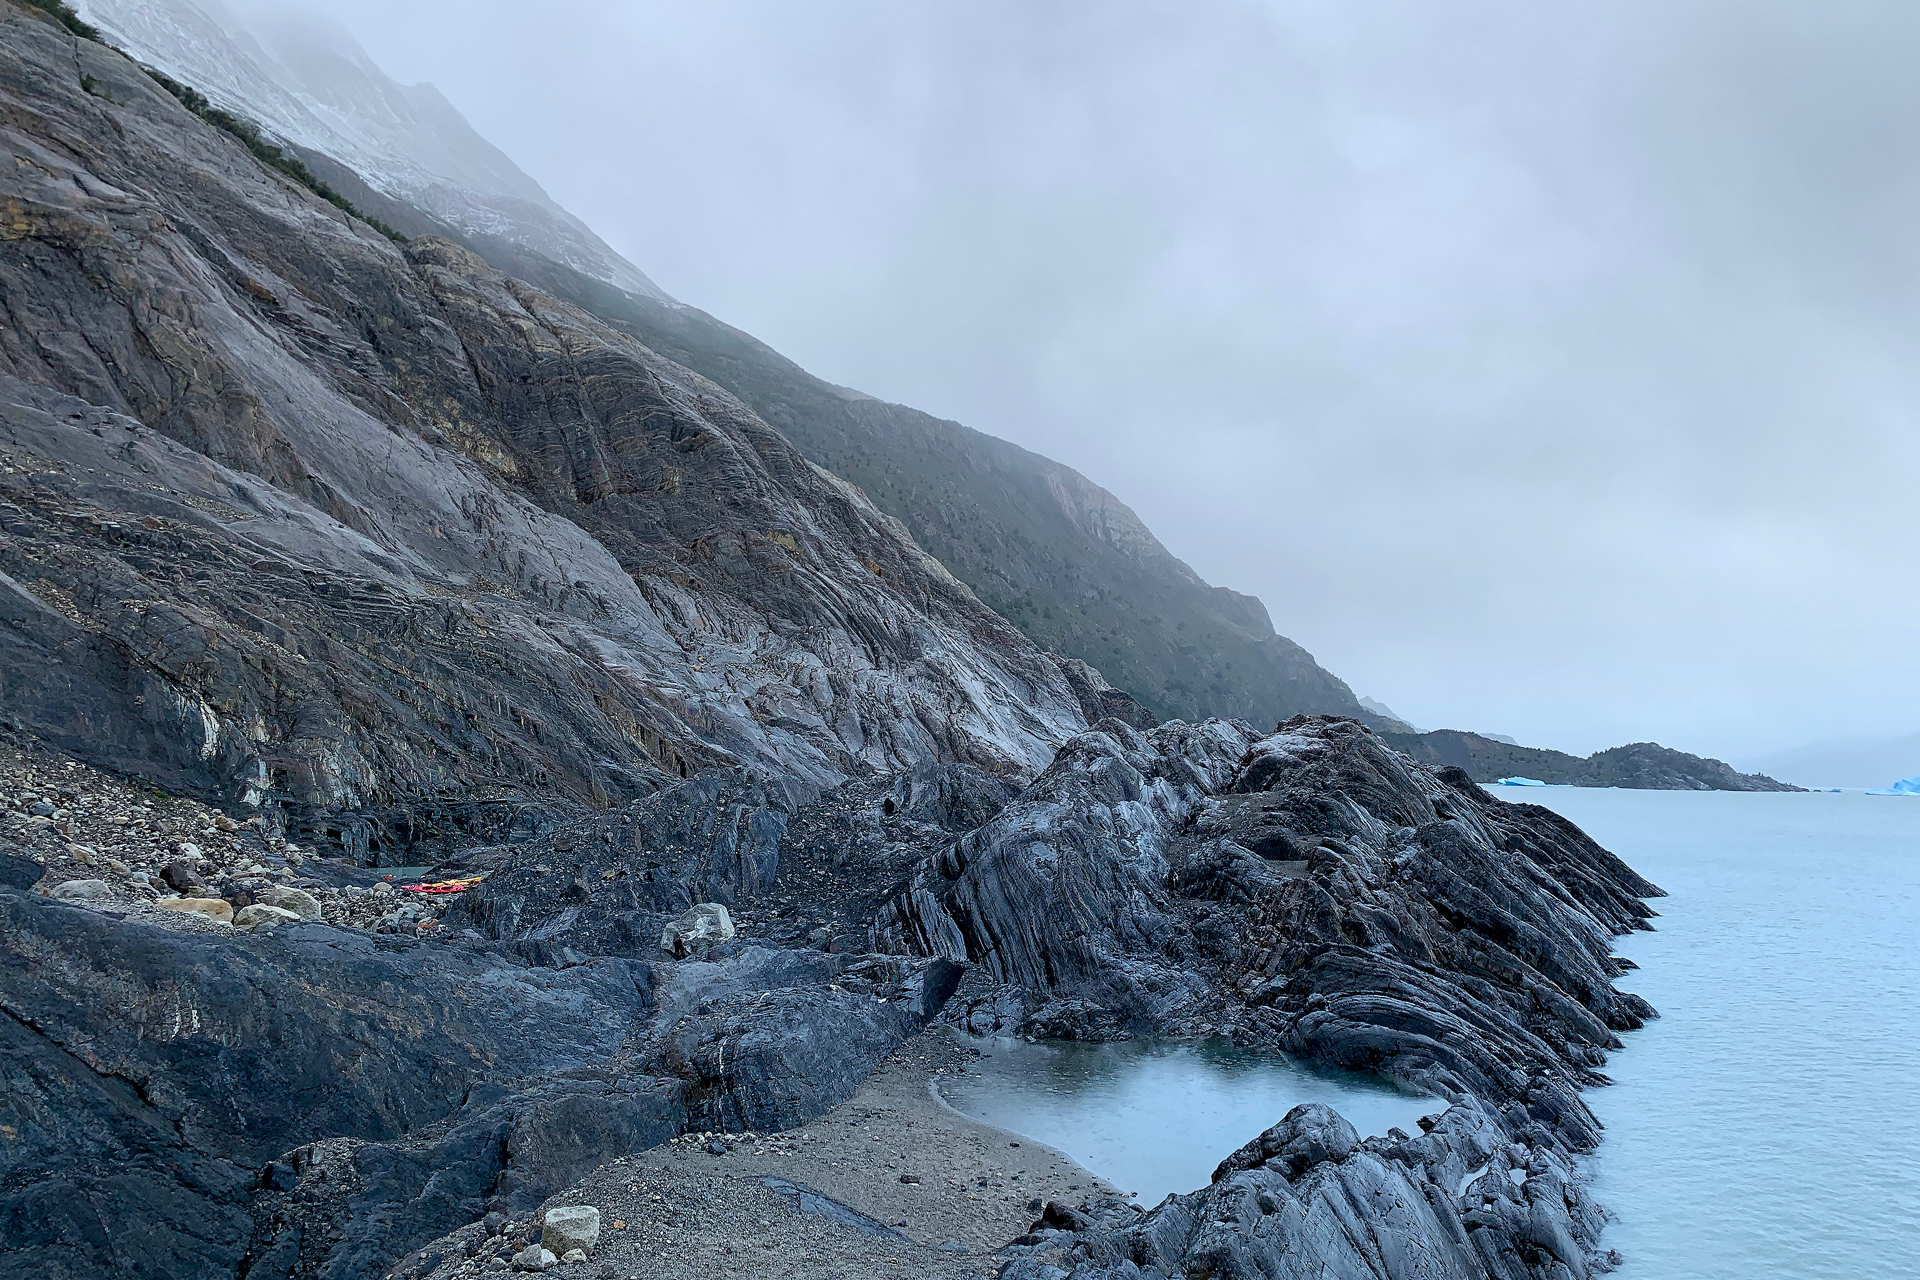
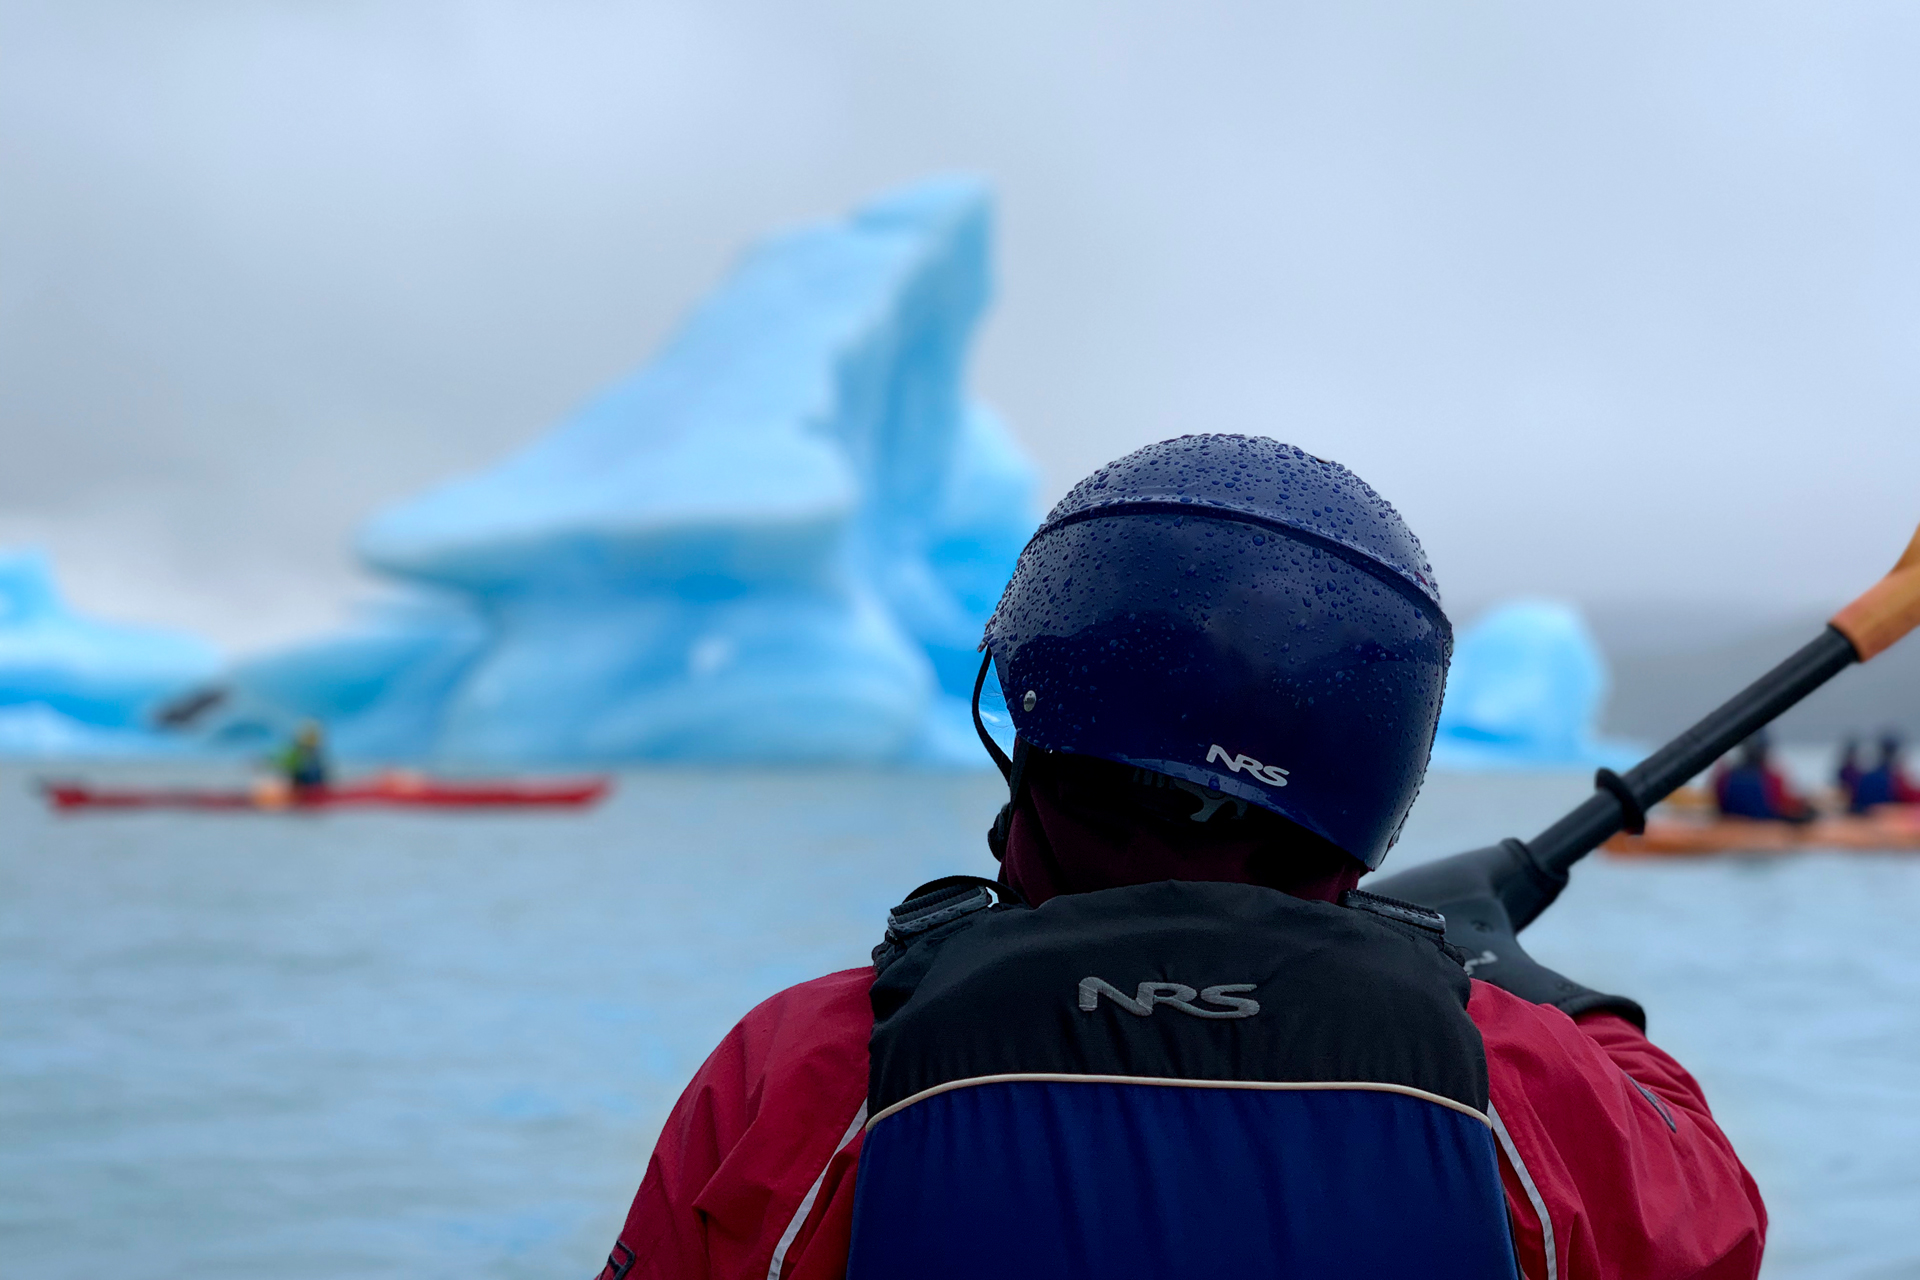
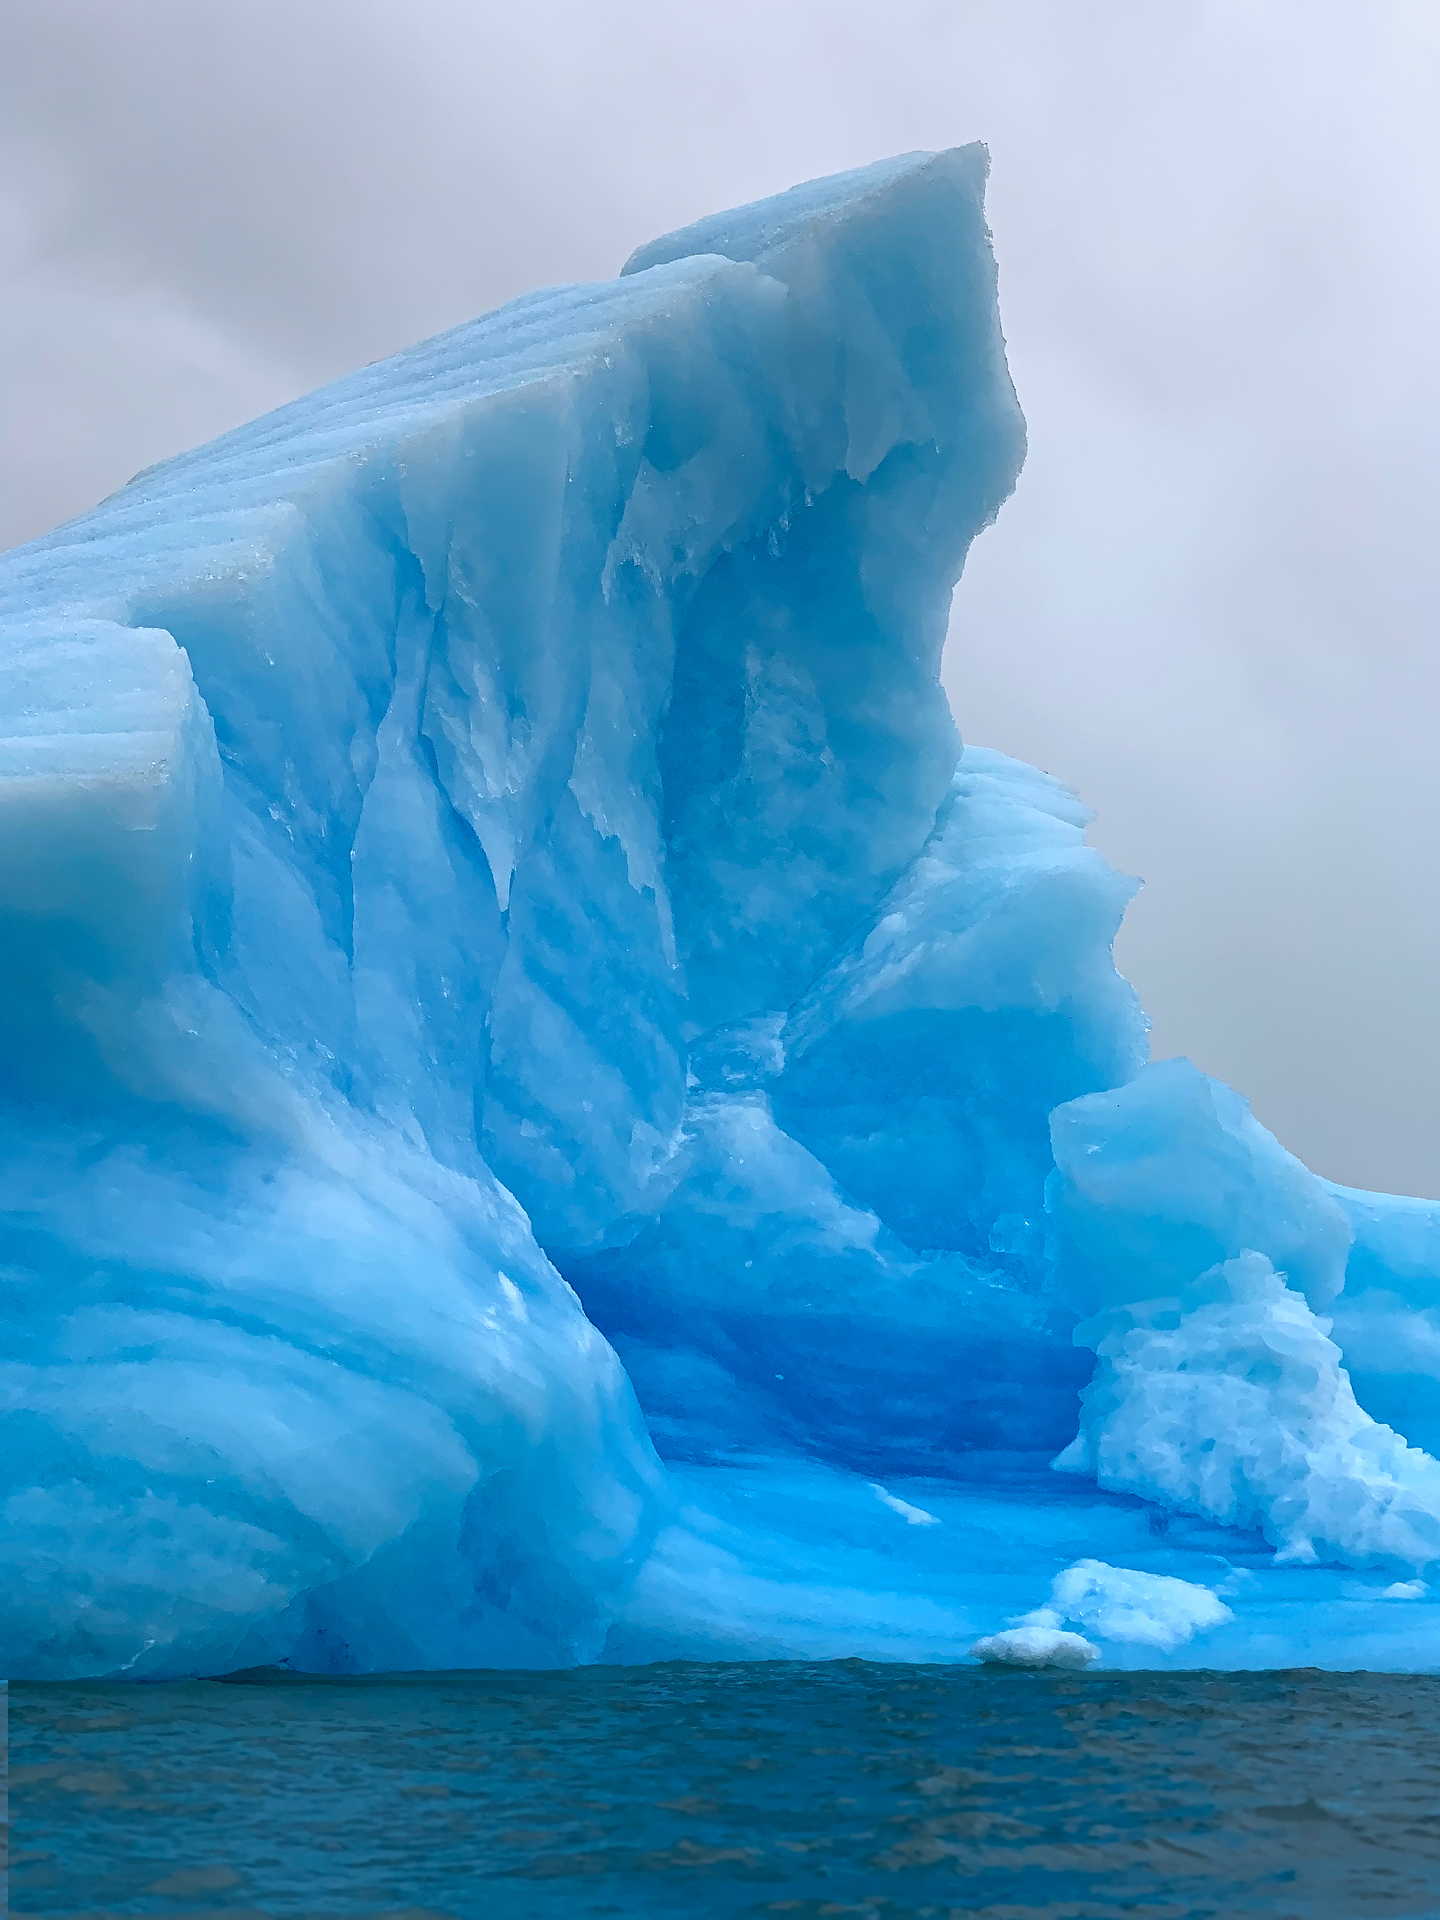
Arriving at Grey the previous day, I remember wondering whether doing a kayak trip on the day after summiting the John Gardner Pass would be too much.
This turned out to be a beautiful experience despite the rain, and it was a nice break for the legs.
Though it would have have been possible to continue hiking to Paine Grande in the afternoon after kayaking, we were thankful we could relax at Grey the rest of the day.
Day 6: Grey to Paine Grande
7 miles one way, 860 feet gain, 880 feet loss, ~900 feet highest elevation
After the John Gardner Pass, this was a super chill, easy hiking day with not much mileage to cover.
There are a few hills, but nothing like the previous hiking day.
By this point, you're no longer hiking alongside the glacier.
Instead, there are plenty of views back toward Grey where you can see the foot of the glacier.
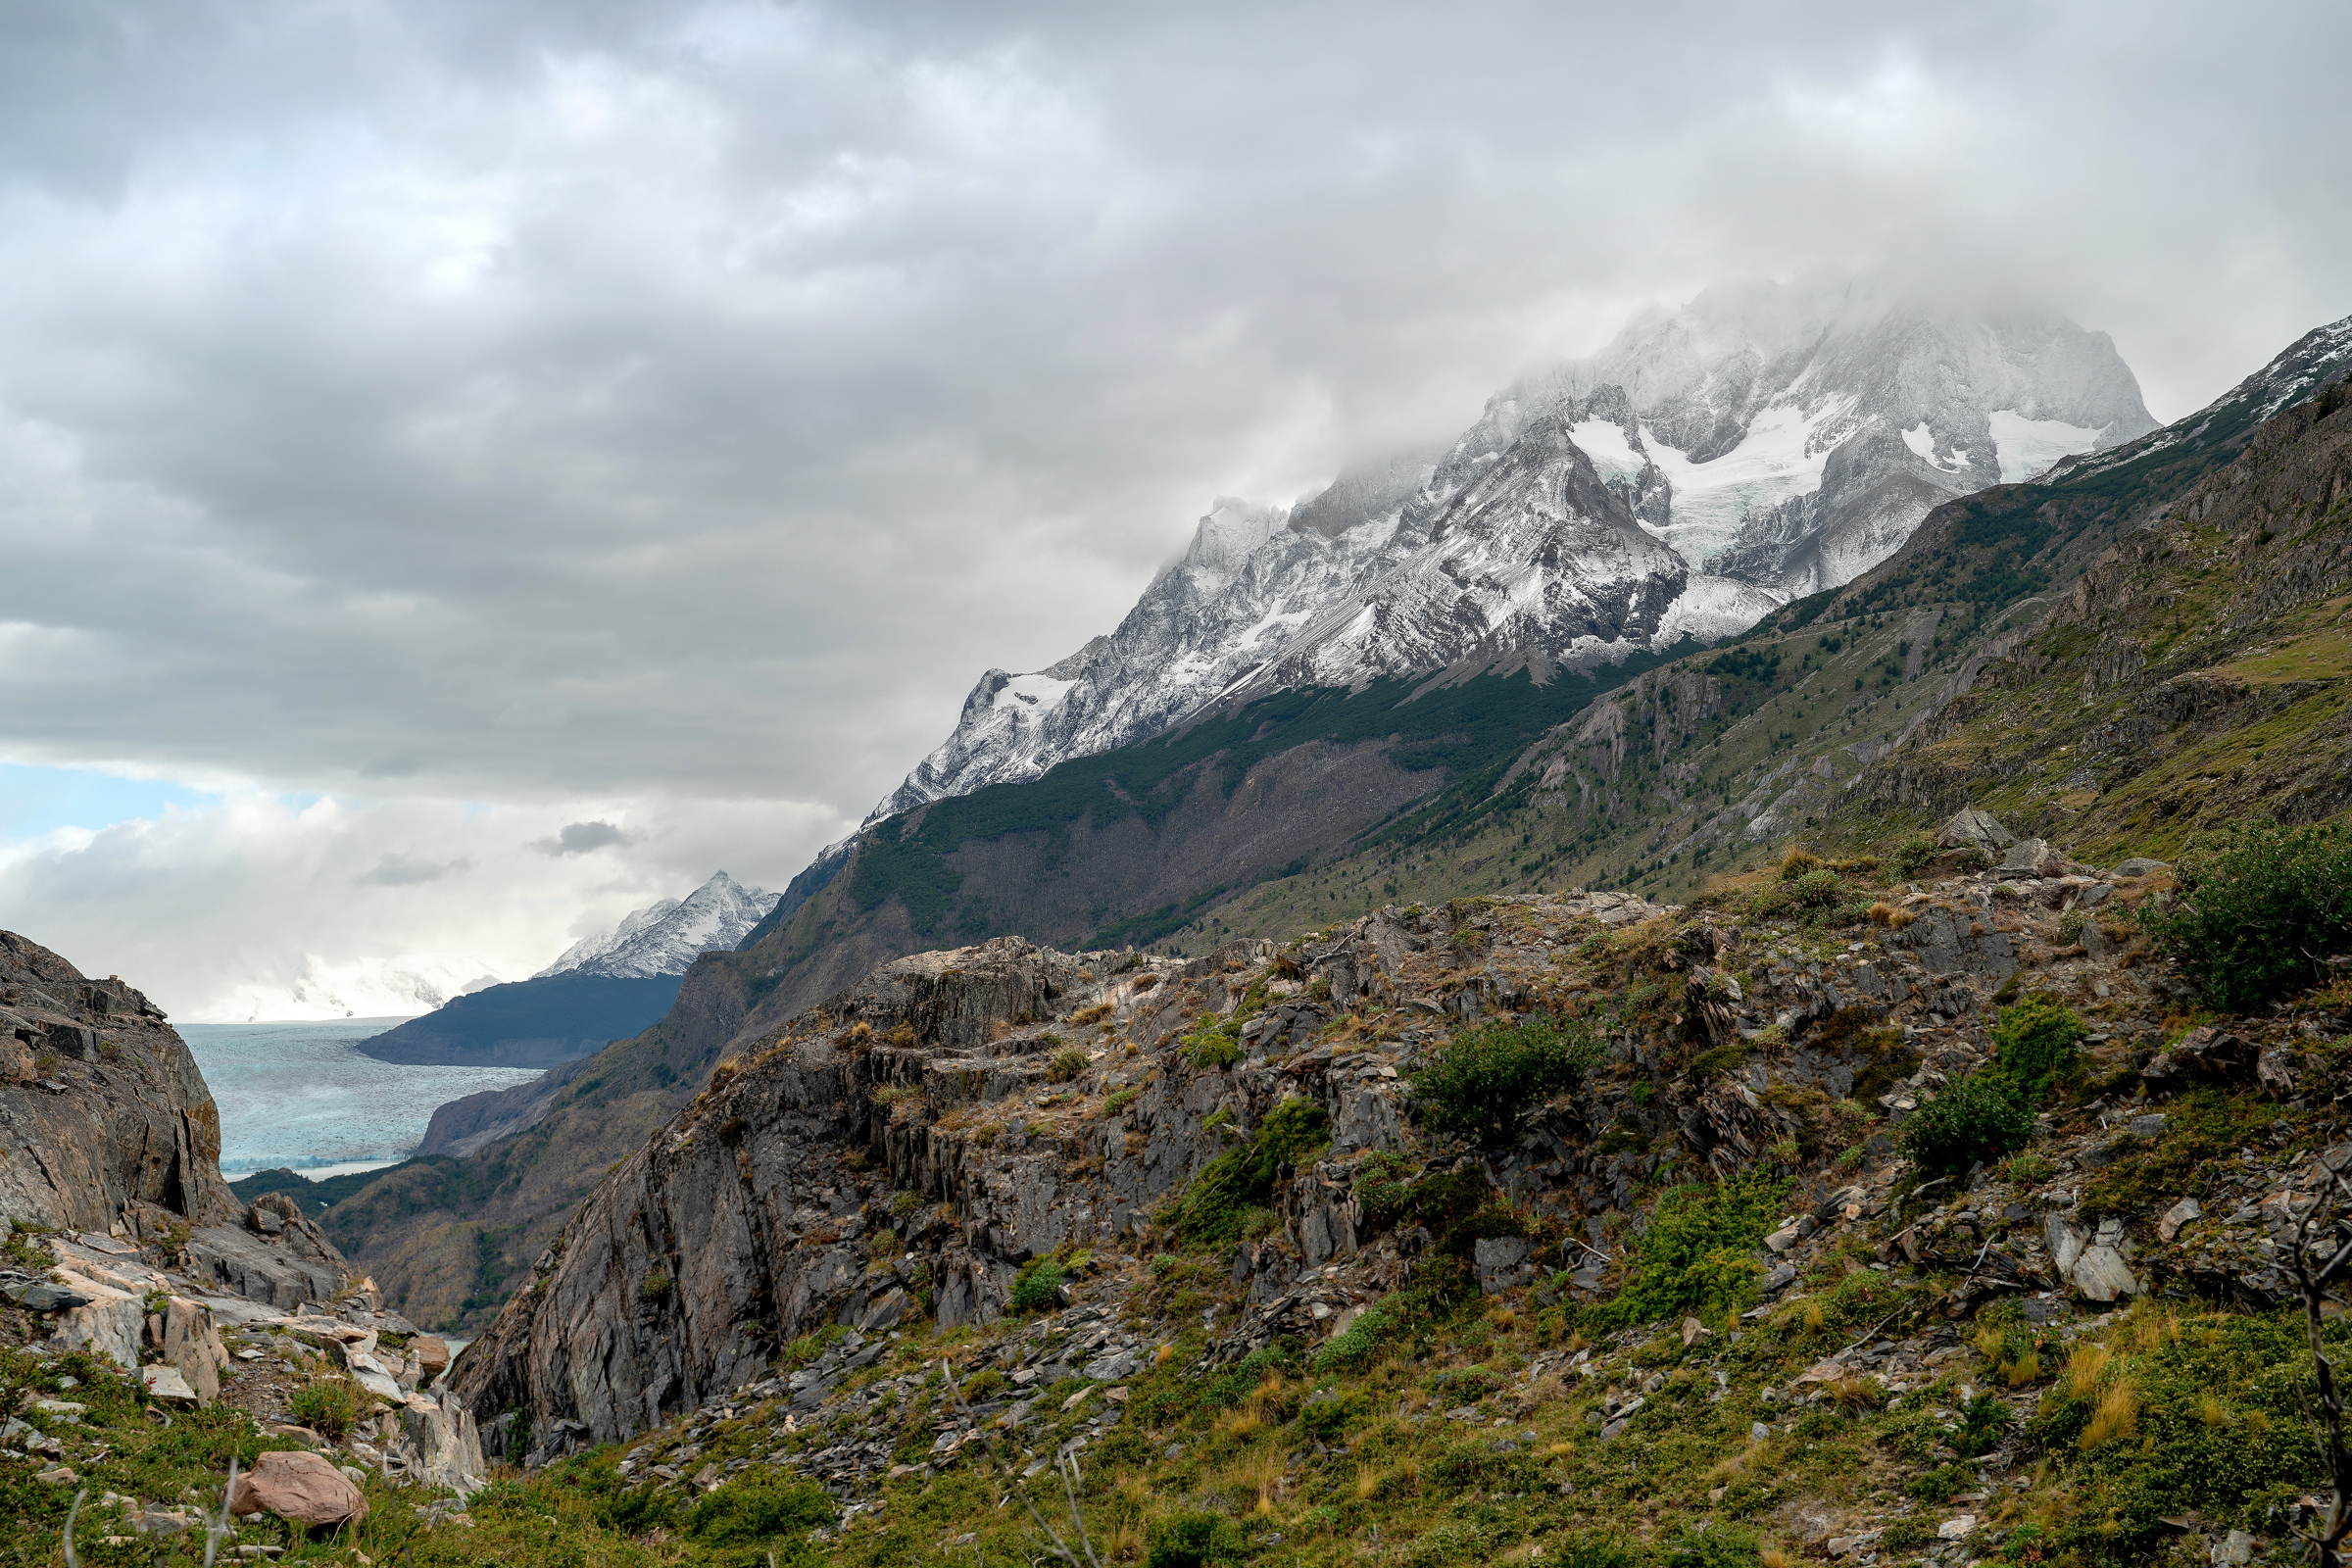
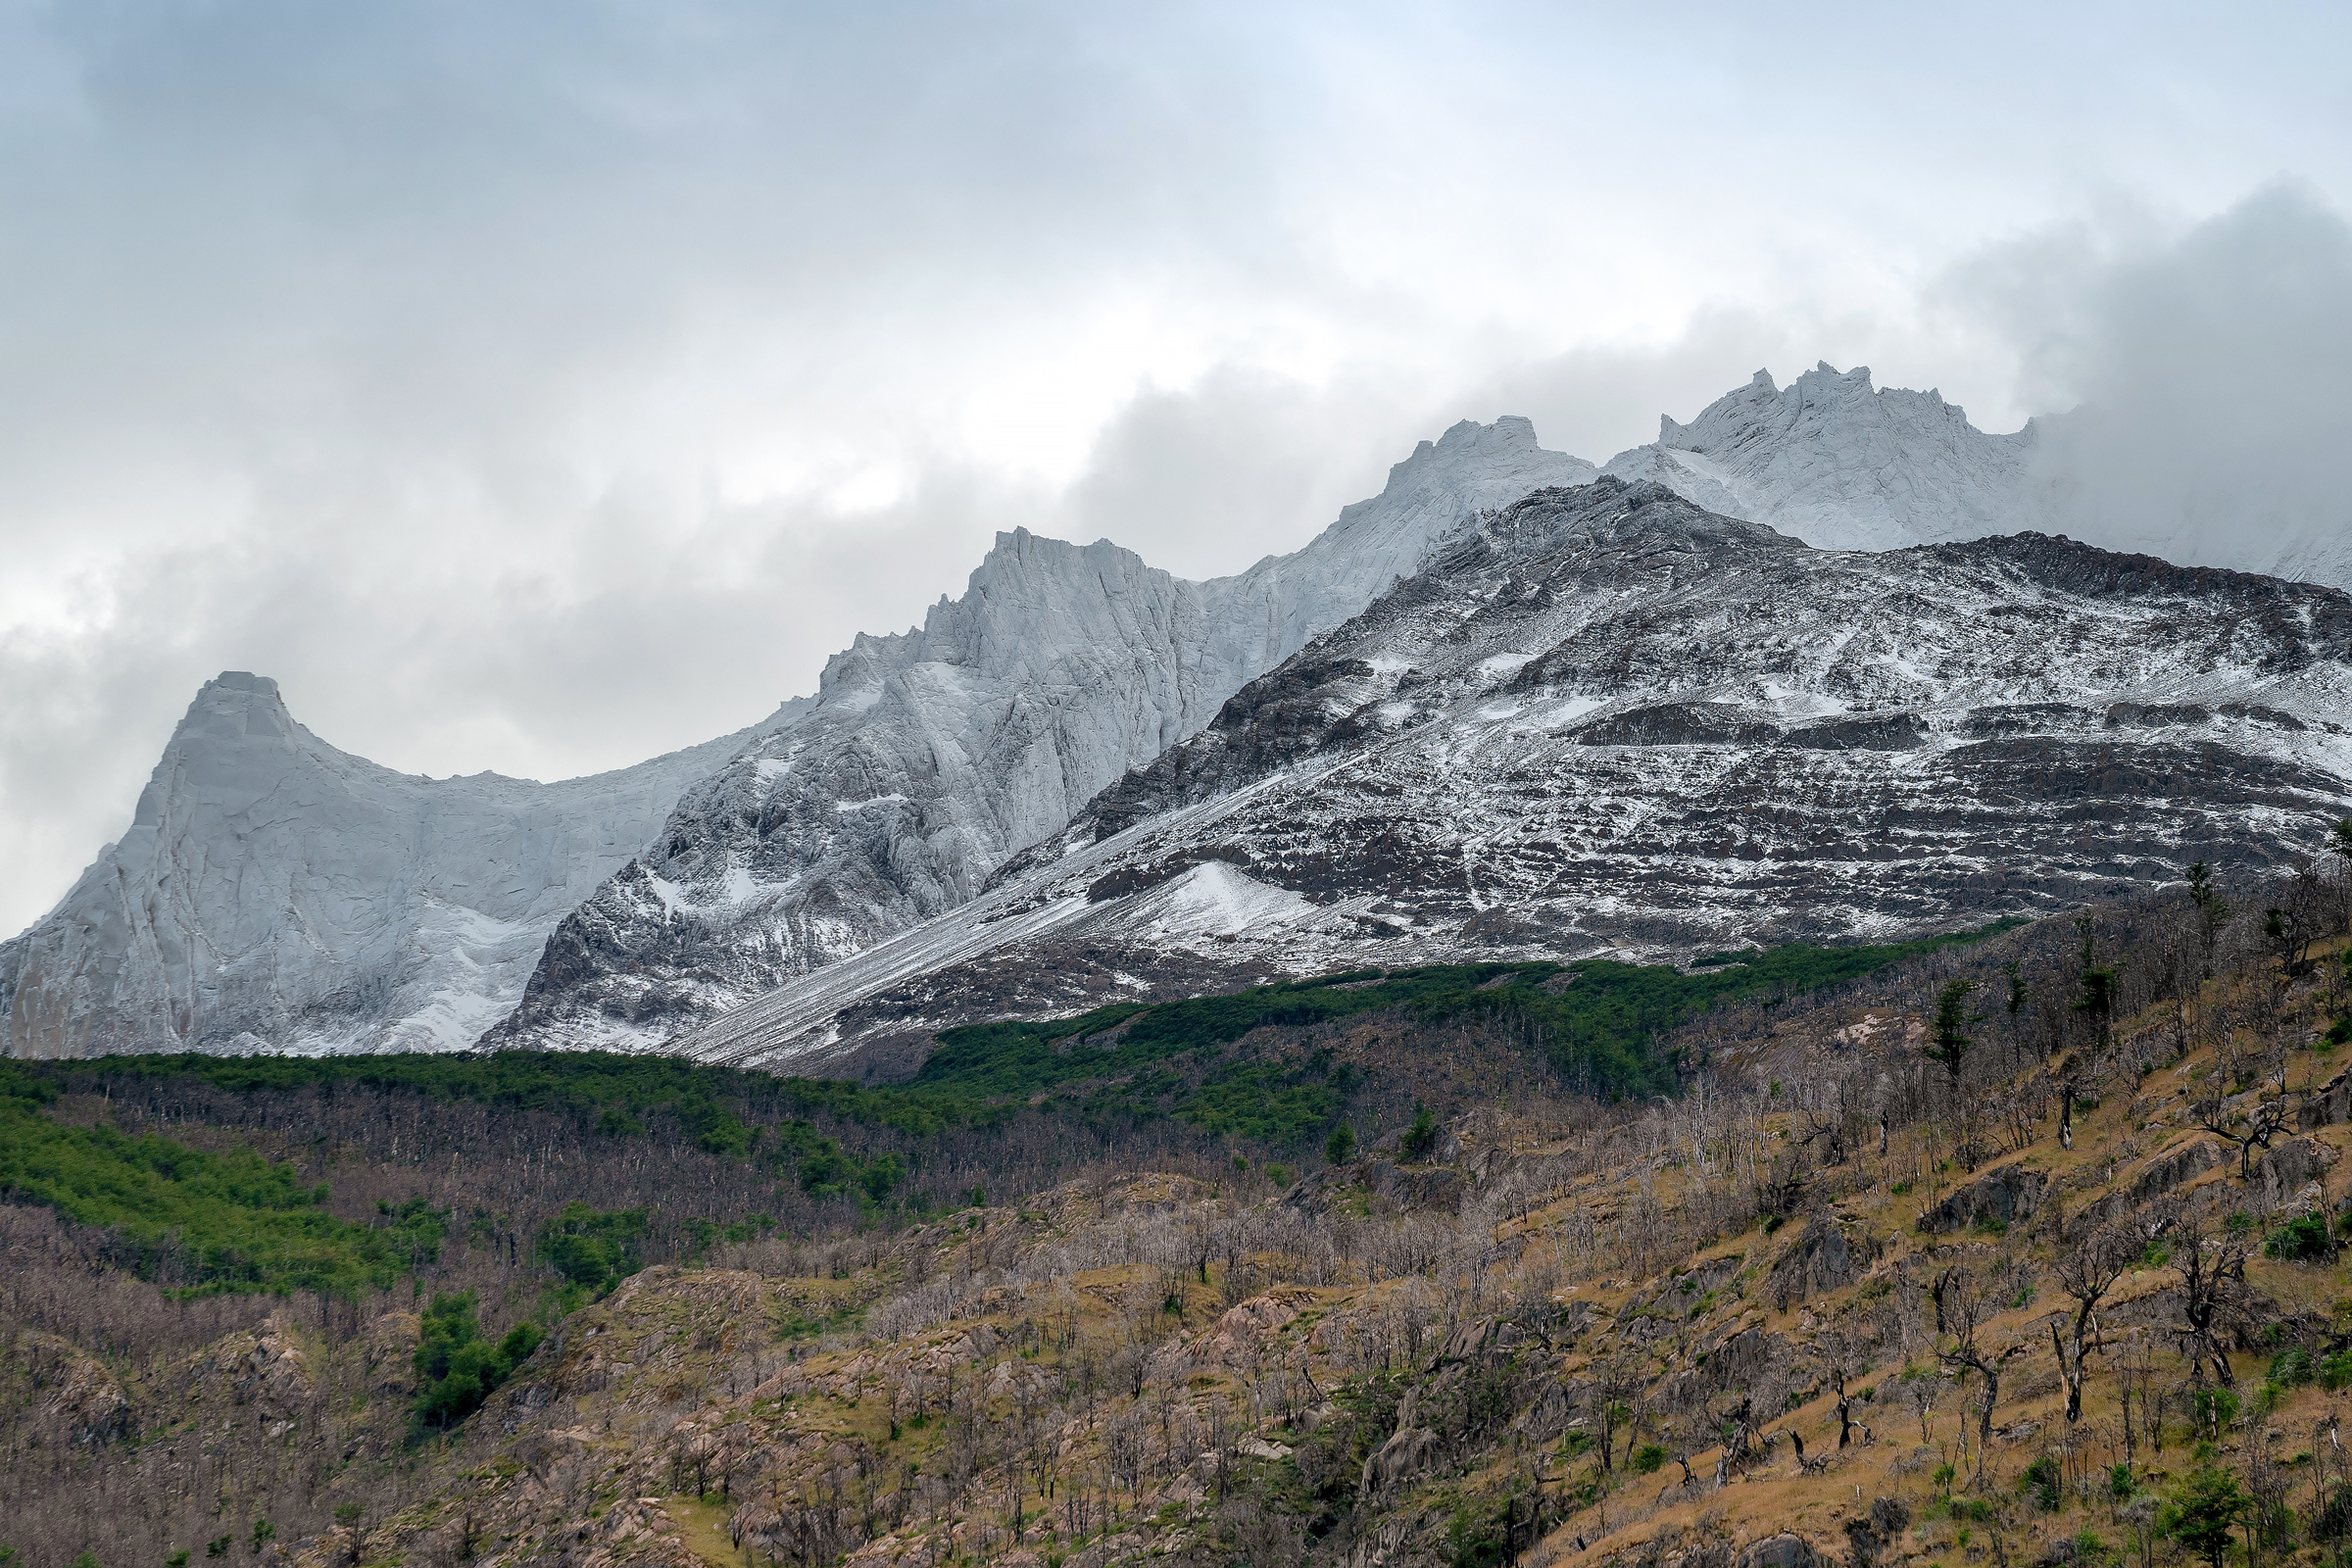
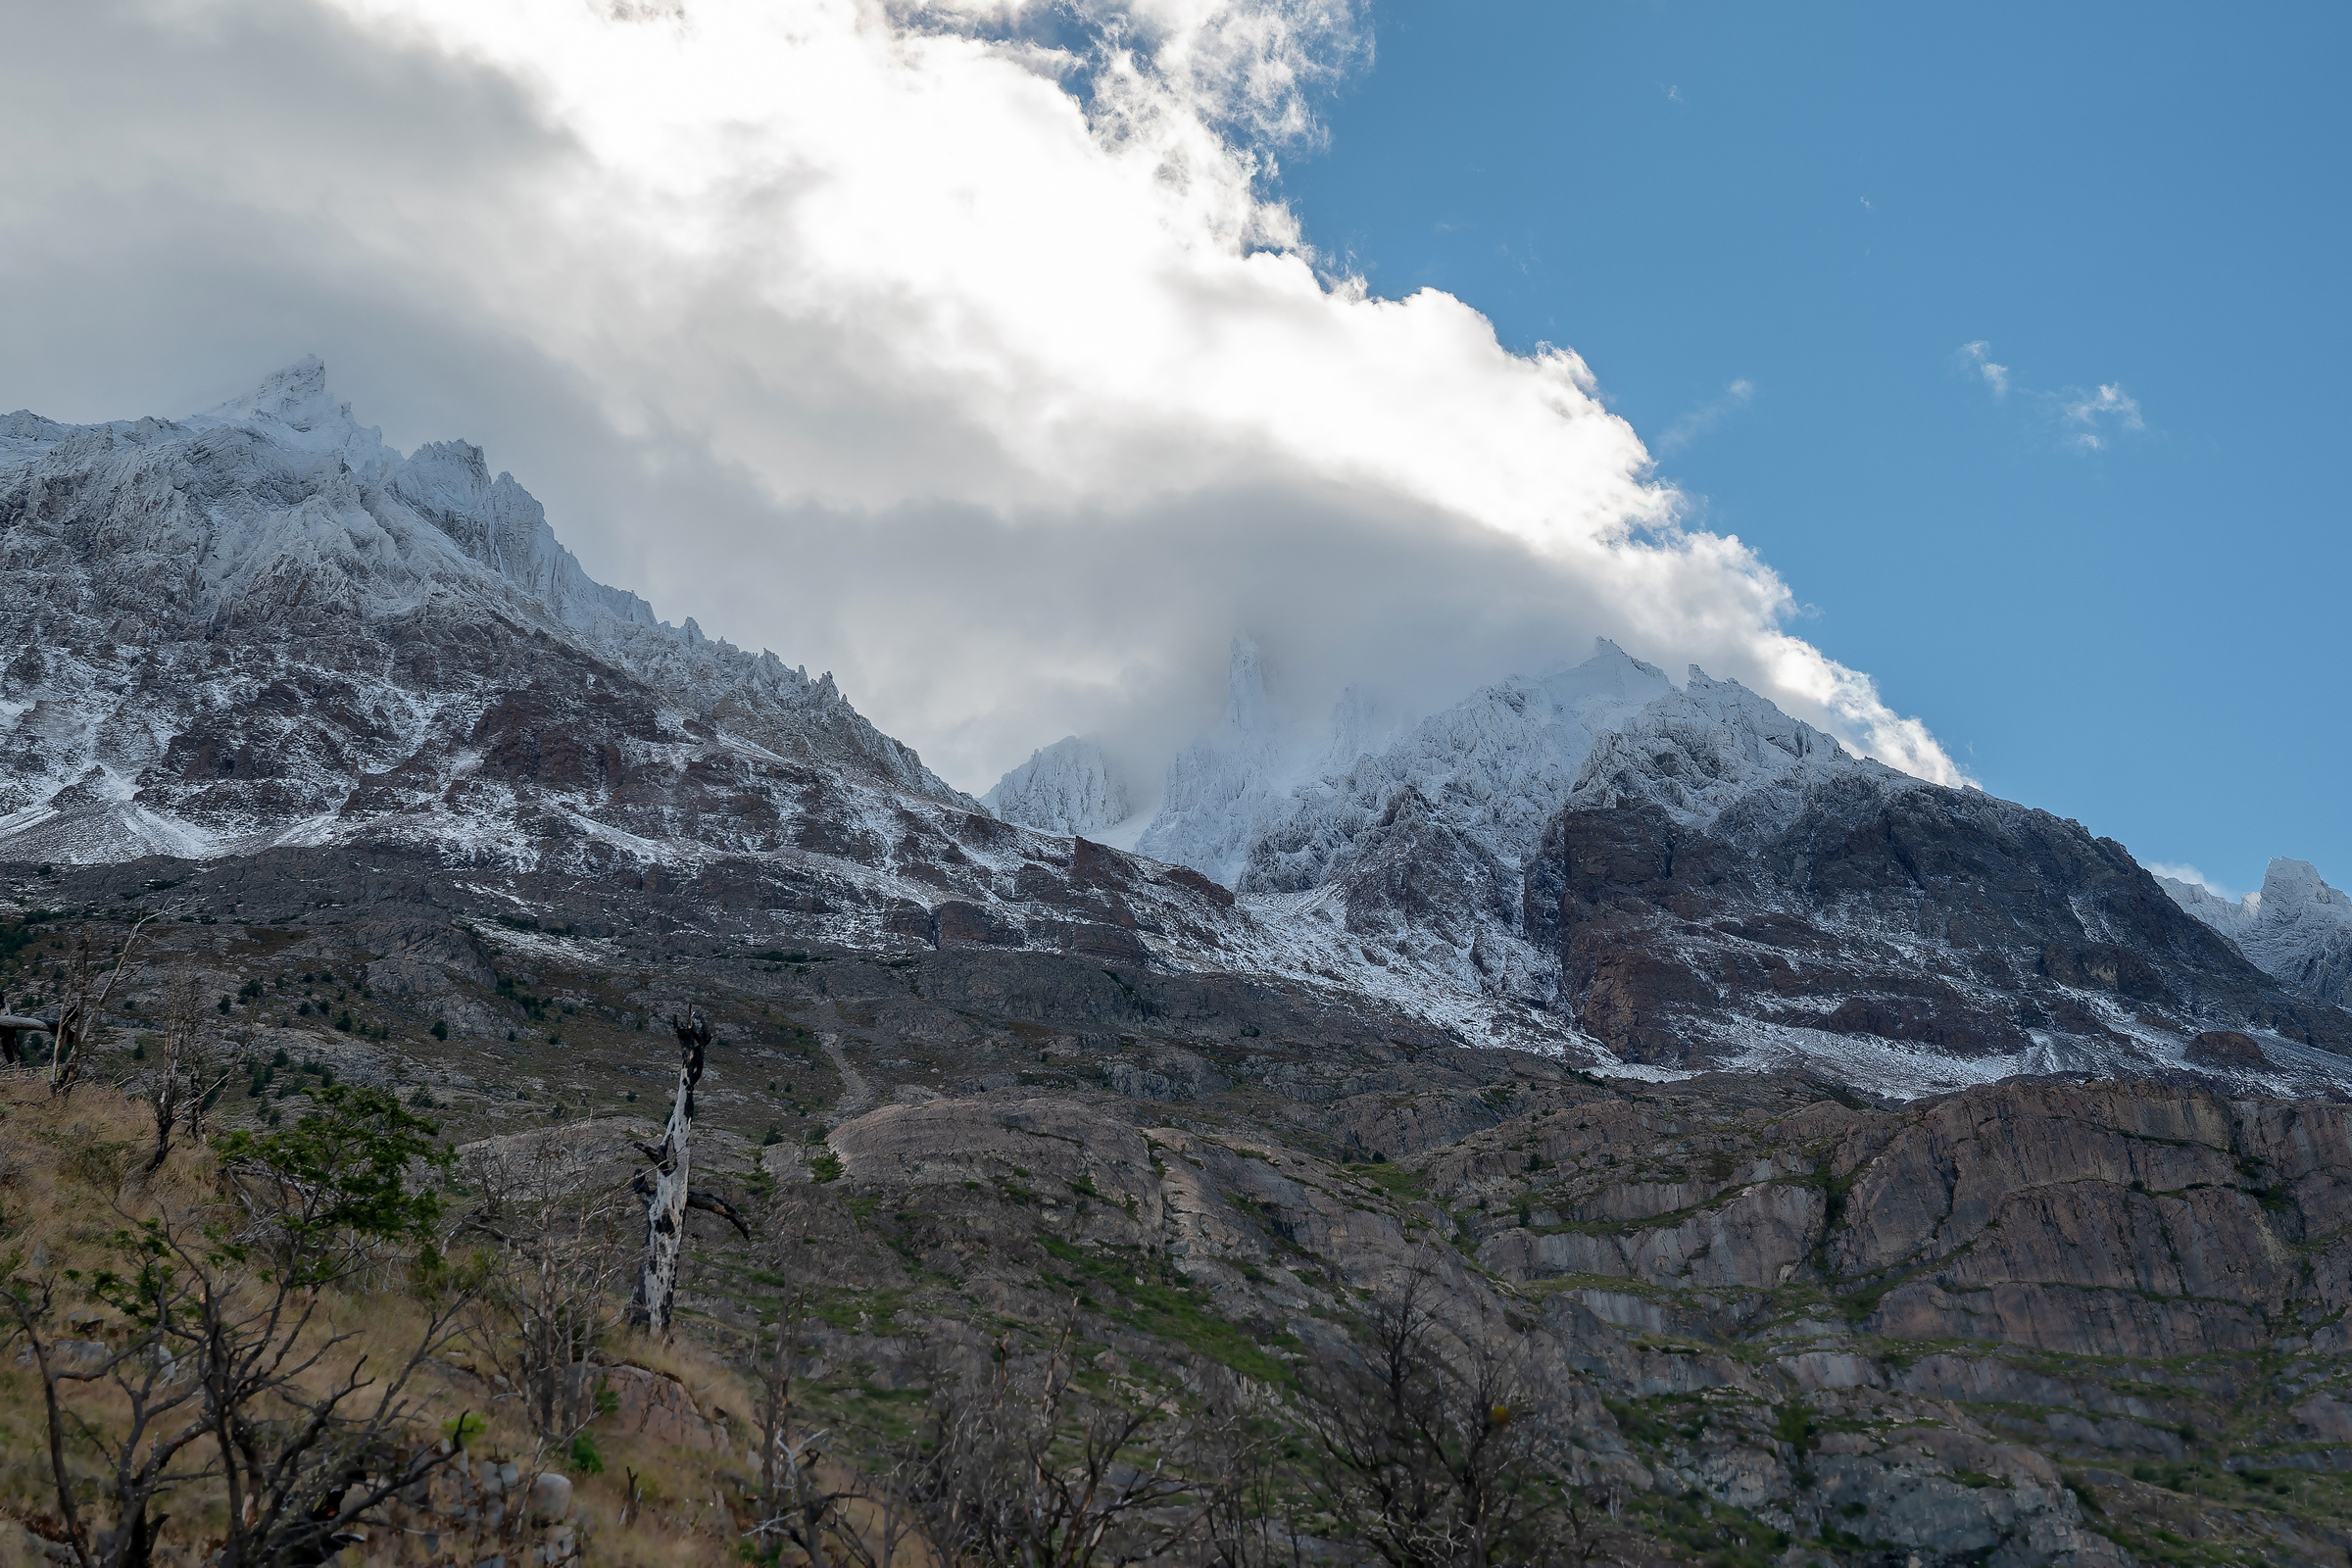
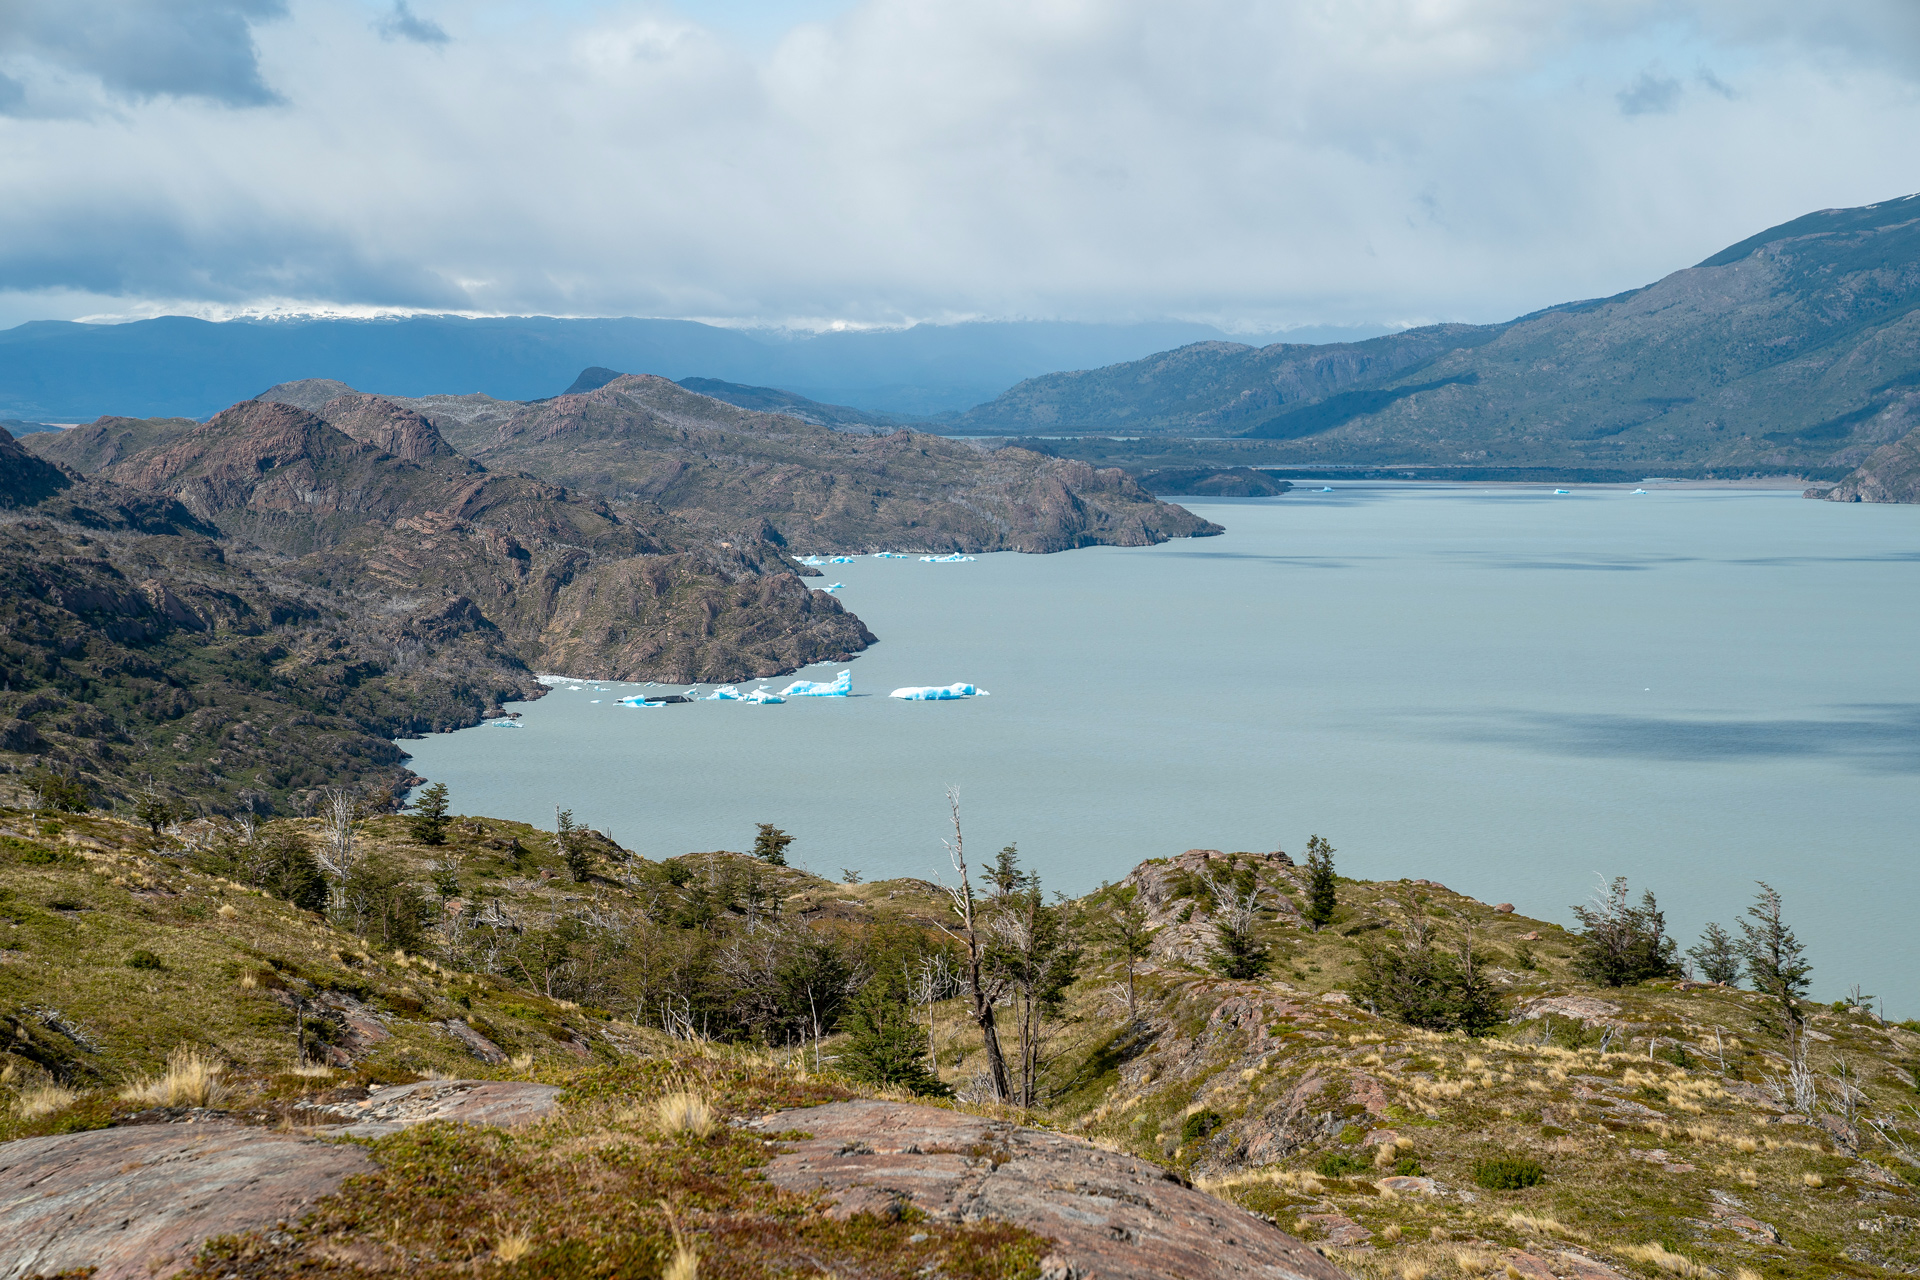
Paine Grande, in my opinion, had the most beautiful camp setting, with Lago Pehoe on one side and the peaks of Paine Grande next to it.
A 10-minute stroll up the hillside next to the refugio offers great views of both.
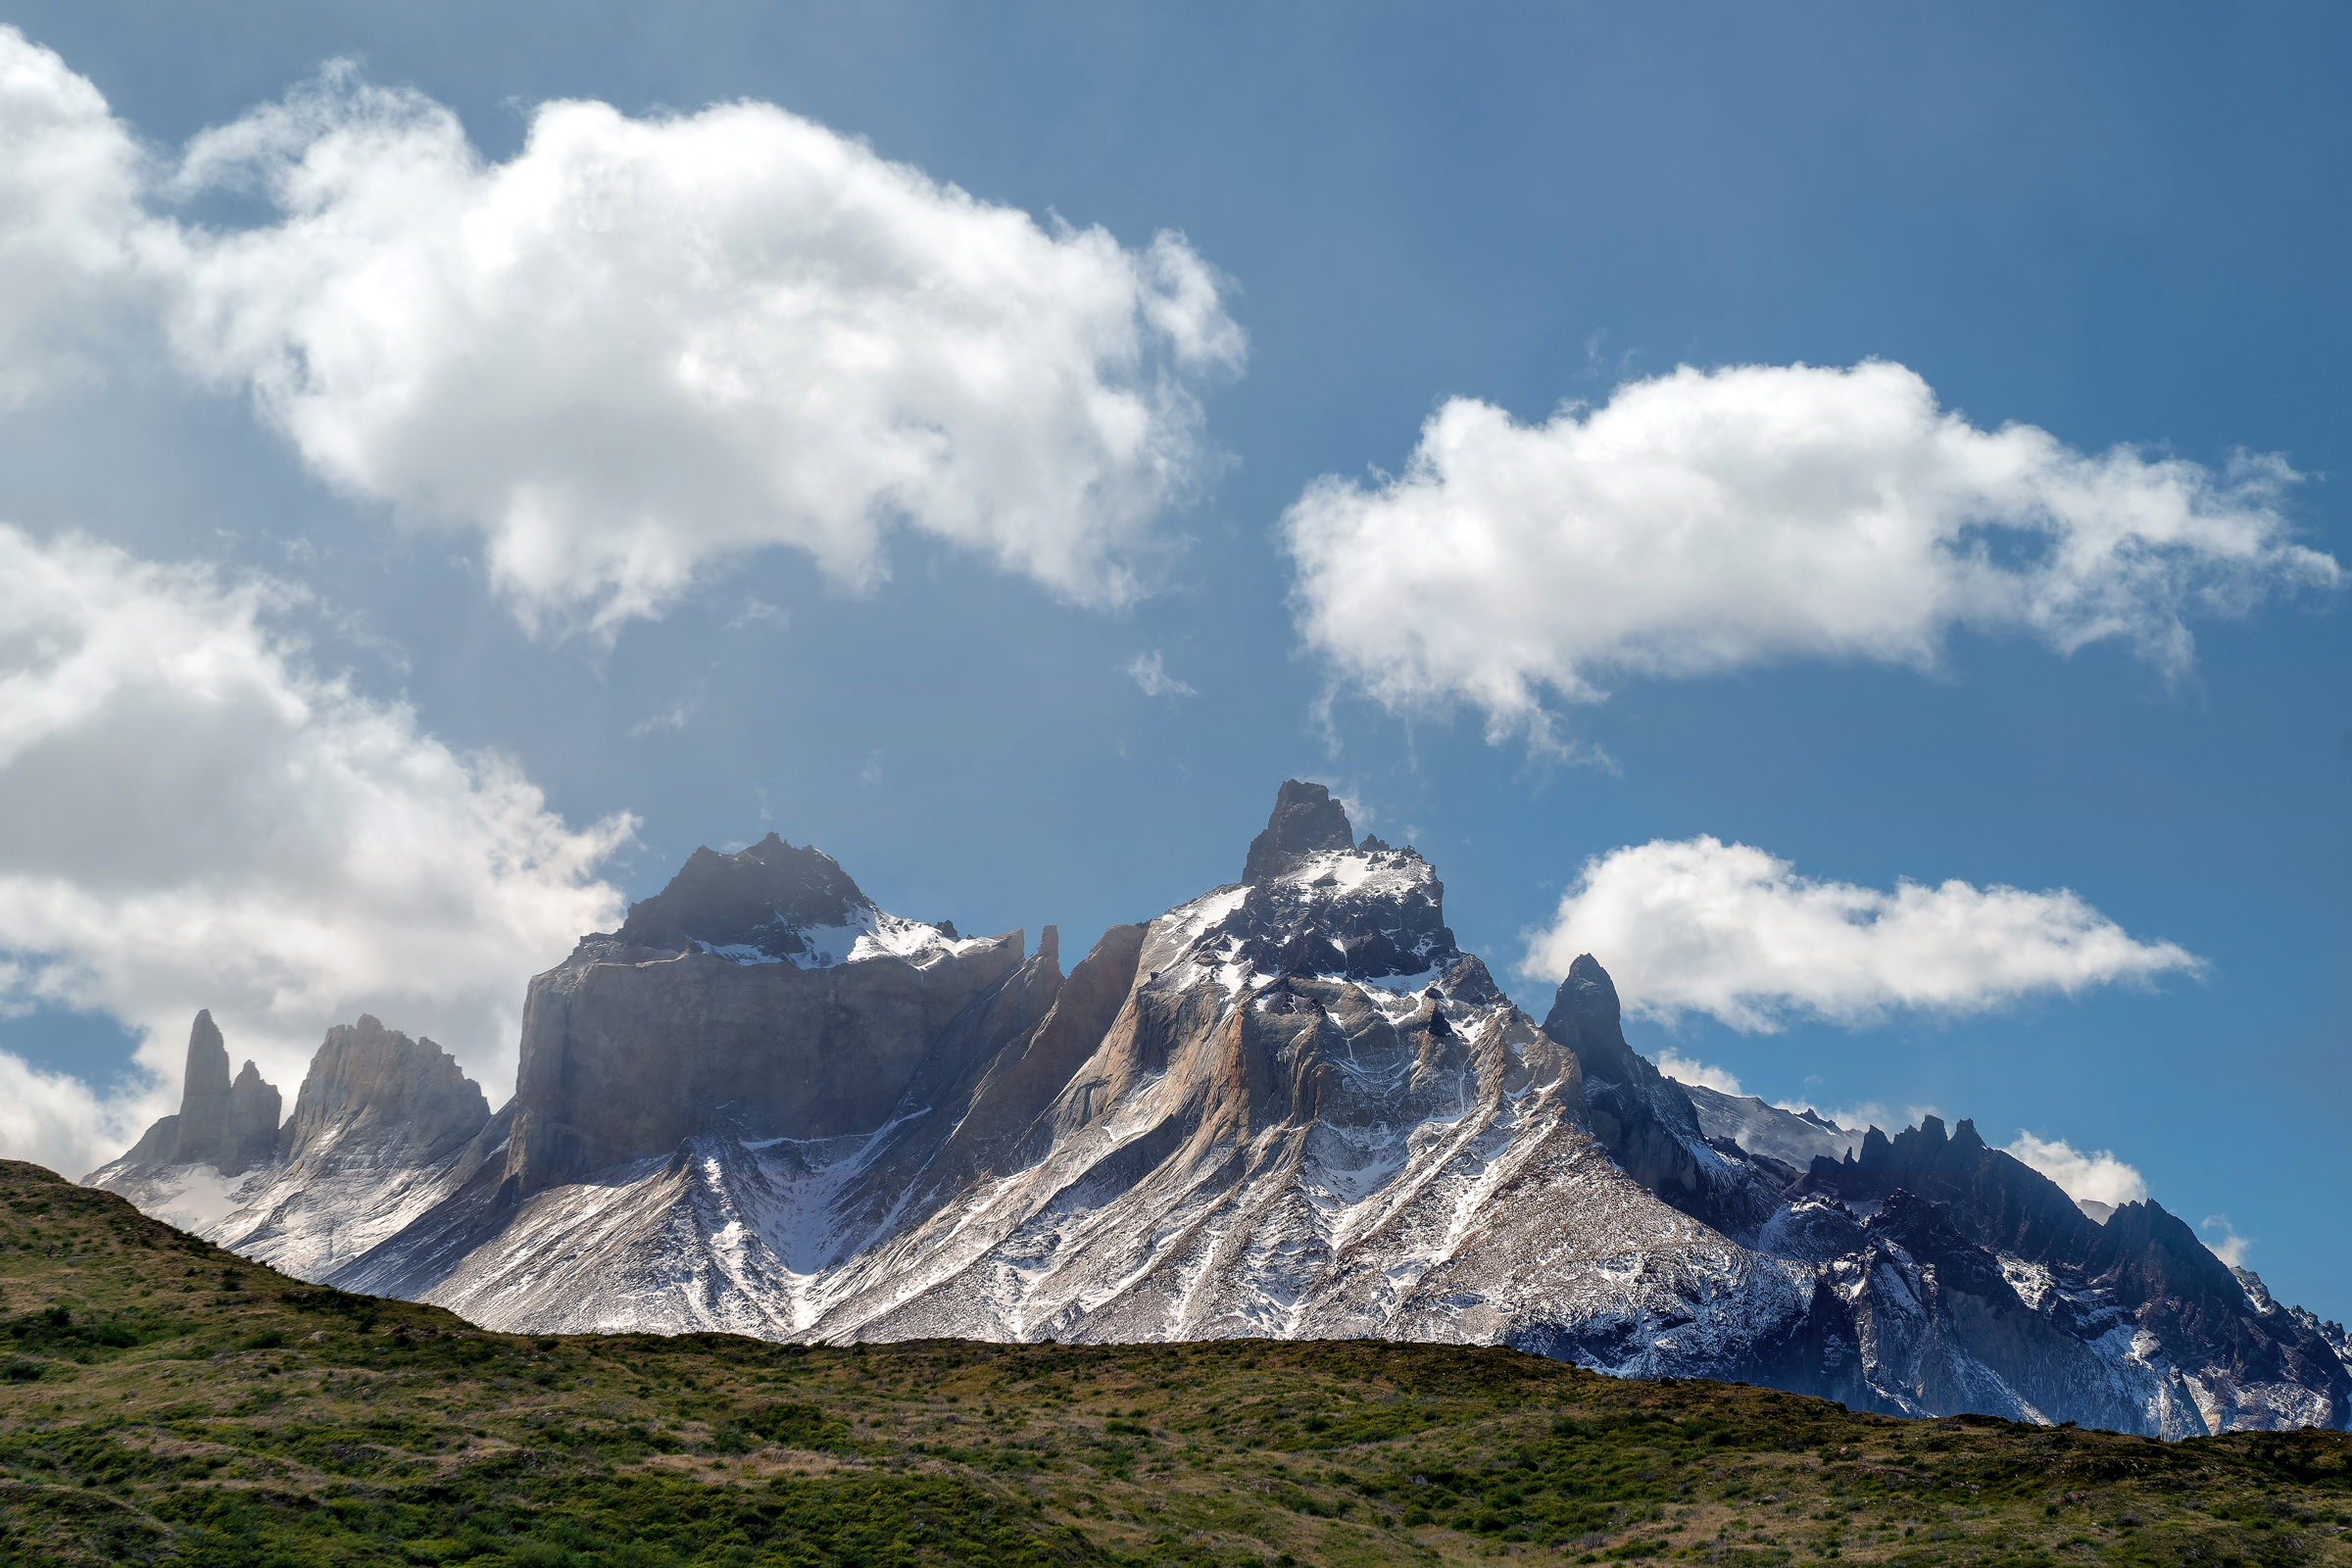
The French Valley, from Paine Grande
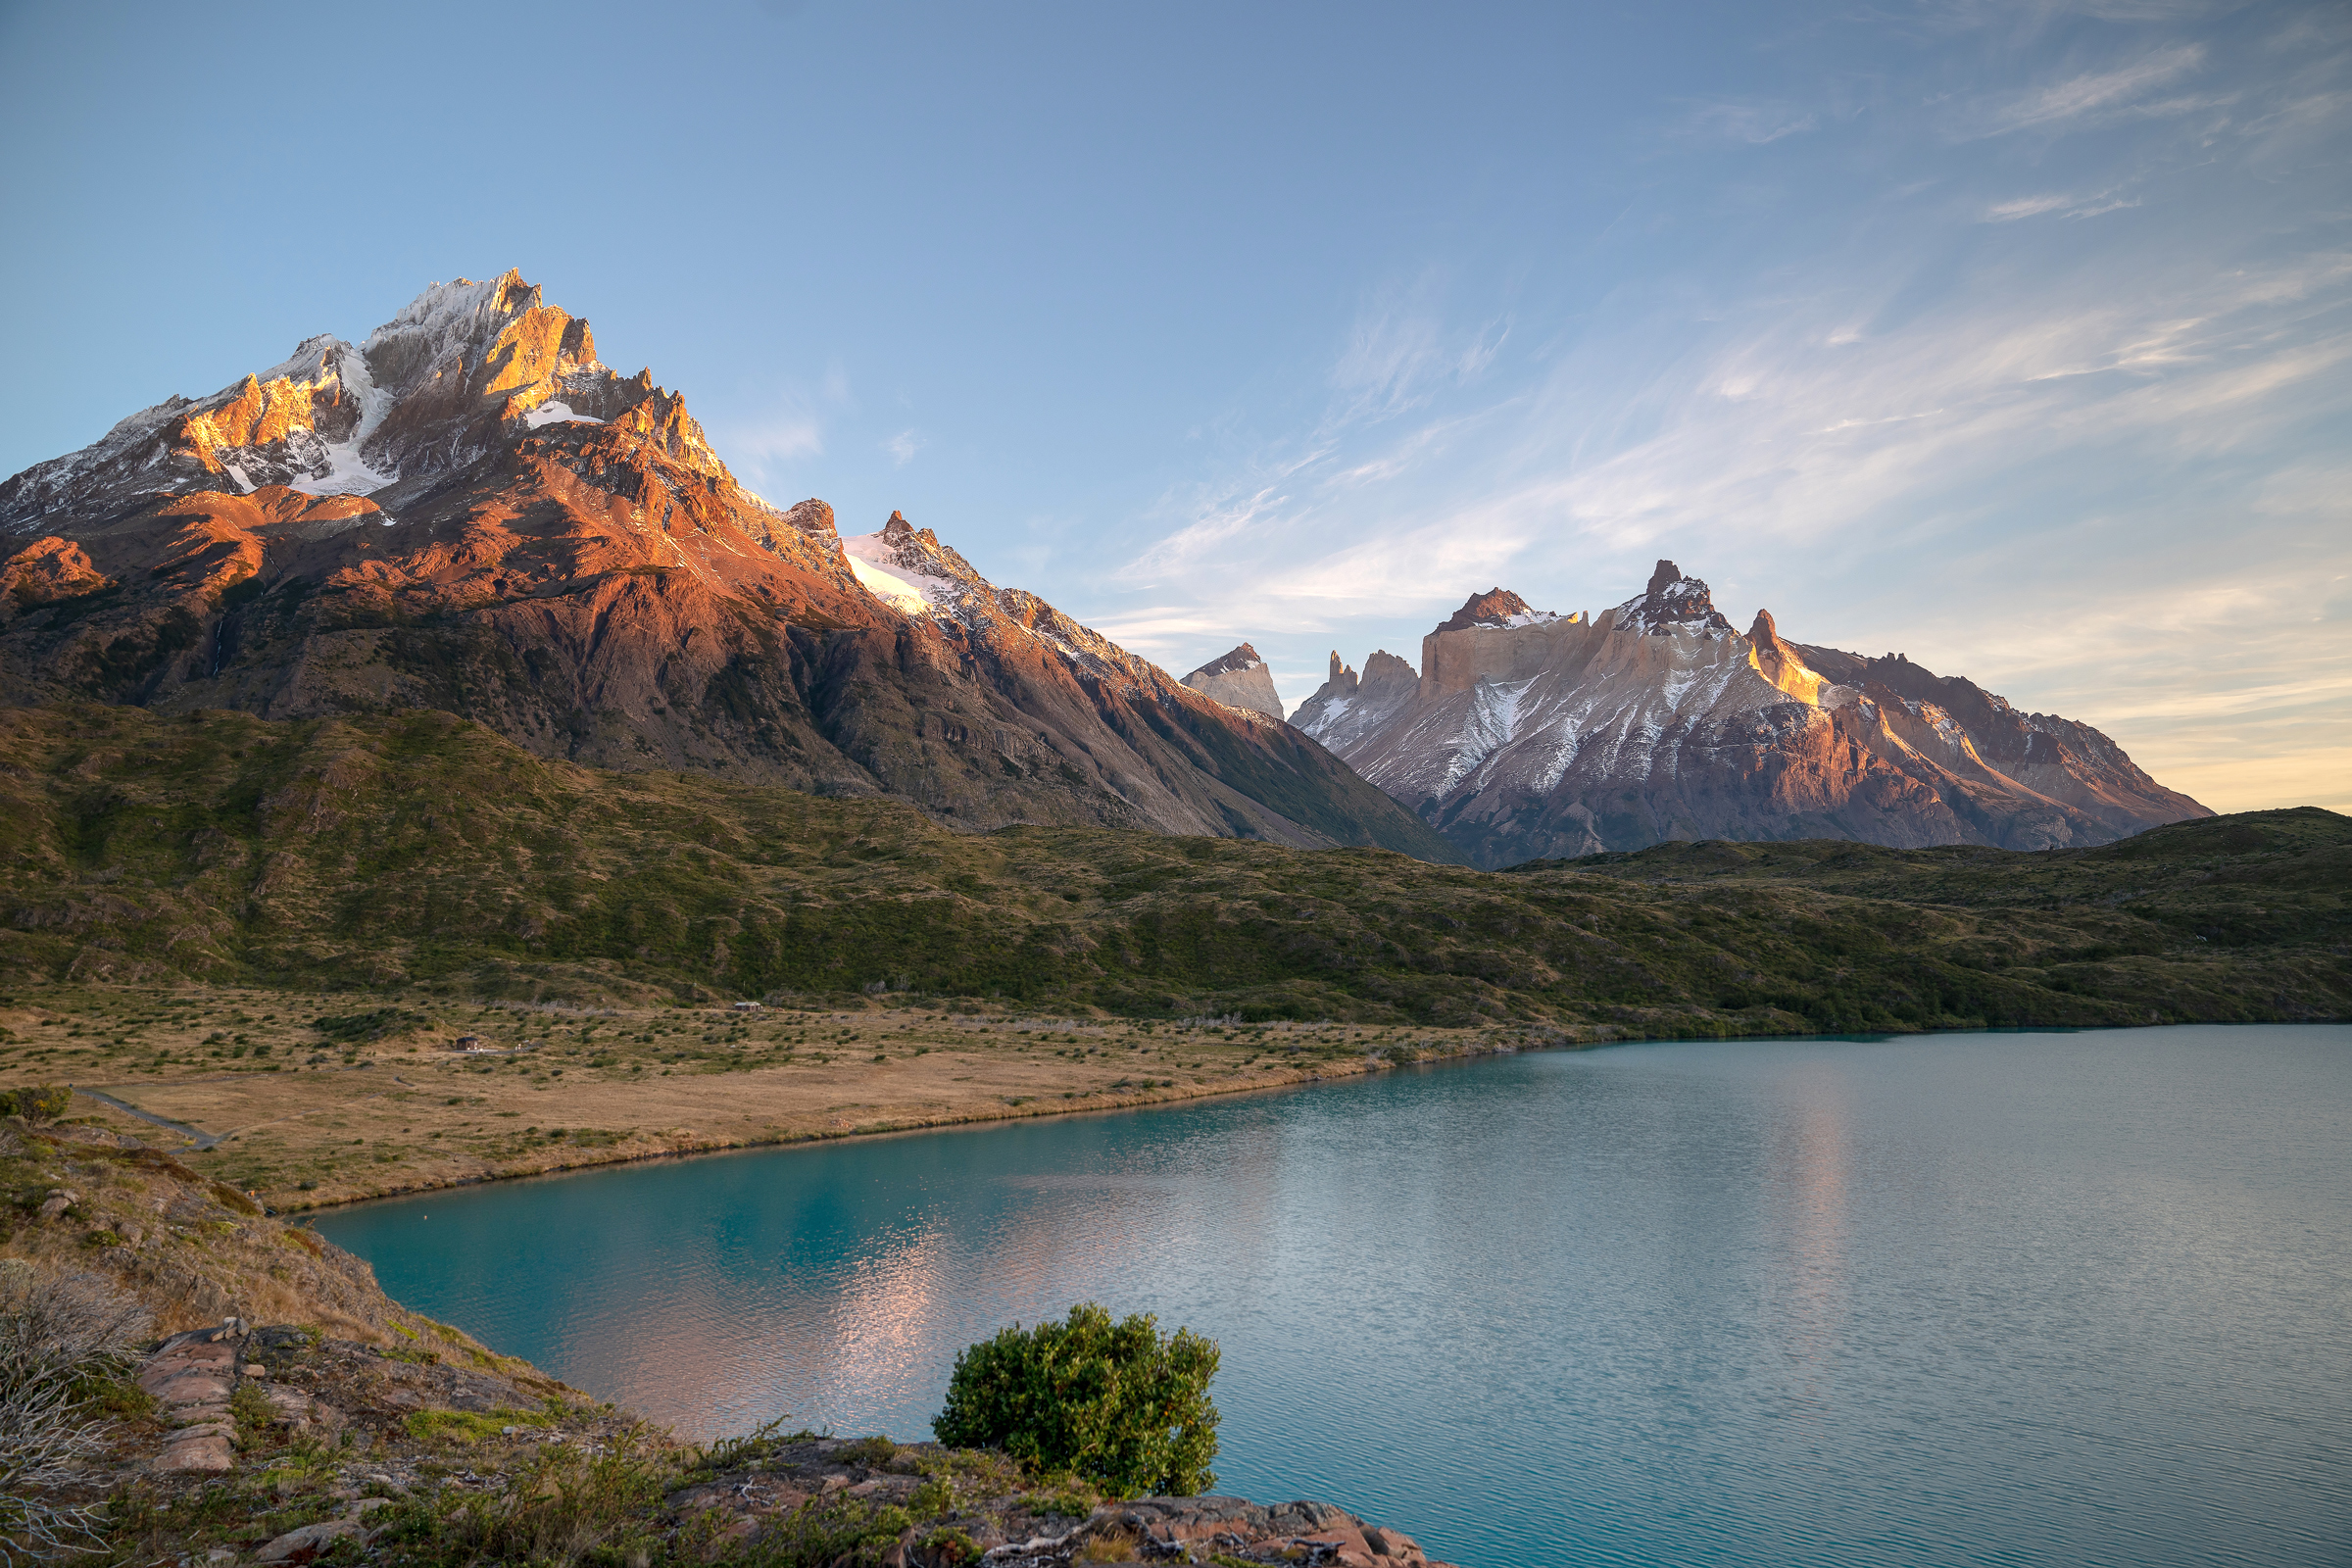
Paine Grande, the French Valley, and Lake Pehoe
A lot of people doing The W or O start or end here, and the Refugio and campsite are very large.
In addition to a huge cafeteria, there's a store with refrigerated goods, snacks, plenty of ramen, and even some hiking equipment.
Each room has two bunk beds, and there are communal bathrooms and the best showers.
From Paine Grande, there are morning and afternoon boats to and from Pudeto, where there are buses to and from Puerto Natales.
Day 7: Paine Grande and Mirador Frances to Los Cuernos
11.3 miles one way, 1,900 feet gain, 1,750 feet loss, ~1,700 feet highest elevation
This would be another long day of hiking, so we started relatively early.
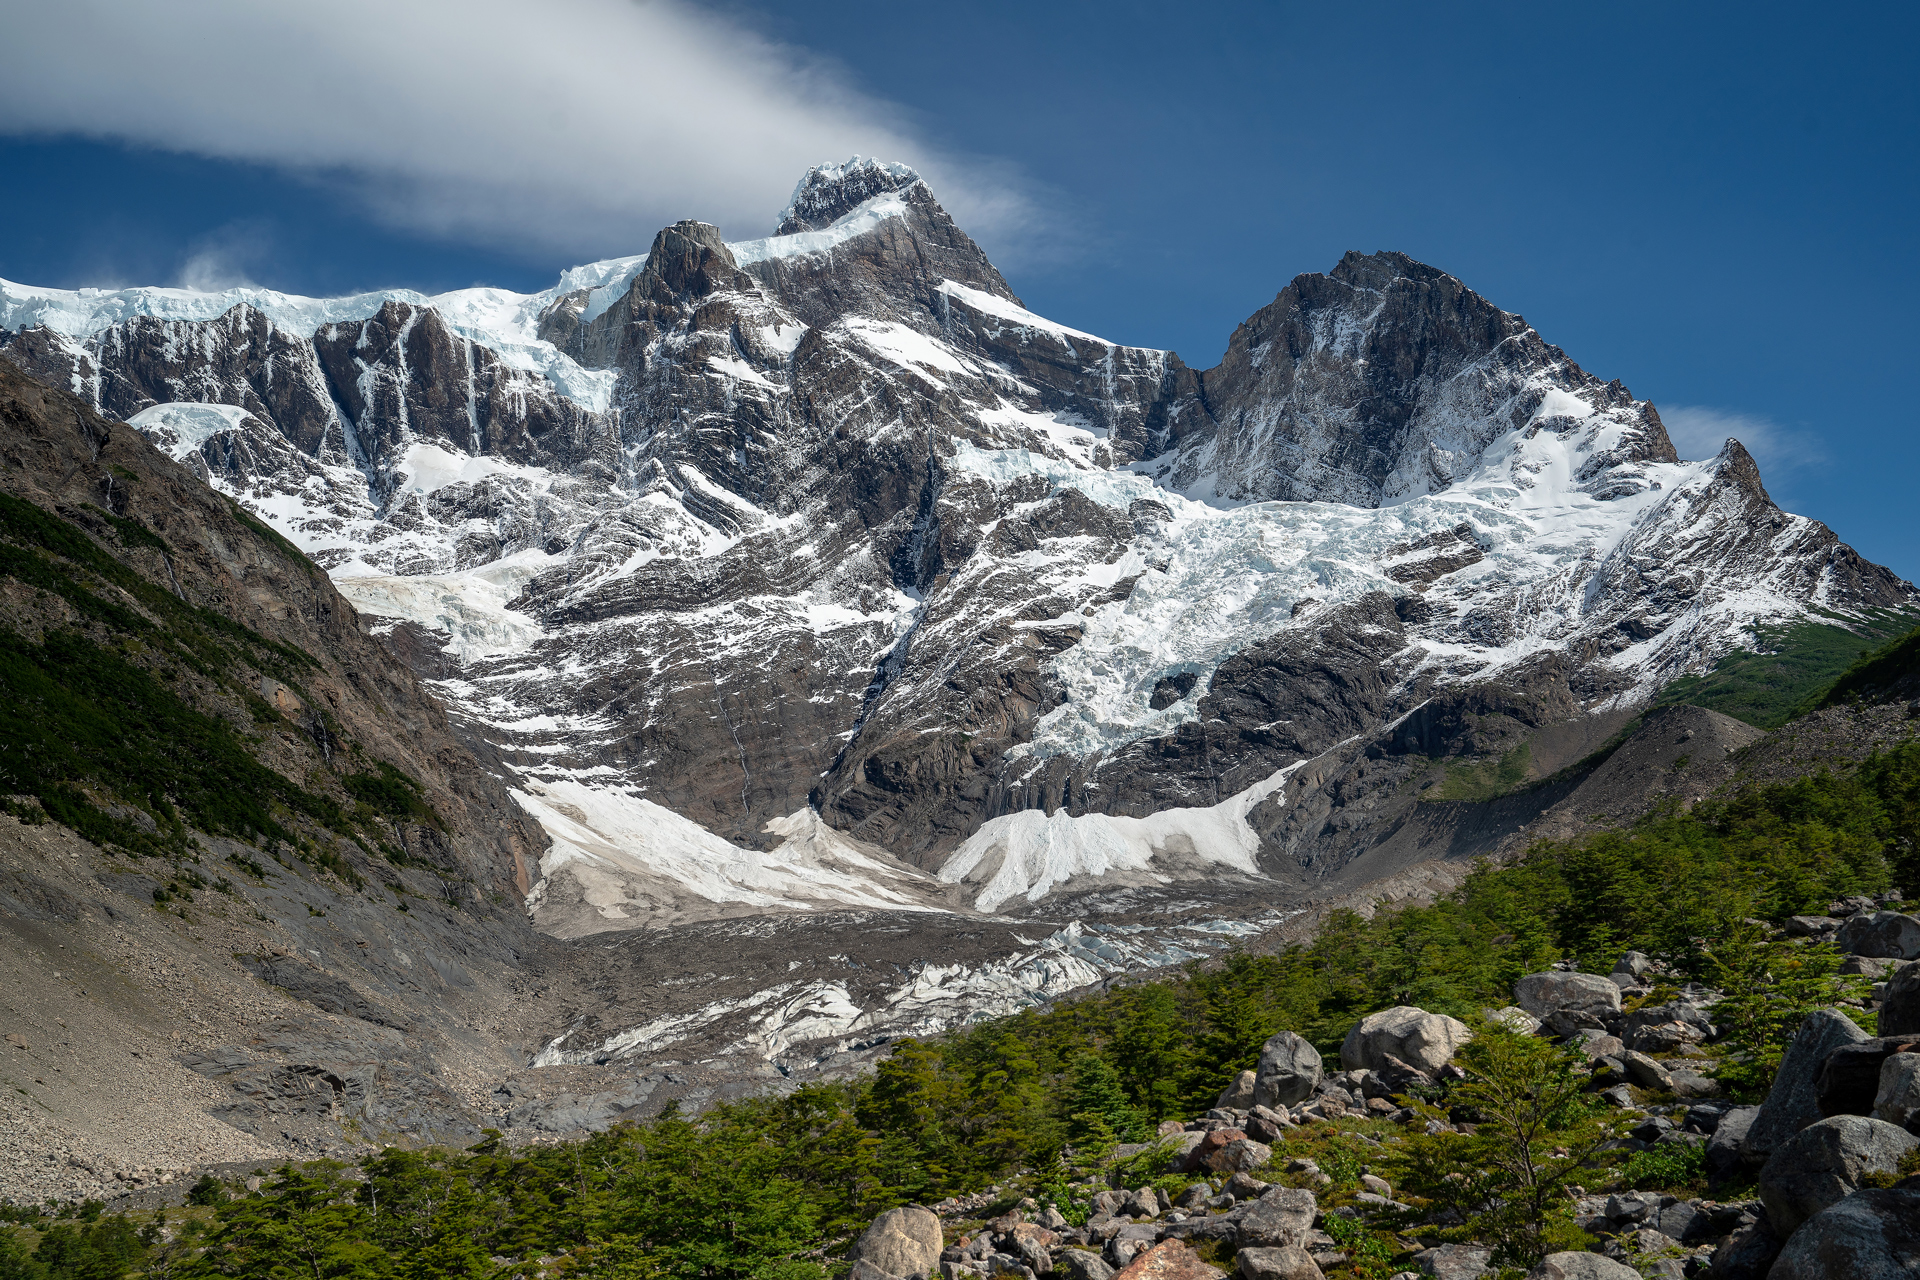
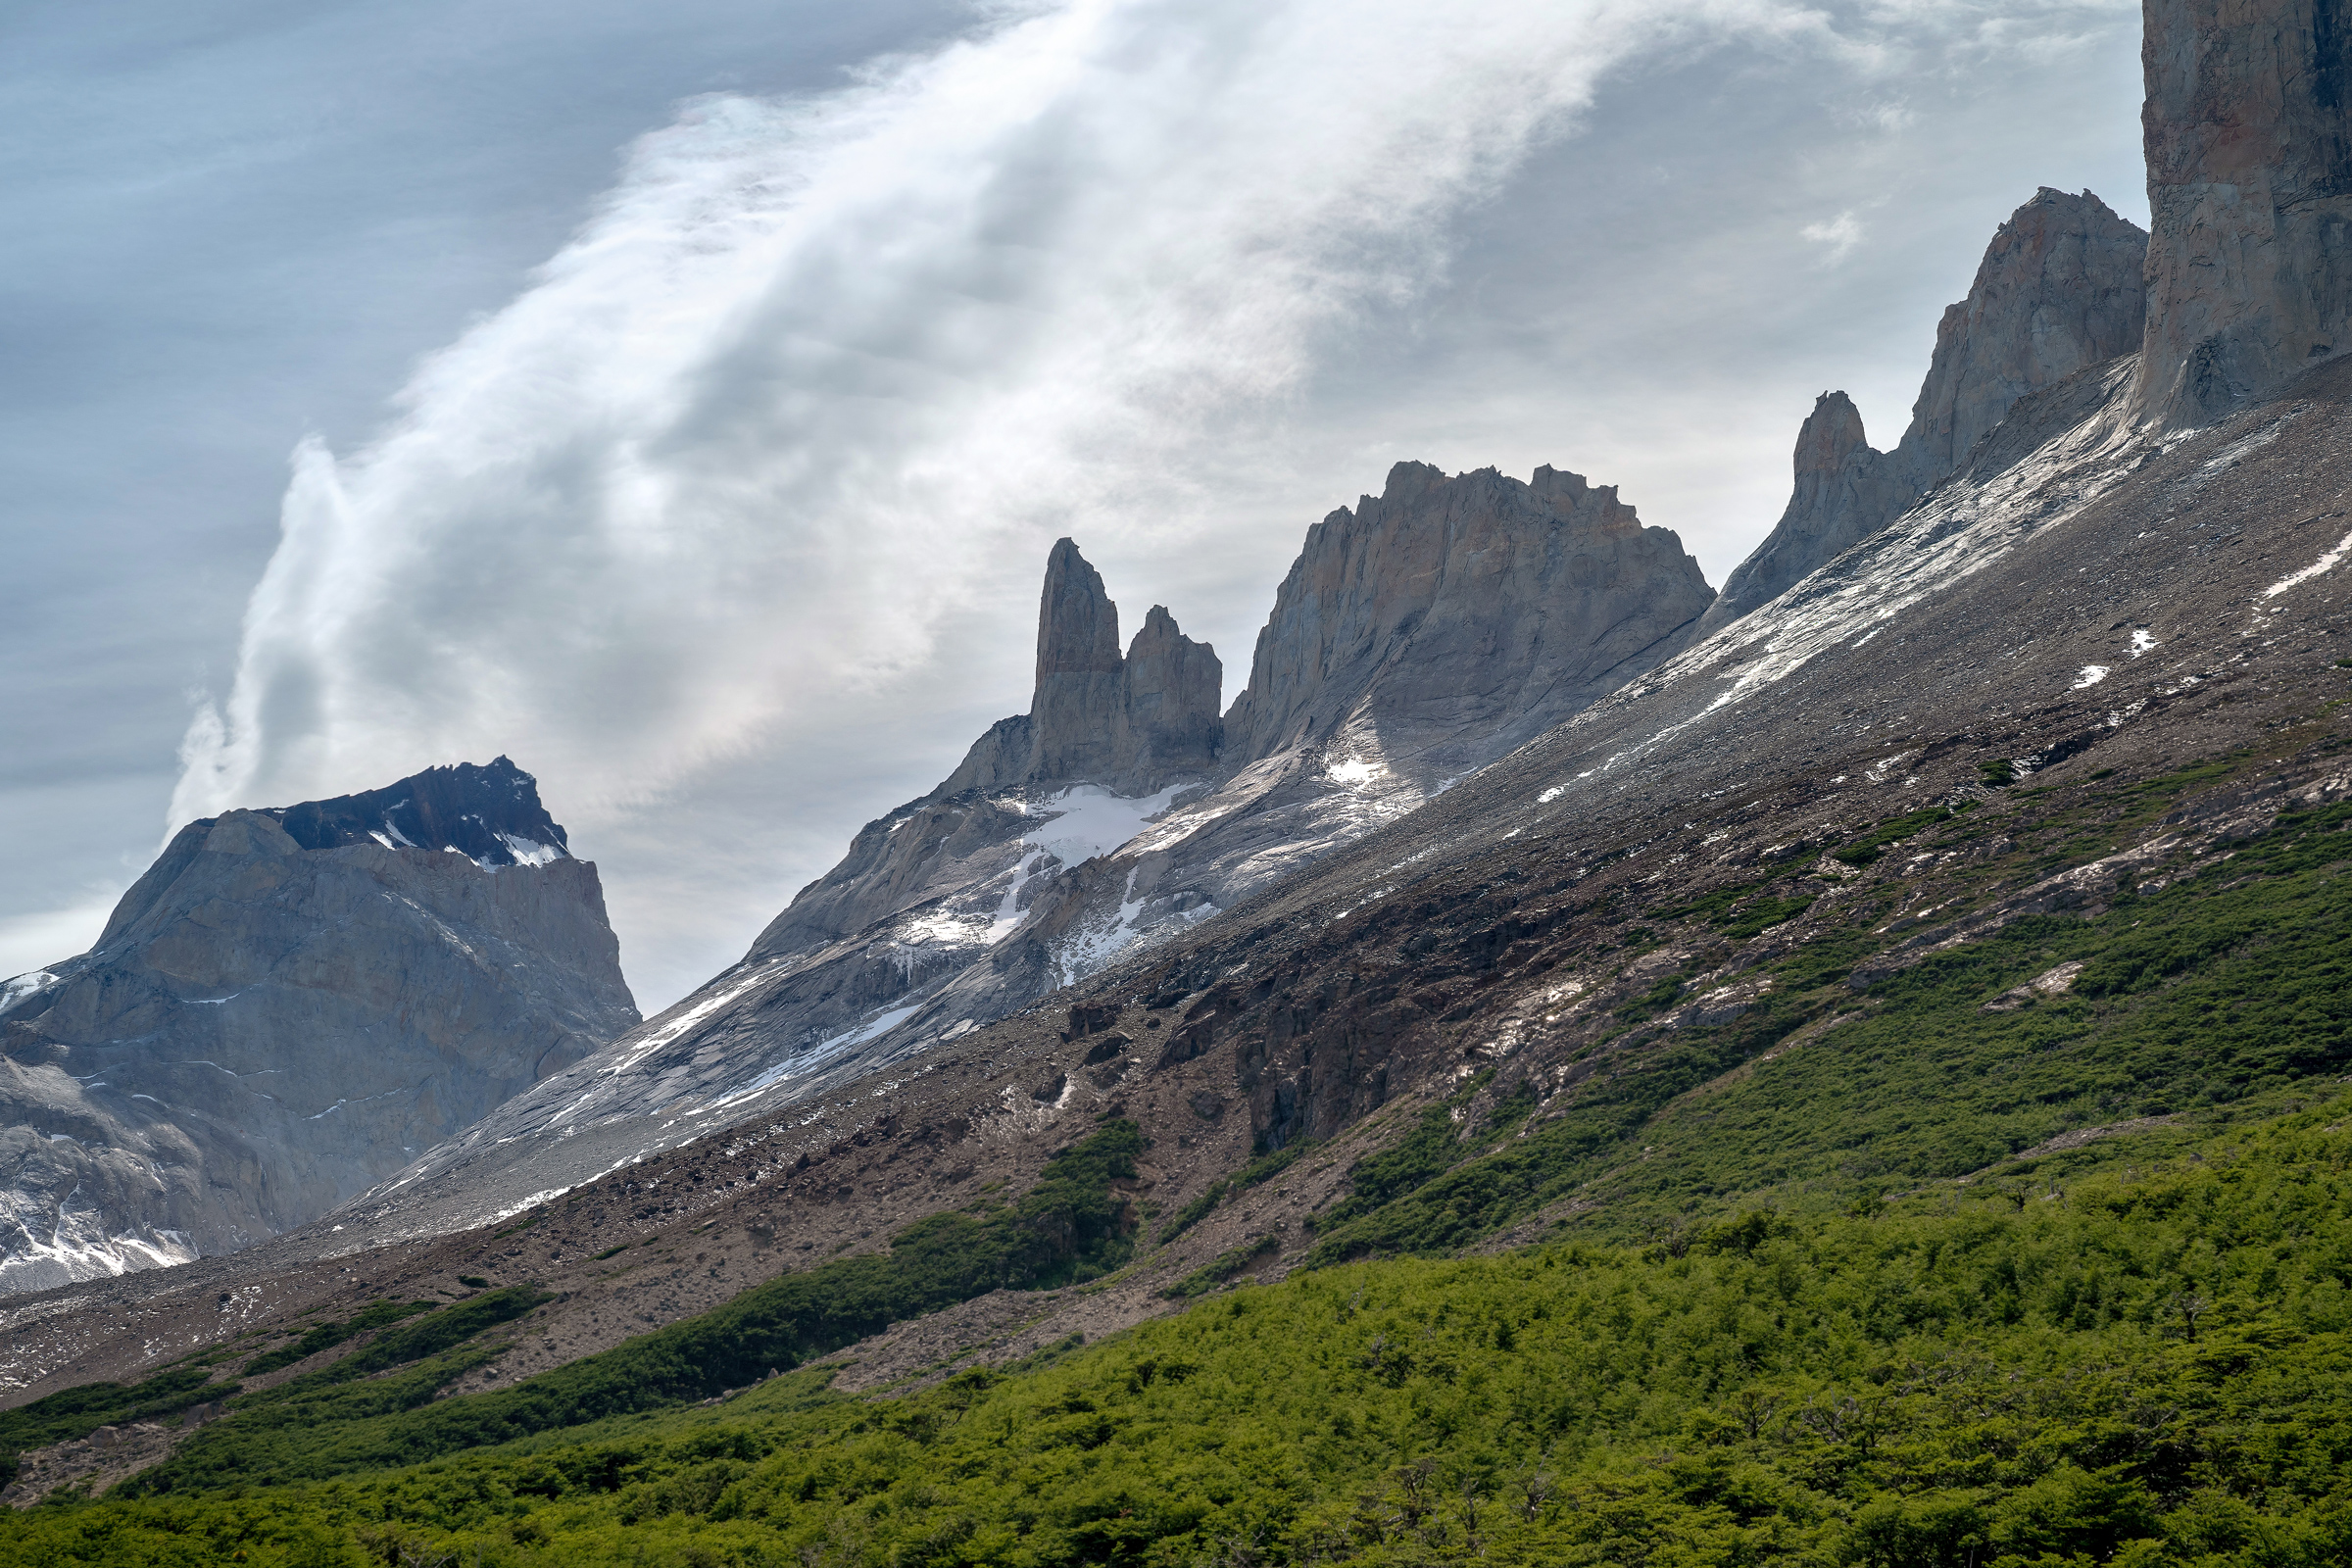
The plan was to hike to Camp Italiano, drop off our bags in front of the Ranger station, then take a day pack with water up to the French Valley.
From there, we would see if it would be worth hiking another 2-3 hours to see Mirador Brittanico.
The weather was great, but we opted to return to Italiano to pick up our bags after just seeing the viewpoint at the French Valley.
It was good enough!

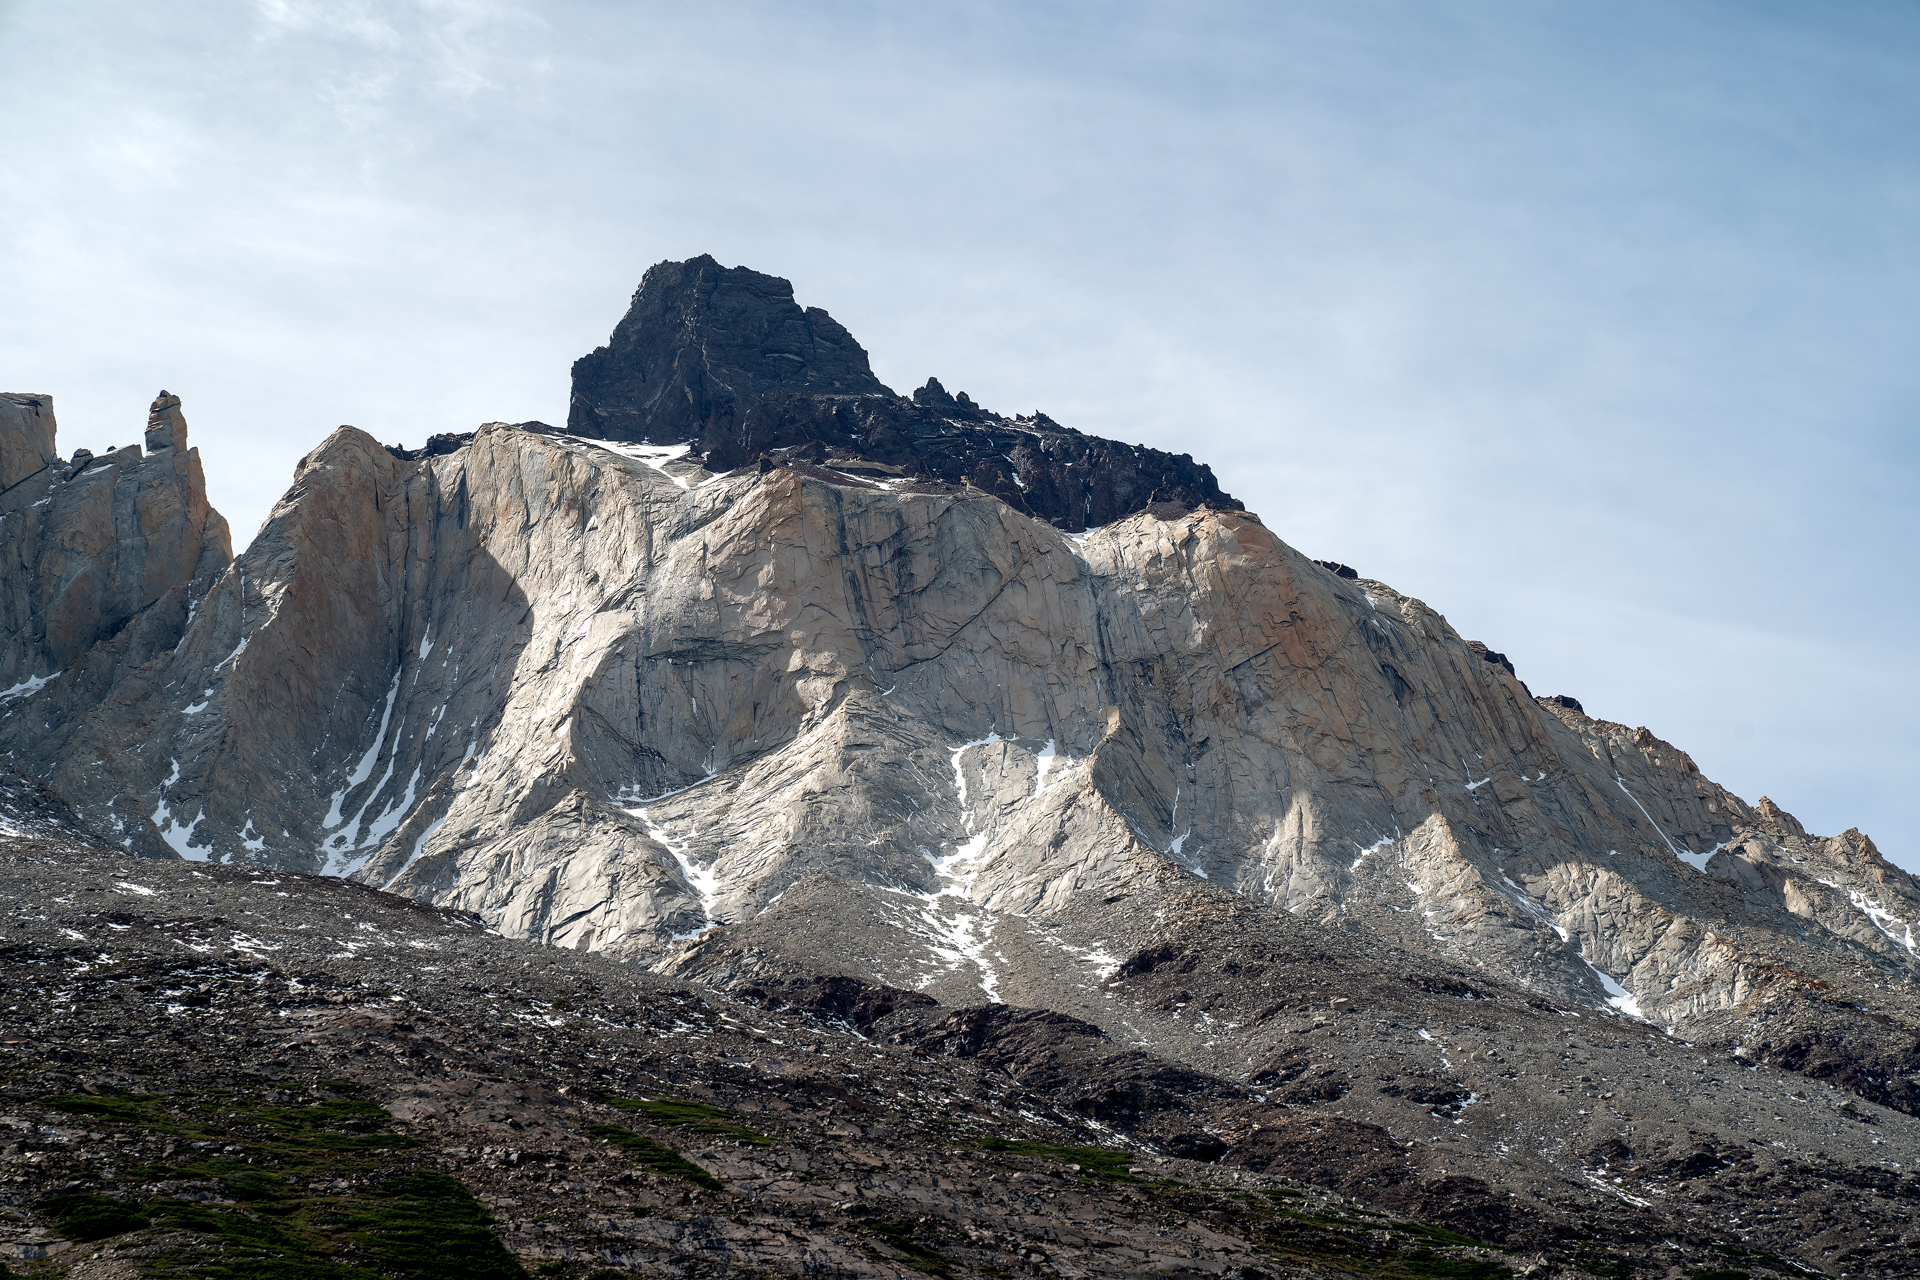
From there, the trail to Cuernos is mostly downhill, with a few hilly sections.
Camping Frances is located about an hour before Cuernos, so this is a good option if you want to make this day a little shorter.
About 20 minutes before reaching Cuernos, there's a nice pebble beach with blue lake water that gave the place an almost tropical vibe.
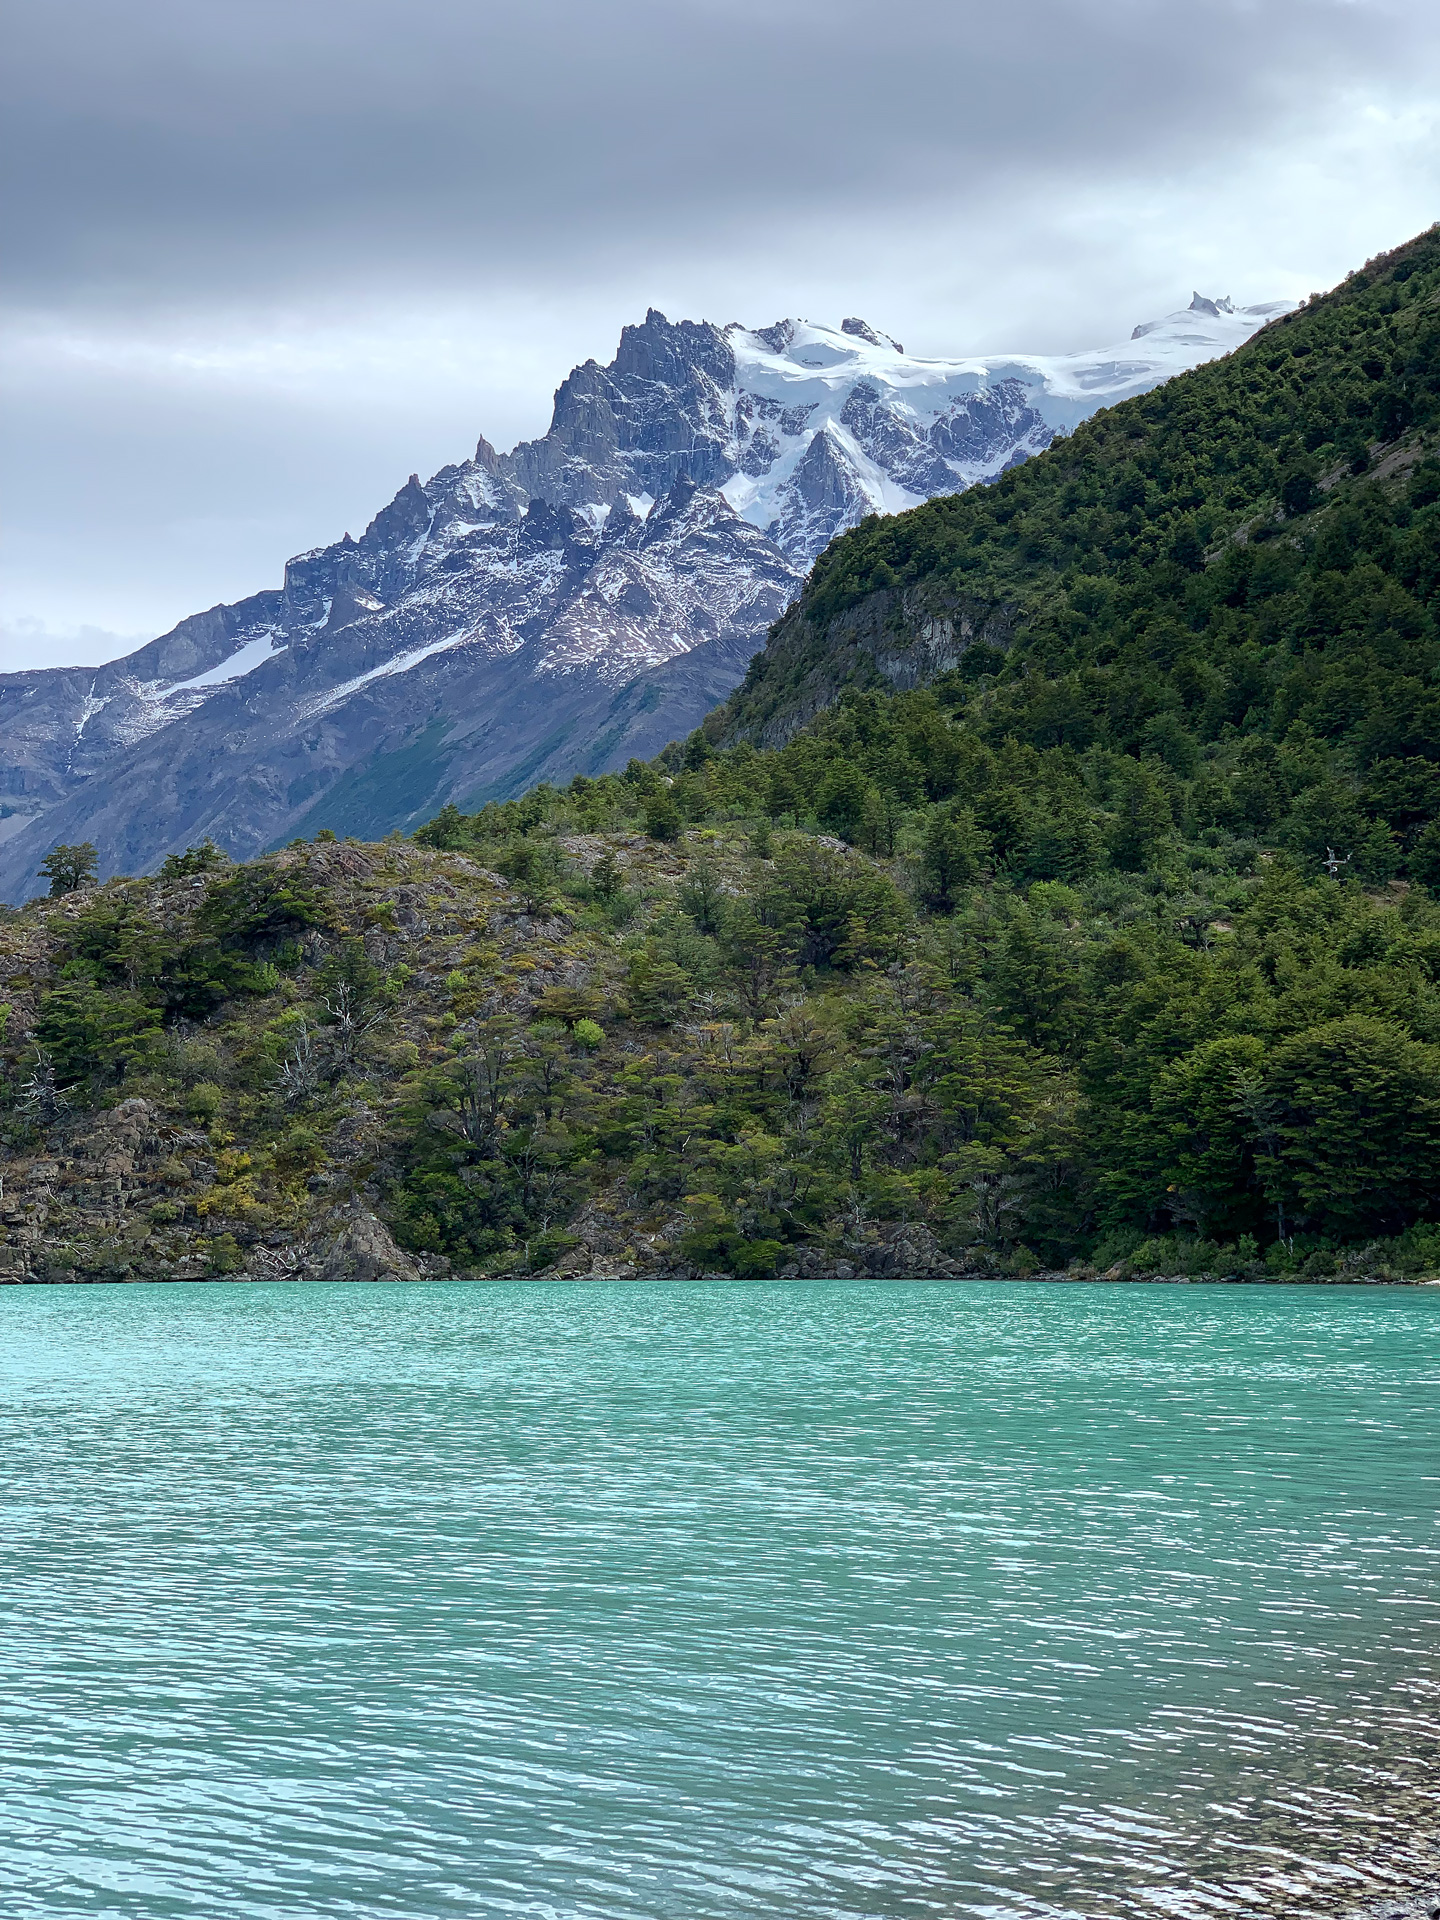
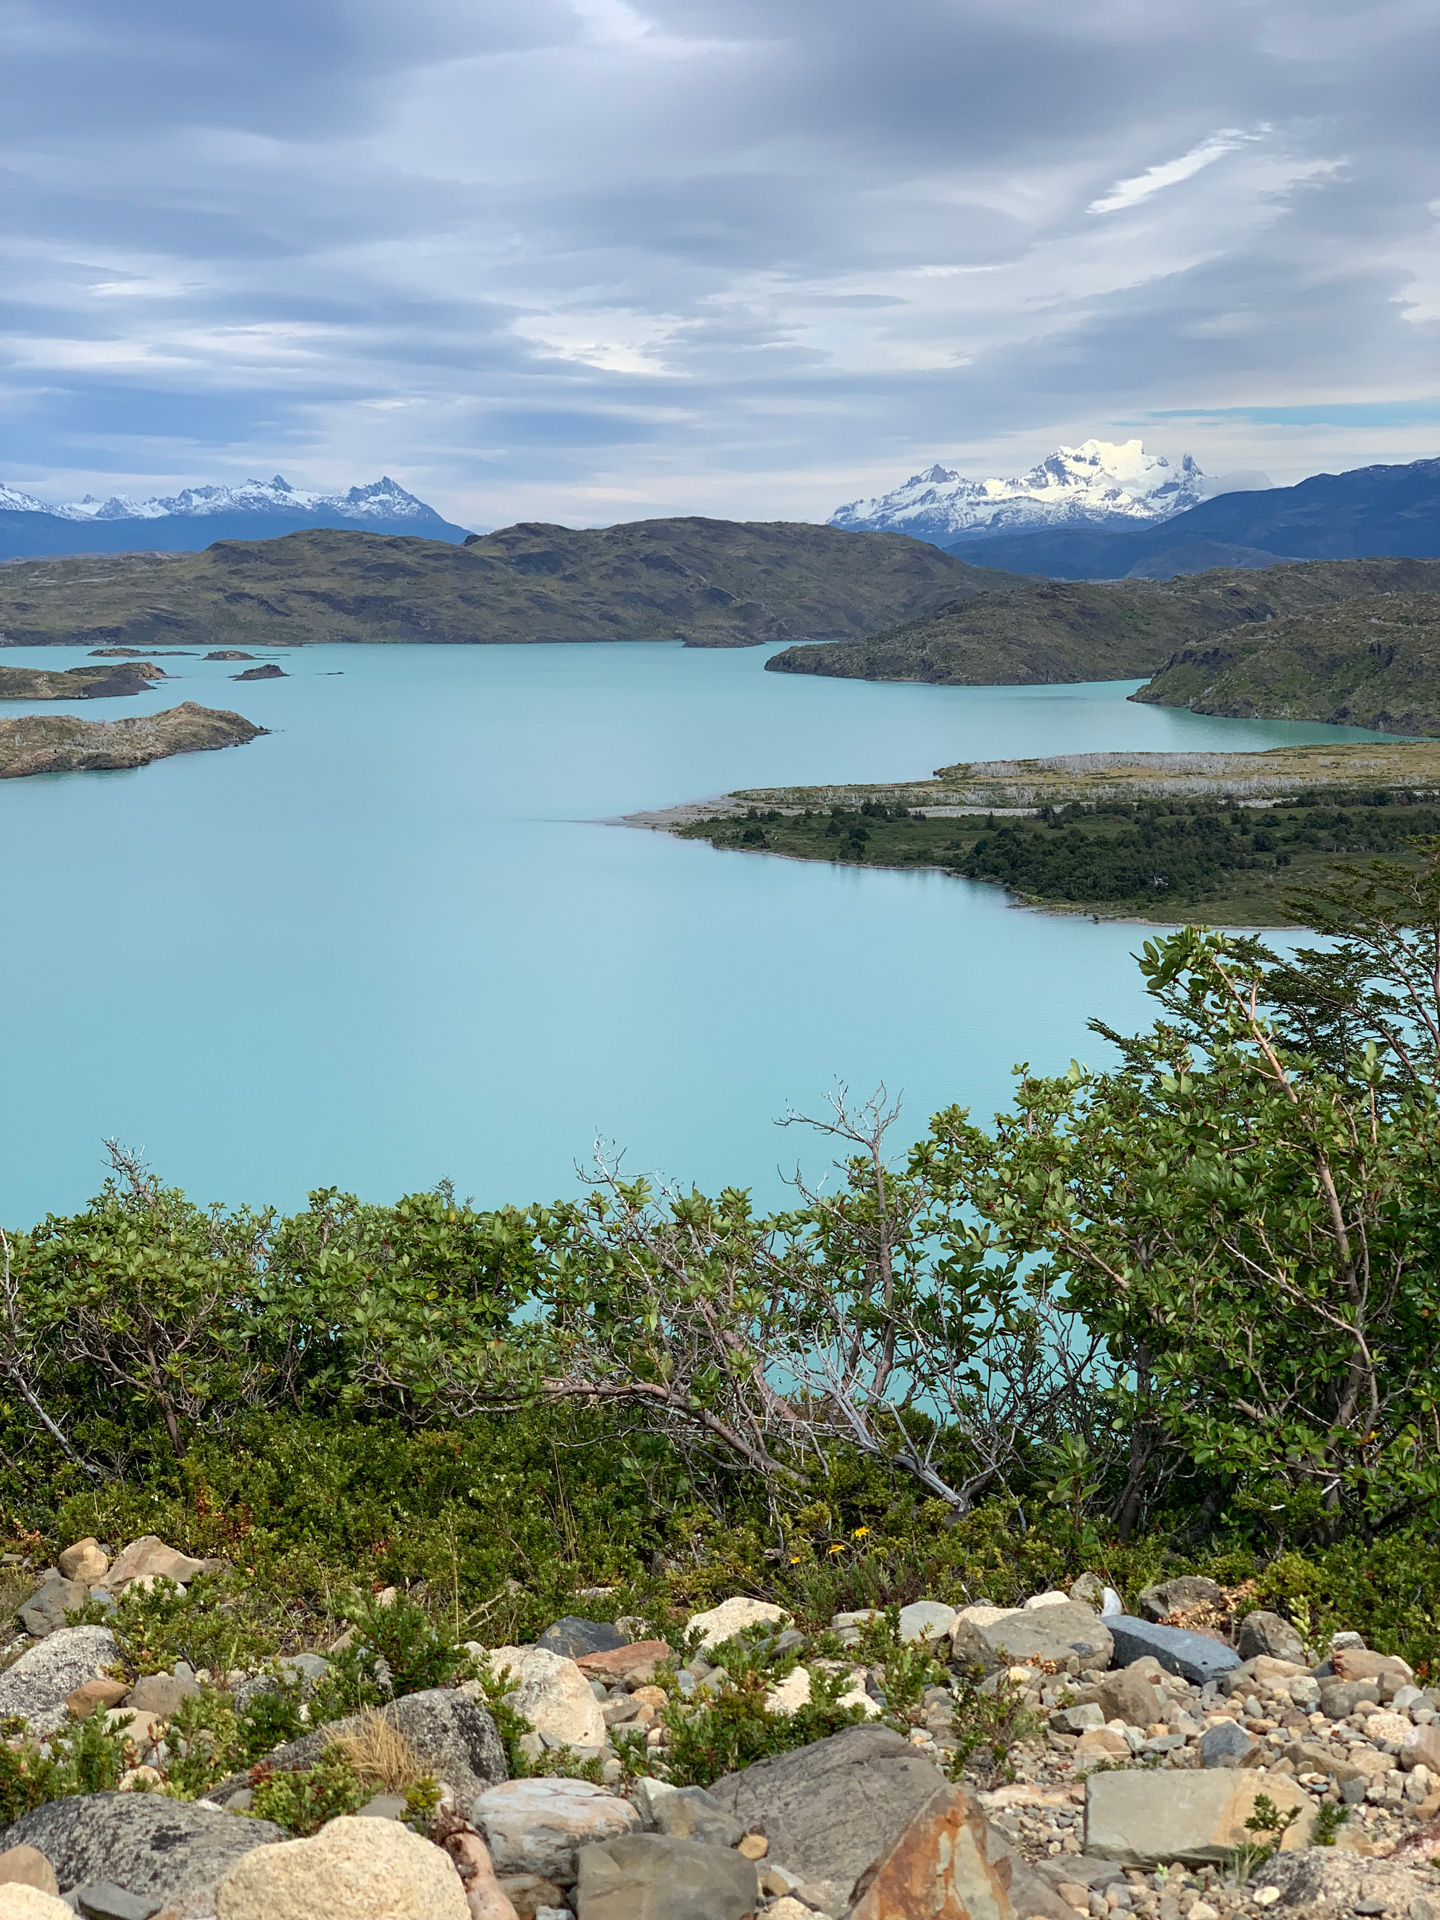
Cuernos itself is nice, though there was a problem with mice in the area that required us to either hang our food or leave our food bags with reception.
Here, there are a couple of bathroom and shower structures, and an indoor communal cooking area.
There is also a bar and communal dining area for people that opted for full board.
Day 8: Los Cuernos to Sector Central
7 miles one way, 900 feet gain, 830 feet loss, ~900 feet highest elevation
With most of the best scenery behind us, we were ready to get our hike over with.
Generally speaking, the weather is hotter and drier on the front side trails.
The day started and stayed hot, and with very few trees for cover, hiking toward the sun wasn't fun.
Sunglasses were super helpful.
There were enough little hills to make this section annoying, but by no means difficult.
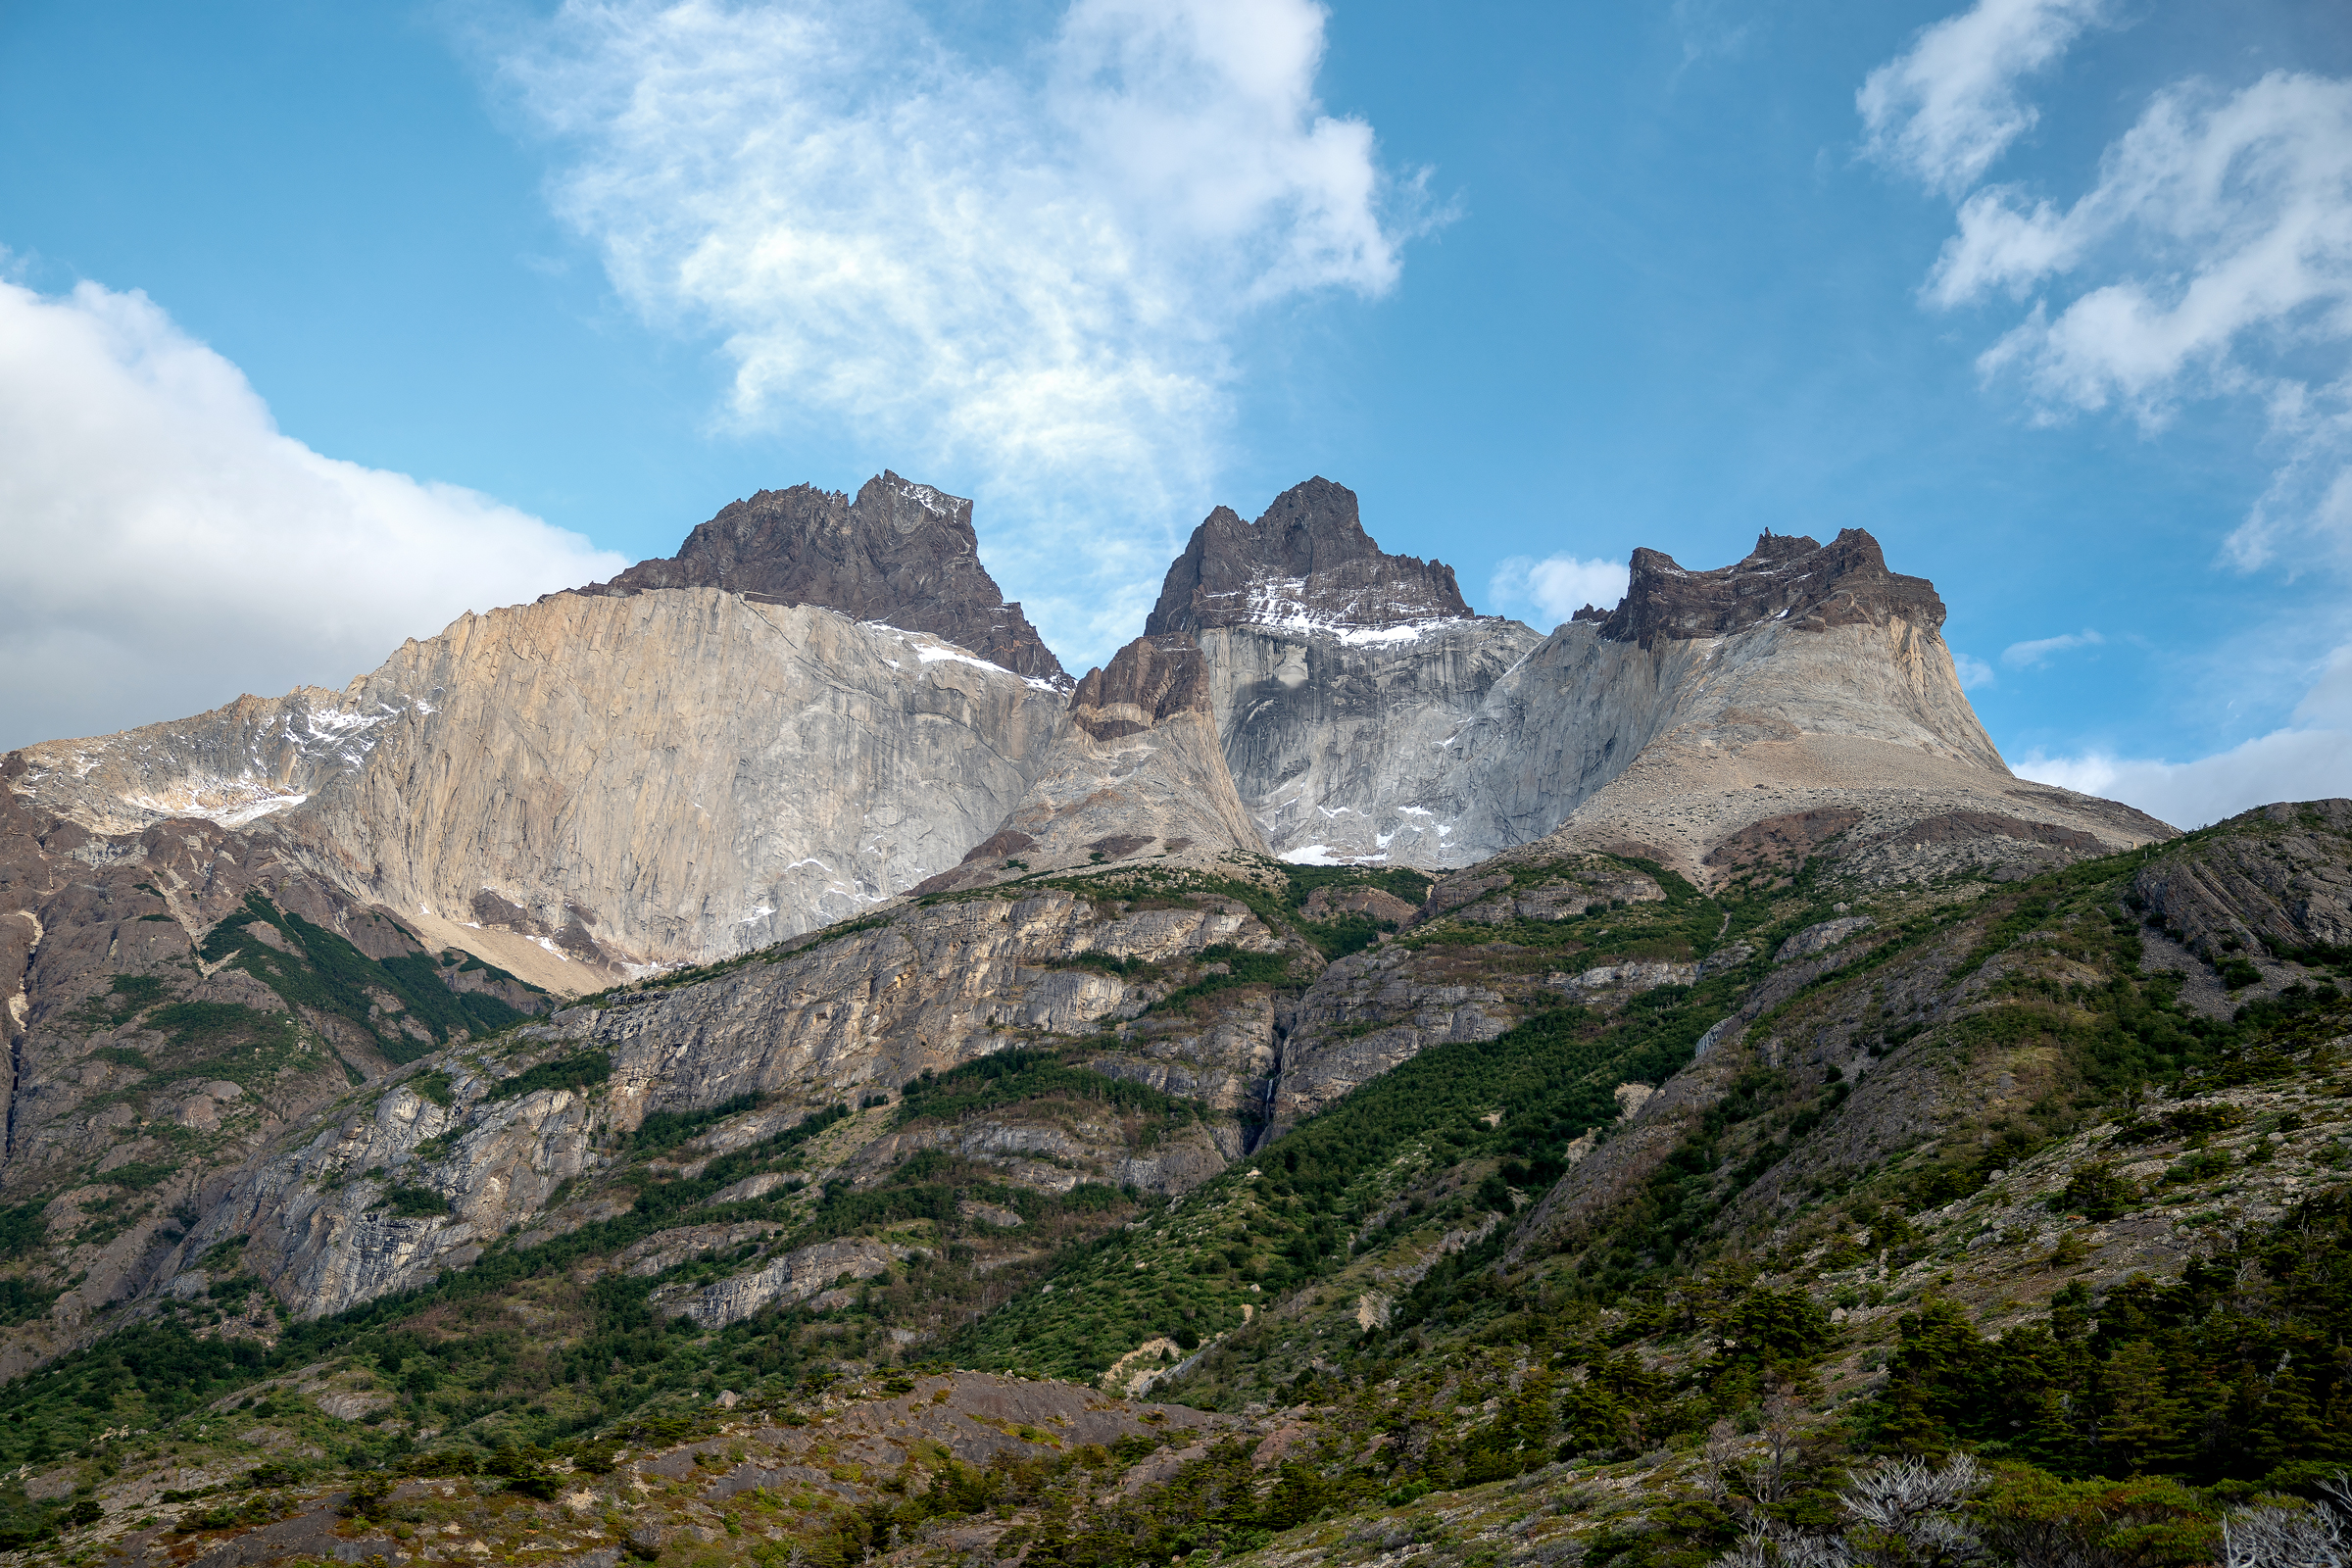
About an hour away from the finish, the trail splits towards several directions.
One path heads up the valley toward Mirador Las Torres, another takes you to the south shore of Laguna Inge, and a third path takes you close to the shore of Laguna Nordenskjold.
The most direct path to Hotel Las Torres and the Welcome Center is the path next to Laguna Inge, though the path along Laguna Nordenskjold isn't much longer.
From Laguna Inge, there's only one big hill before you can see the rooflines of Hotel Las Torres ahead.
Even if you're not staying at the hotel, their bar is worth eating at.
Everything is super tasty (though much more expensive) compared to the food at the campsites.
Excursion to Mirador Cuernos
4 miles round-trip, 200 feet gain, ~300 feet highest elevation
I had booked the excursion to Mirador Cuernos the day I arrived at the park welcome center.
The tour starts with a 30-minute van ride from Hotel Las Torres to a parking area past Pudeto and near Salto Grande, which is situated across Lago Nordenskjold.
From the parking area, it is an easy 4 mile round-trip hike to see Mirador Cuernos.


Day 9: Day Hike to Mirador Las Torres
12 miles round-trip, 3,050 feet gain, 2,850 feet highest elevation
This is the most popular day hike in Torres del Paine for a good reason.
It is a tough-enough hike that I do not recommend taking your huge camping backpack with you.
All that's needed is a day pack with snacks, plenty of water, and lots of patience.
There will be crowds on this trail, especially at the boulder field near the endpoint.
It's a far cry from the solace of the O-Circuit.
Our hiking time was about 6 hours return, but we spent a couple of hours taking it easy to soak in the views at Chileno and The Mirador.
Altogether, I would set aside 8-9 hours for this hike.
On the day of our hike, the weather was perfect with almost no clouds in the sky.
But even if the weather isn't perfect, patience has its rewards.
The weather changes fast, and clouds have been known to clear up and come in quickly.
From Hotel Las Torres, you'll be hiking clockwise toward the western side of the valley.
Instead of hiking back toward Laguna Inge, you'll split north as the trail climbs in earnest toward Windy Pass.
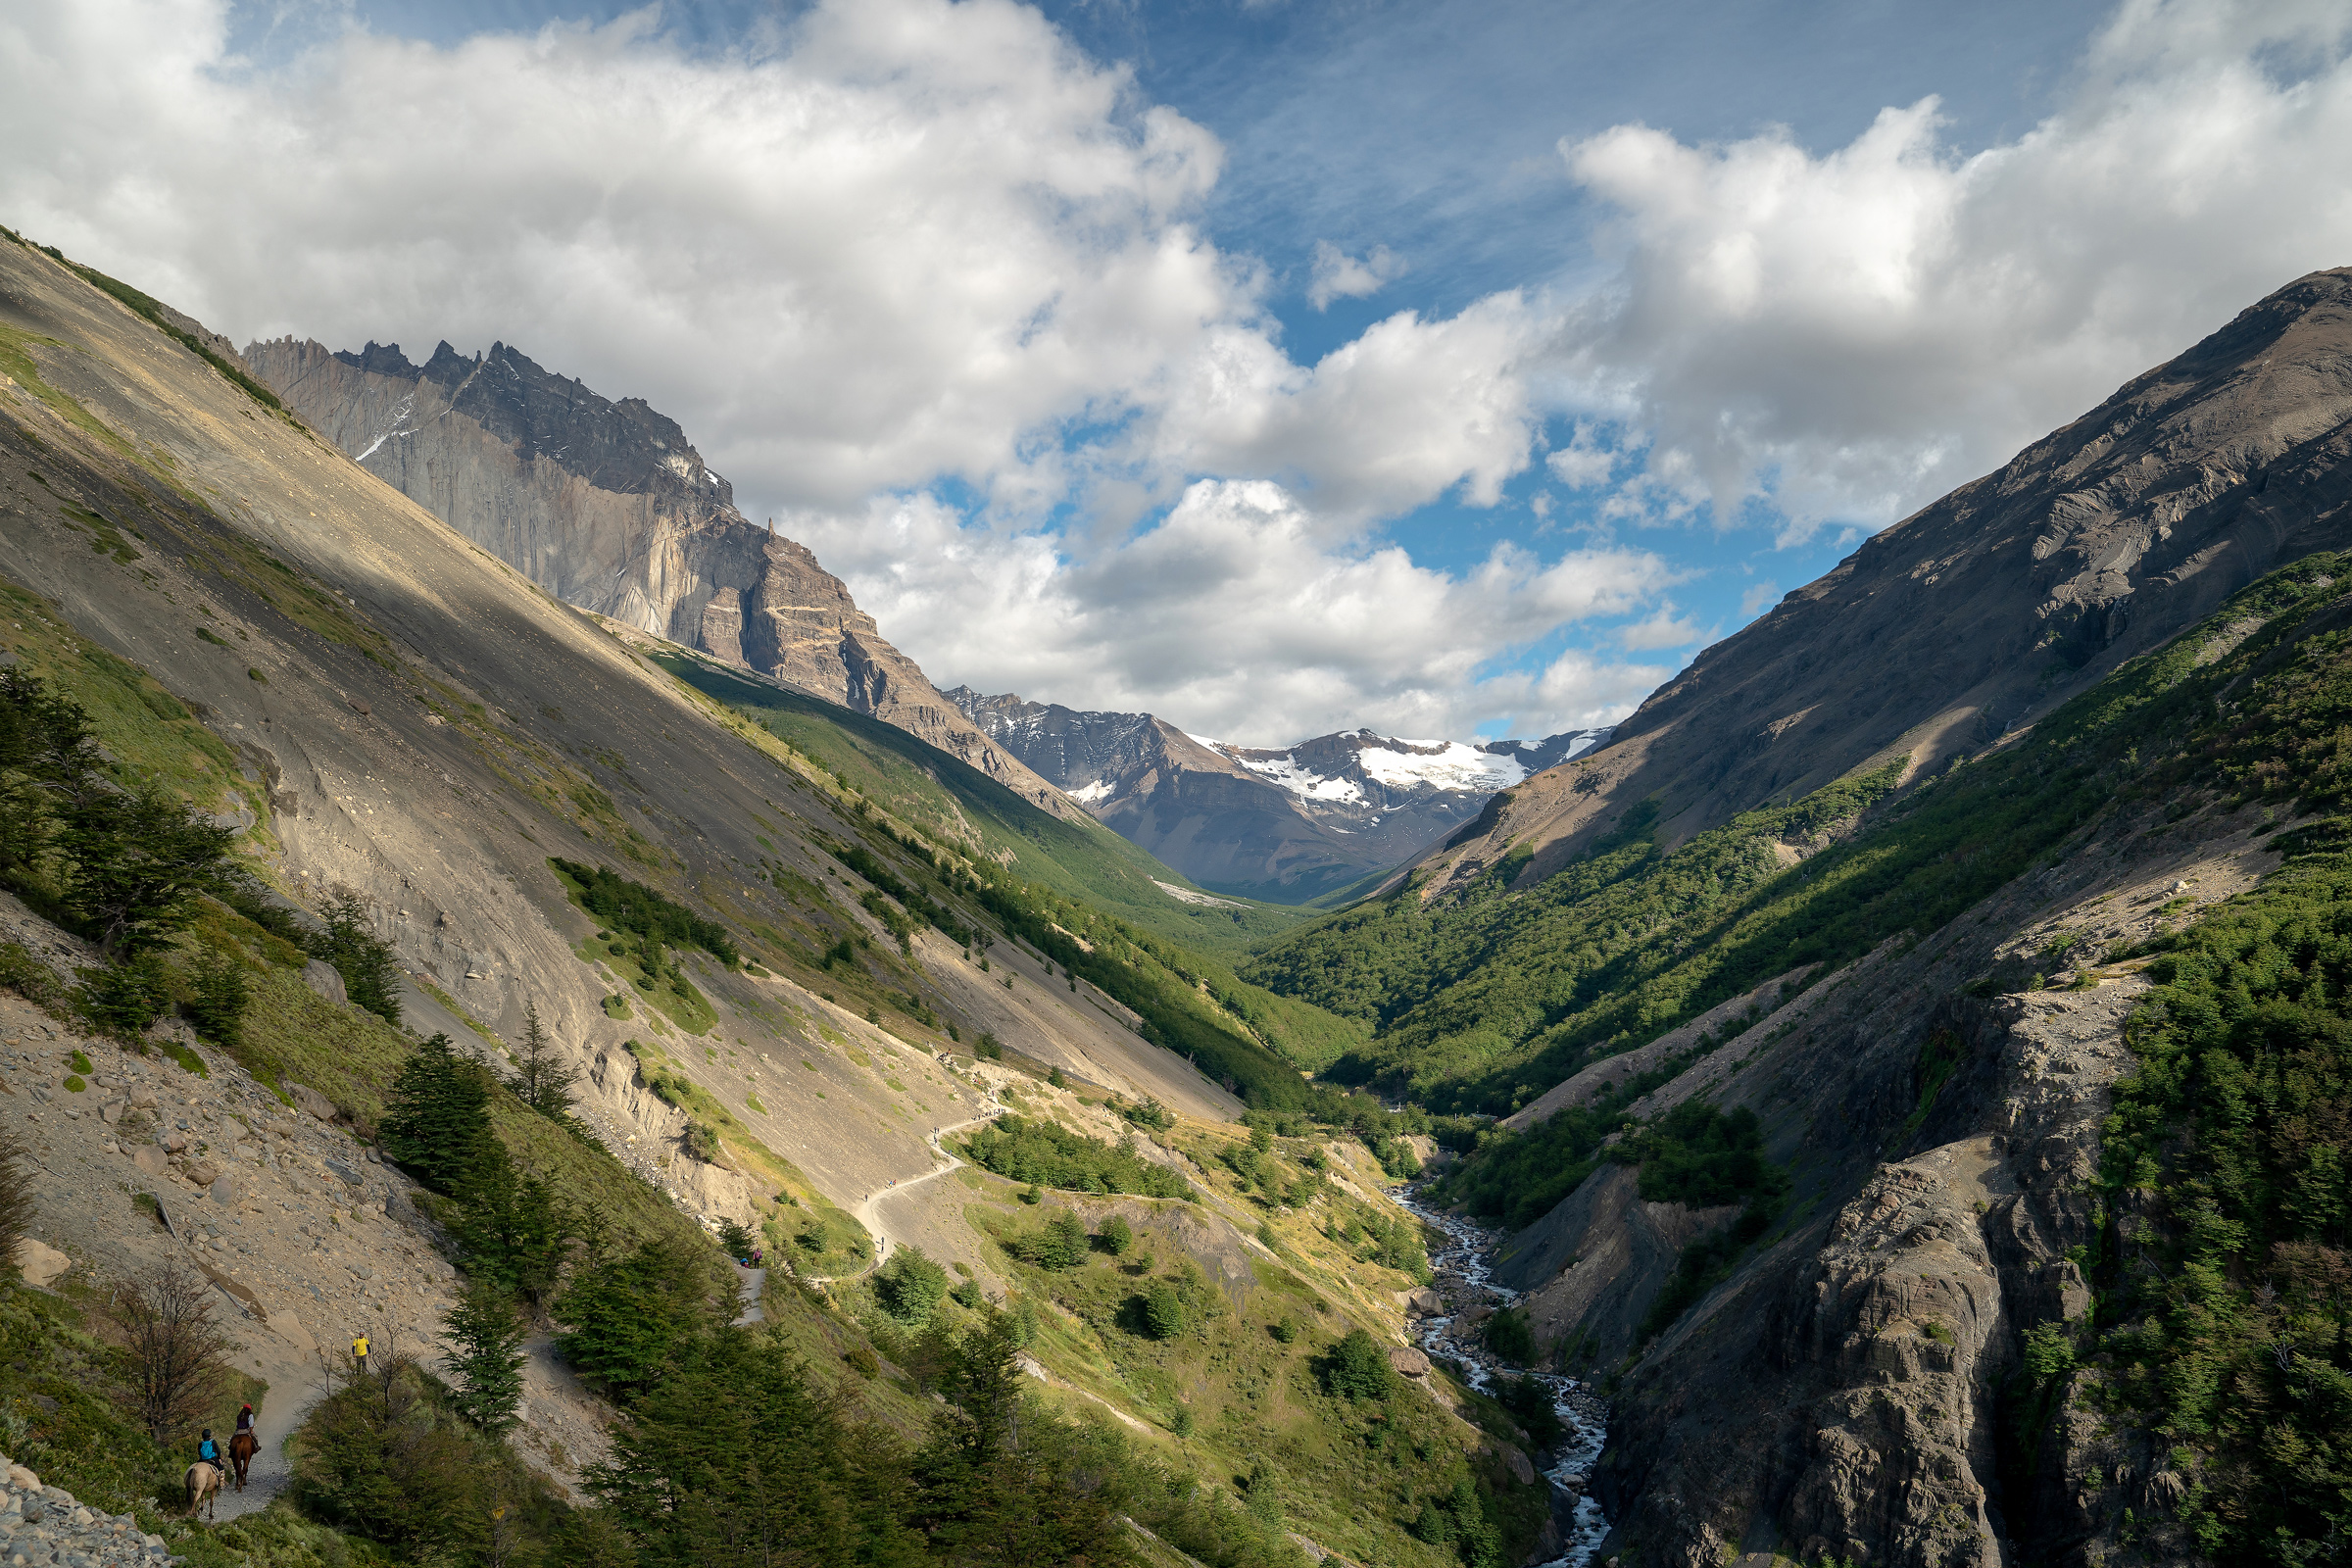
The first milestone is reaching Camp Chileno.
This took us 90 minutes to reach, hiking at a brisk pace.
Here, there's a bar with food, a bathroom that you'll need cash (500 CLP) for, and a plenty of water sources to refill your bottles.

The second milestone is Guarderia Las Torres, a campsite run by CONAF where there's a free bathroom that may or may not have toilet paper.
Although you're close to the Mirador, it will take you another 45-60 minutes to scramble high up the boulder field to your destination.
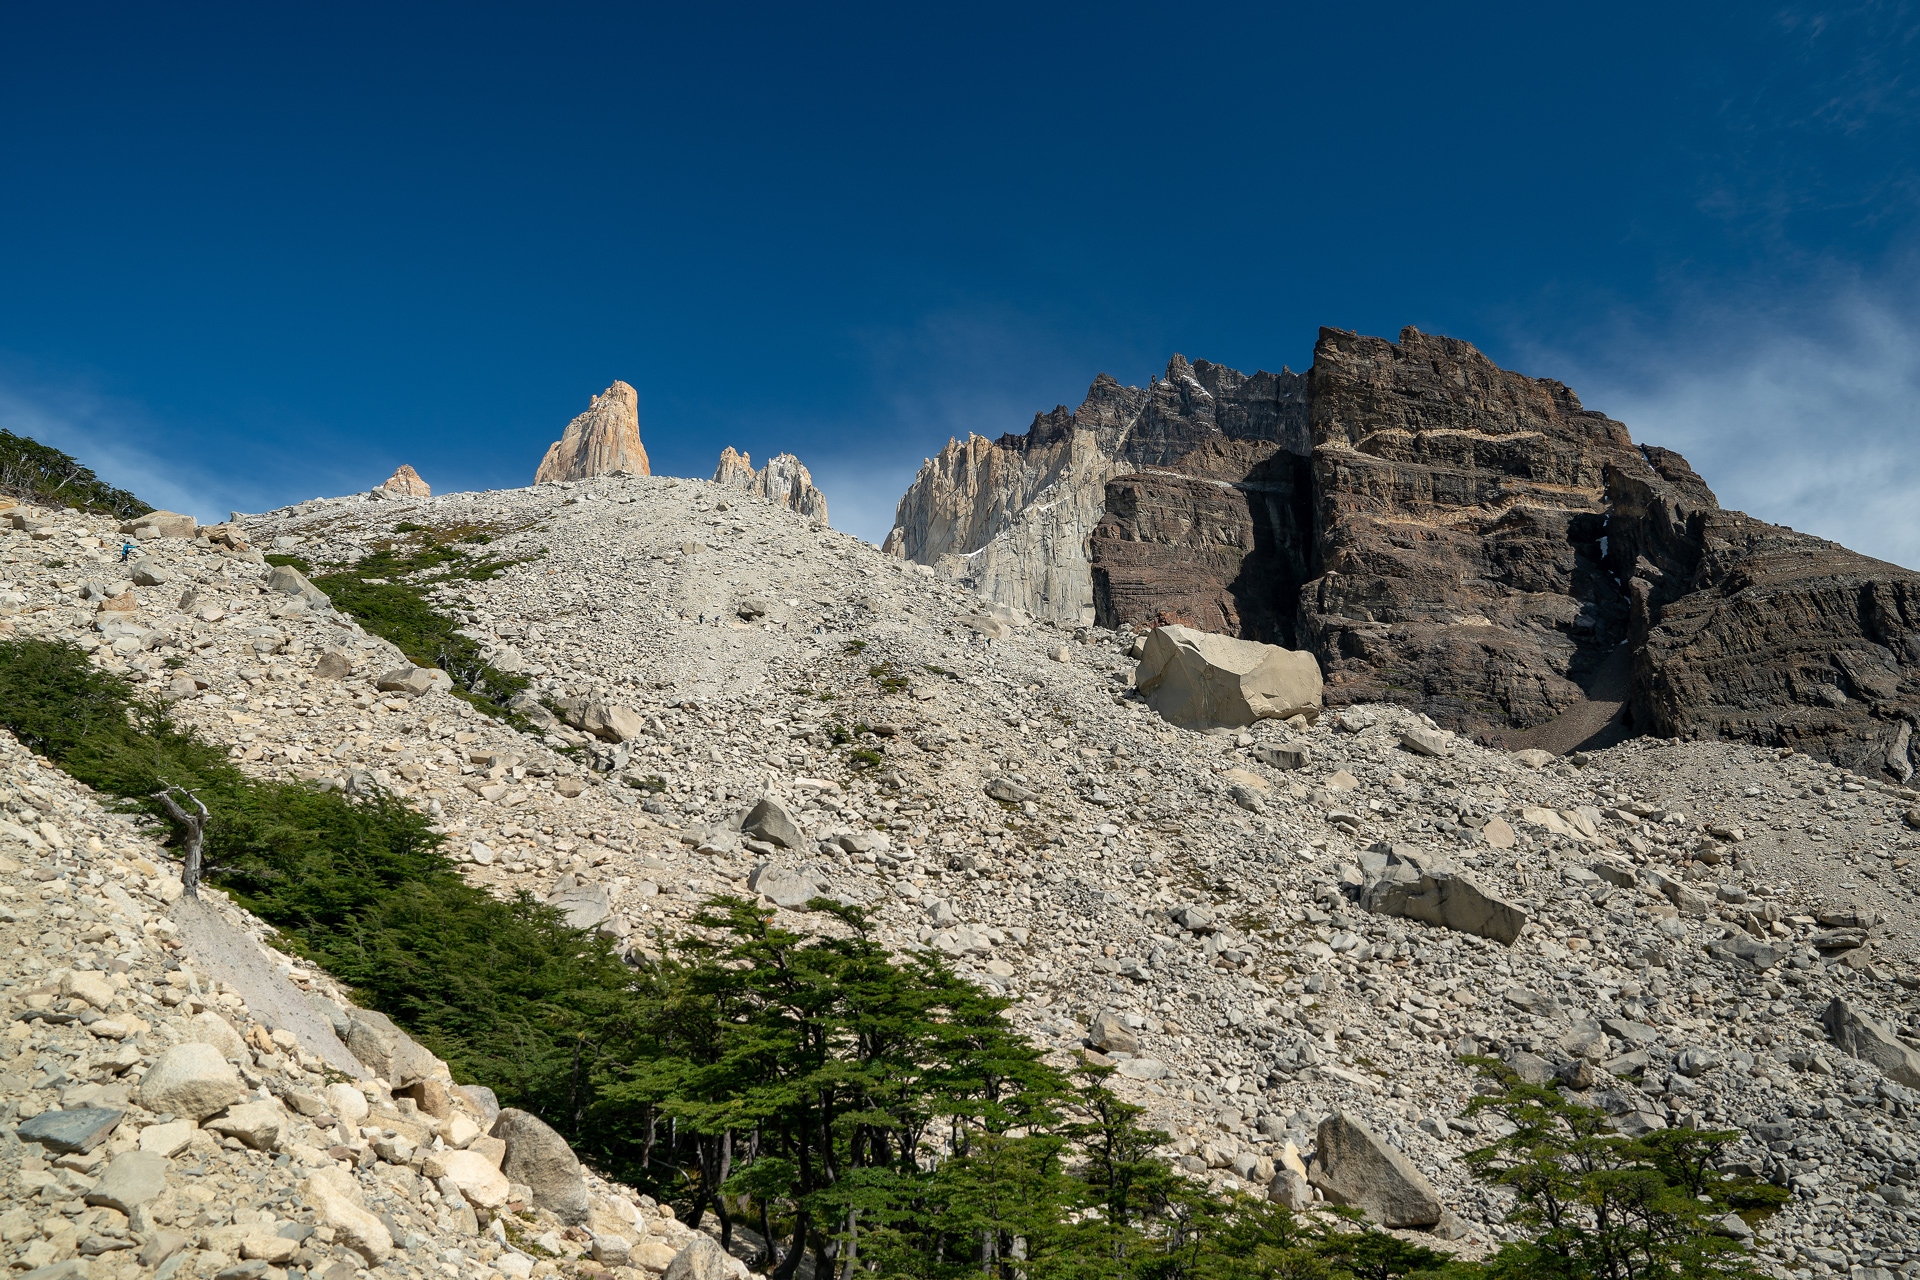
If you're there early enough, you can catch the alpen glow on the towers.
By midday, however, the sunlight turns Lago Torres an unreal milky turquoise blue.

Start the hike from the Hotel Las Torres or Torres del Paine Welcome Center and end at the Mirador Las Torres: -50.942759, -72.949659
More Stories


